Creating compelling product images for your website isn't just about pointing a camera and clicking. It's a strategic process that combines technical skill, creative vision, and optimization know-how to transform ordinary products into conversion-driving visuals.
Whether you're launching a new e-commerce store or refreshing your existing catalog, understanding how to create product photos for website success gives you a competitive edge in today's visual-first marketplace. In 2026, customers expect nothing less than crisp, professional imagery that helps them make confident purchasing decisions.
Understanding Your Product Photography Goals
Before you pick up a camera or hire a photographer, you need clarity on what you're trying to achieve. Different products require different approaches, and your website's purpose shapes every creative decision.
Consider these key objectives:
- Showcasing product details and features clearly
- Maintaining brand consistency across all images
- Creating emotional connections with your target audience
- Optimizing for fast loading times without sacrificing quality
- Meeting platform-specific requirements (Amazon, Shopify, etc.)
Your photography style should align with your brand identity. A luxury watch brand needs a vastly different approach than a children's toy company. Think about the emotions you want to evoke and the story each image should tell. Product photography serves as your silent salesperson, working 24/7 to convince visitors that your products are worth their investment.
Setting Up Your Photography Budget
The cost of creating product images varies dramatically based on your approach. DIY setups can start around $500 for basic equipment, while professional services might range from $25 to $500+ per image, depending on complexity.
%20(1).jpg)
Budget considerations extend beyond just the initial shoot. Factor in editing time, retouching costs, and potential reshoots. Understanding photography budgets helps you allocate resources effectively across your entire catalog.
Essential Equipment for Product Photography
Learning how to create product images for website use starts with having the right tools. While you don't need to break the bank, certain equipment pieces are non-negotiable for professional results.
Camera and Lens Selection
Modern smartphones can capture surprisingly good product photos, but a DSLR or mirrorless camera offers more control and higher resolution. Look for cameras with at least 20 megapixels and manual settings.
Recommended camera features:
- Manual exposure controls
- RAW file format capability
- Interchangeable lens system
- Tethering support for studio work
For lenses, a 50mm or 100mm macro lens provides excellent versatility. These focal lengths minimize distortion while allowing close-up detail shots. Squarespace's photography guide offers detailed equipment recommendations by product category.
Lighting Equipment That Matters
Lighting makes or breaks product photography. Natural window light works for beginners, but controlled artificial lighting delivers consistent, professional results.
Start with a two-light setup: one key light and one fill light. Softboxes or umbrellas diffuse harsh shadows, creating the even lighting that e-commerce images demand. A light tent works beautifully for smaller products, while larger items need more sophisticated setups.
- Position your key light at a 45-degree angle to your product
- Add a fill light on the opposite side to soften shadows
- Consider a backlight to separate the product from the background
- Use reflectors to bounce light into shadow areas
- Maintain consistent color temperature across all lights
Background Styles and Props
White backgrounds remain the e-commerce gold standard, especially for marketplace platforms. Seamless paper rolls or vinyl backgrounds create clean, distraction-free images. White-background photography requires specific techniques to achieve the pure, bright look customers expect.


Lifestyle imagery needs contextual props that tell a story without overwhelming the product. Choose items that complement your brand aesthetic and add value to the narrative.
The Photography Process Step-by-Step
Now that you understand the equipment, let's walk through how to create product photos for website use from setup to final shot.
Preparing Your Products
Product preparation often gets overlooked, but it's critical for professional results. Clean every item meticulously. Dust, fingerprints, and lint show up glaringly in high-resolution photos.
Steam or iron fabric products to remove wrinkles. For reflective items like jewelry or electronics, use a microfiber cloth to eliminate smudges. Check for scratches, dents, or manufacturing defects that might distract from the product's appeal.
Pre-shoot checklist:
- Remove all tags, stickers, and packaging materials
- Clean surfaces with appropriate materials
- Check batteries or power sources for electronics
- Arrange movable parts in the most attractive position
- Prepare any styling elements or props
Camera Settings and Composition
Set your camera to manual mode for complete control. Start with these baseline settings and adjust based on your lighting:
- ISO: 100-200 (lowest for best quality)
- Aperture: f/8-f/16 (ensures full product sharpness)
- Shutter Speed: Determined by your lighting (1/125 or slower with a tripod)
- White Balance: Match your lighting (5500K for daylight, 3200K for tungsten)
Composition follows the same principles whether you're shooting flat-lay photography or using traditional angles. Center your product for consistency, leave breathing room around edges, and shoot from multiple angles to give customers a complete view.
Shooting Multiple Angles and Variations
One image rarely tells the complete story. E-commerce best practices recommend 5-8 images per product, showing different perspectives and key features.
- Hero shot: Main product image on white background
- Detail shots: Close-ups of unique features, textures, materials
- Scale reference: Product in use or with size comparison
- Alternate views: Side, back, top, bottom angles as needed
- Lifestyle images: Product in realistic usage scenarios
- Packaging shot: How the product arrives (builds anticipation)
Consistency matters enormously. Maintain the same lighting setup, background, and camera settings across all products in a category. This creates a cohesive catalog that looks professional and builds trust.
Editing and Retouching Your Images
Raw photos rarely look perfect straight from the camera. Post-processing transforms good shots into exceptional product photos that drive sales.
Basic Editing Fundamentals
Import your images into editing software like Adobe Lightroom, Capture One, or free alternatives like GIMP. Start with global adjustments that affect the entire image:
- Exposure correction: Brighten or darken to achieve proper product visibility
- White balance: Ensure colors match the actual product
- Contrast: Add punch without crushing shadows or blowing highlights
- Sharpening: Enhance edge definition (but don't overdo it)
- Color grading: Match your brand's visual style
Batch editing saves tremendous time when processing multiple products. Create presets for different product categories, then apply with one click and make minor individual adjustments as needed.
Advanced Retouching Techniques
Professional product images require pixel-level perfection. This is where retouching services provide significant value by eliminating every distraction.
Use the clone stamp and healing brush tools to remove imperfections. The pen tool creates precise selections for background removal. Layer masks allow non-destructive editing that you can refine later.
Background Removal and Optimization
Most e-commerce platforms prefer or require transparent or pure white backgrounds. Optimizing product images for these specifications ensures your images meet marketplace standards.
Automated tools offer quick solutions for simple products, but complex items with intricate edges need manual selection. The pen tool in Adobe Photoshop provides the most control, while Select Subject AI features work surprisingly well for many products.
Once you've isolated your product, place it on a pure white background (RGB: 255, 255, 255) or save with transparency for maximum flexibility. Some brands create multiple versions: a white background for marketplaces, a transparent background for their own website, and lifestyle backgrounds for social media.
Technical Optimization for Website Performance
Understanding how to create product images for website success means balancing quality with performance. Beautiful images that take 10 seconds to load will cost you conversions.
Image Size and Resolution Requirements
Different placements on your website need different image dimensions. E-commerce image size guidelines vary by platform, but these are solid starting points for 2026:
Recommended dimensions:
- Hero/main product images: 2000-3000px on longest side
- Gallery thumbnails: 600-800px square
- Zoom functionality: 4000px+ (if offered)
- Mobile optimization: 1200px responsive versions
Resolution for web images should be 72 PPI (pixels per inch). Print requires 300 PPI, but screens can't display that resolution, and the file sizes would cripple your site speed. Always save separate web-optimized versions rather than uploading full-resolution files.
File Format and Compression
Choosing the right file format impacts both image quality and loading speed. Each format has specific strengths:
- JPEG: Best for photographs with millions of colors, good compression
- PNG: Supports transparency, lossless compression, and larger files
- WebP: Modern format with superior compression and quality (30% smaller than JPEG)
- AVIF: Newest format with even better compression (50% smaller than JPEG)
Best practices for product images emphasize compression without visible loss of quality. Tools like TinyPNG, ImageOptim, or Squoosh can reduce file sizes by 50-70% while maintaining visual fidelity. Aim for main product images under 300KB and thumbnails under 100KB.
SEO Optimization for Product Images
Images contribute significantly to your site's search rankings when properly optimized. Every image should include:
- Descriptive file names: "blue-cotton-tshirt-front.jpg" not "IMG_1234.jpg"
- Alt text: Accurate descriptions for accessibility and SEO
- Title tags: Additional context for search engines
- Structured data: Schema markup for rich results
- Image sitemaps: Help search engines discover all your product images
Alt text should describe the image naturally while incorporating relevant keywords. "Men's navy blue running shoes with white sole and breathable mesh upper" works better than "shoes" or keyword-stuffed nonsense.
Advanced Product Photography Techniques
Once you've mastered the basics of creating high-quality images for website use, these advanced techniques can elevate your visual content.
Lifestyle and Contextual Photography
While clean product shots on white backgrounds drive conversions, lifestyle images create emotional connections. They show your product in real-world scenarios, helping customers envision ownership.
Lifestyle photography requires different considerations:
- Choose settings that match your target customer's environment
- Include models that represent your audience demographic
- Focus on authentic moments rather than stiff, posed shots
- Ensure the product remains the focal point despite contextual elements
Lifestyle images work particularly well for social media, email marketing, and inspiration sections on your website. They complement your core product photography rather than replacing it.
Creative Styling and Composition
Breaking conventional rules sometimes creates memorable images that stand out. Creative product photography ideas include unconventional angles, unexpected color palettes, and artistic prop combinations.
Creative techniques to try:
- Aerial shots for flat products
- Extreme close-ups highlighting texture
- Monochromatic color schemes
- Unexpected scale comparisons
- Motion blur for dynamic products
Experimentation should always serve your brand strategy. A luxury brand might use minimalist styling with dramatic shadows, while a youth-focused brand could embrace vibrant colors and playful compositions. Minimalist product photography has gained particular traction in 2026 for its clean, modern aesthetic.
360-Degree and Interactive Images
Interactive product photography lets customers examine items from every angle, reducing uncertainty and returns. 360-degree spins require specialized equipment or software but deliver impressive engagement results.
Create 360-degree spins by photographing your product on a turntable at consistent intervals (typically 24-36 frames per rotation). Software like Sirv or CloudImage stitches these high-quality images into interactive viewers that customers can control.
Platform-Specific Requirements
Different sales channels have unique image requirements. Understanding these specifications ensures your images display correctly everywhere you sell.
Amazon Image Guidelines
Amazon product image requirements are particularly strict for the main image:
- Pure white background (RGB 255, 255, 255)
- Product must fill 85% of the frame
- Minimum 1000px on longest side (recommended 2000px+)
- JPEG or PNG format
- No additional text, graphics, or watermarks on the main image
Additional images (slots 2-9) allow more flexibility for lifestyle shots, infographics, and detail views. These supplementary images convert browsers into buyers by answering questions and building confidence.
Shopify and E-commerce Platform Standards
Shopify image optimization focuses on performance alongside quality. The platform automatically generates multiple sizes from your uploads, but starting with properly sized images improves results.
Shopify recommendations include:
- 2048x2048px maximum (downscaled automatically)
- Square aspect ratio for consistency
- Under 20MB file size (though much smaller is better)
- Progressive JPEG or WebP format
Other platforms like WooCommerce, BigCommerce, and Magento have similar requirements. Always check current documentation, as specifications evolve with platform updates.
Scaling Your Product Photography Operation
As your catalog grows, you need systems to maintain quality while efficiently managing volume.
Creating Photography Templates
Develop standardized processes for each product category. Essential photography workflow guides help ensure consistency even when different team members shoot products.
Templates should cover:
- Equipment setup diagrams: Lighting positions, camera height, distances
- Shot lists: Specific angles required for each product type
- Editing presets: Color grading, exposure, and sharpness settings
- File naming conventions: Consistent, searchable organization
- Quality control checklists: Standards every image must meet
Documentation seems tedious initially, but it saves countless hours and prevents costly mistakes. When you onboard new photographers or scale to multiple locations, templates ensure brand consistency.
When to Hire Professional Photography Services
DIY product photography works for many small businesses, but professional services become valuable as you scale. Professional photography rates vary based on complexity and volume.
Consider professional services when:
- Your catalog exceeds 50+ products
- You're launching major campaigns or rebrands
- Product complexity requires specialized equipment
- Your team lacks photography expertise
- Time constraints prevent in-house shooting
Professional studios bring equipment, expertise, and efficiency that's difficult to match internally. They understand how to create product images for website use that maximize conversions while maintaining your brand's visual identity.
Building an Image Library System
Organize your product images in a digital asset management (DAM) system from day one. As your library grows, finding specific images becomes nearly impossible without proper organization.
.jpg)
Tag images with product names, SKUs, categories, shoot dates, and usage rights. This metadata makes finding the right image instant rather than a 20-minute search through folders. Effective image display strategies depend on having organized, accessible assets.
Common Mistakes to Avoid
Even experienced photographers make these errors when learning how to create product images for website success. Awareness helps you avoid them.
Top photography mistakes:
- Inconsistent lighting across product categories
- Uploading images without compression
- Shooting only one angle per product
- Poor color accuracy that misrepresents products
- Neglecting mobile optimization
- Skipping backup copies of original files
- Using busy backgrounds that distract from products
Color accuracy deserves special attention. If your blue dress photographs purple, you'll deal with returns and negative reviews. Calibrate your monitor, shoot color checkers, and verify colors match reality before uploading images.
Quality Control and Testing
Before publishing images to your live website, implement quality checks. View images on multiple devices (desktop, tablet, mobile) and different browsers. Check loading speeds using tools like Google PageSpeed Insights or GTmetrix.
Create a checklist that every image must pass:
- Correct dimensions for the platform
- Optimized file size
- Accurate colors
- Sharp focus throughout
- Clean background
- Proper exposure
- No visible artifacts or noise
A/B testing different image styles reveals what resonates with your specific audience. Try testing white background versus lifestyle images, different angles, or showing products in use versus isolated shots.
Squareshot specializes in delivering high-quality product photography with a focus on timely delivery, offering catalog, creative, and model shoots that transform your products into conversion-driving visuals. Our experienced team handles everything from initial concept through advanced retouching, ensuring your product images meet both technical requirements and your brand's creative vision.
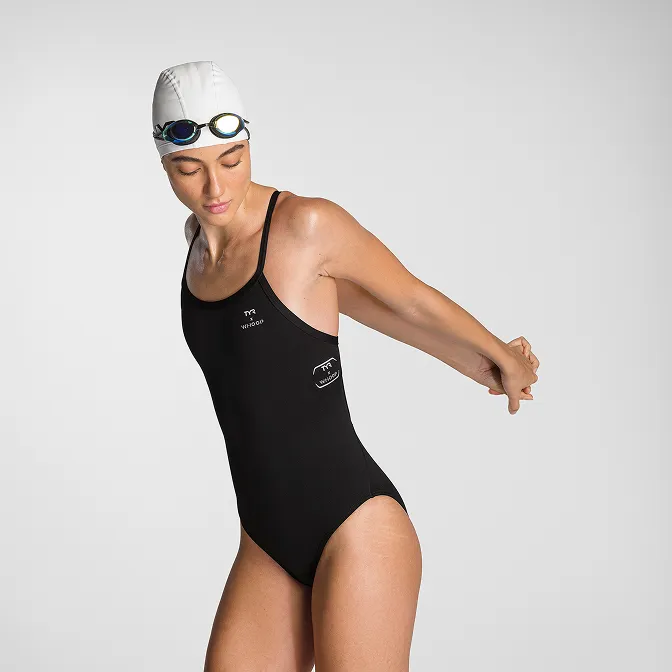
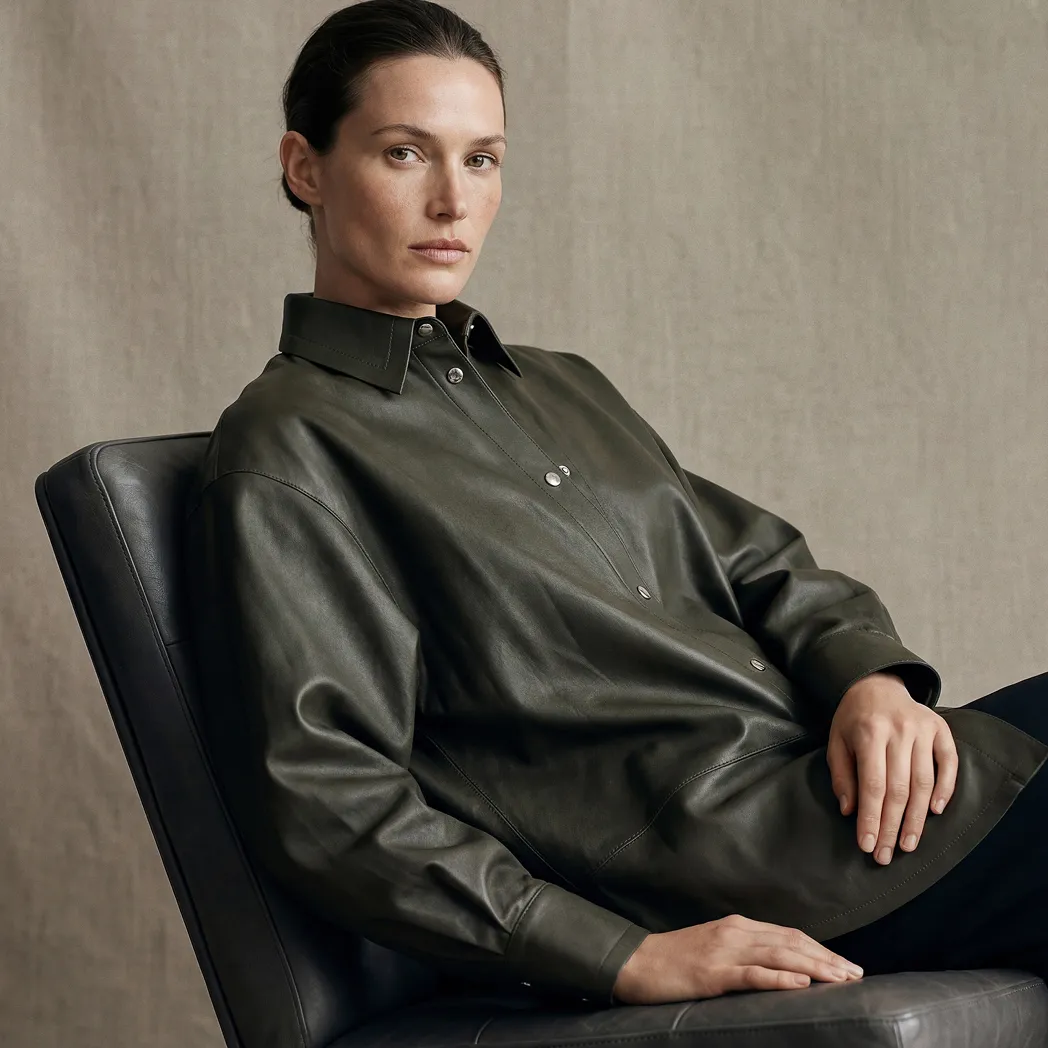
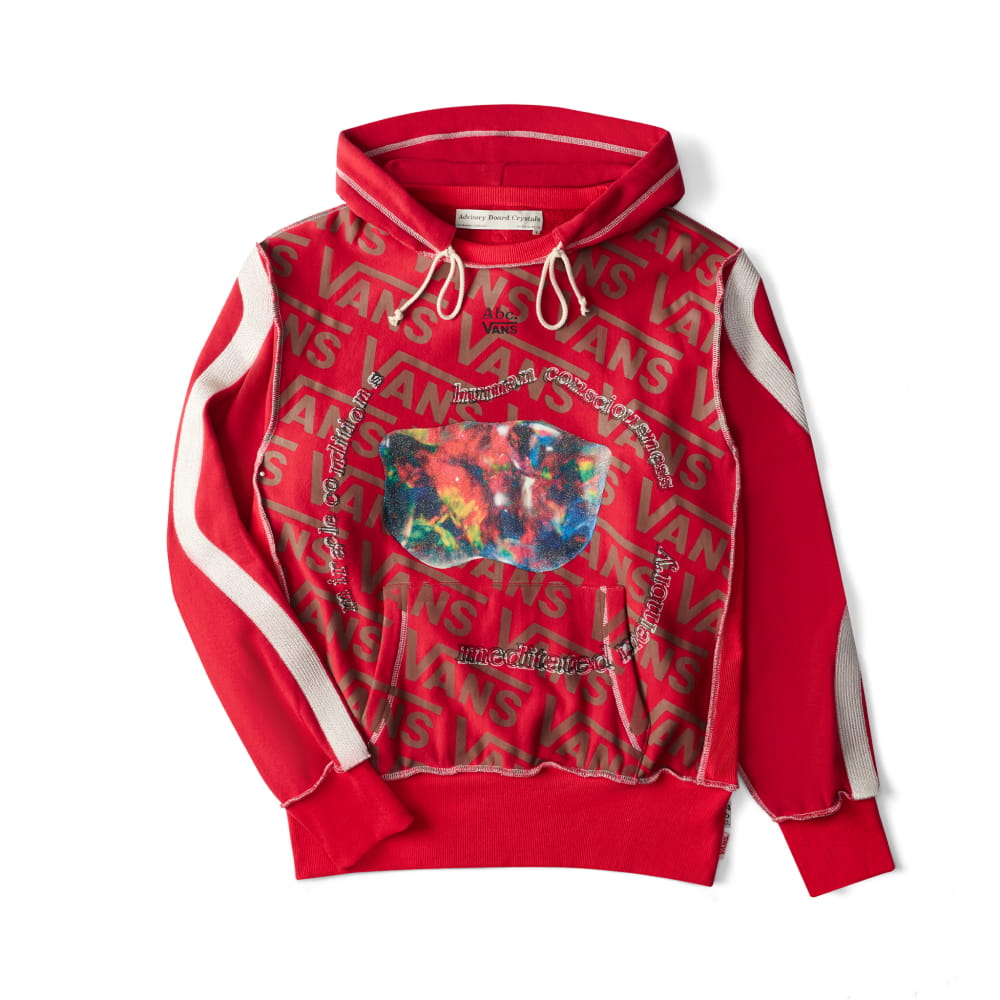
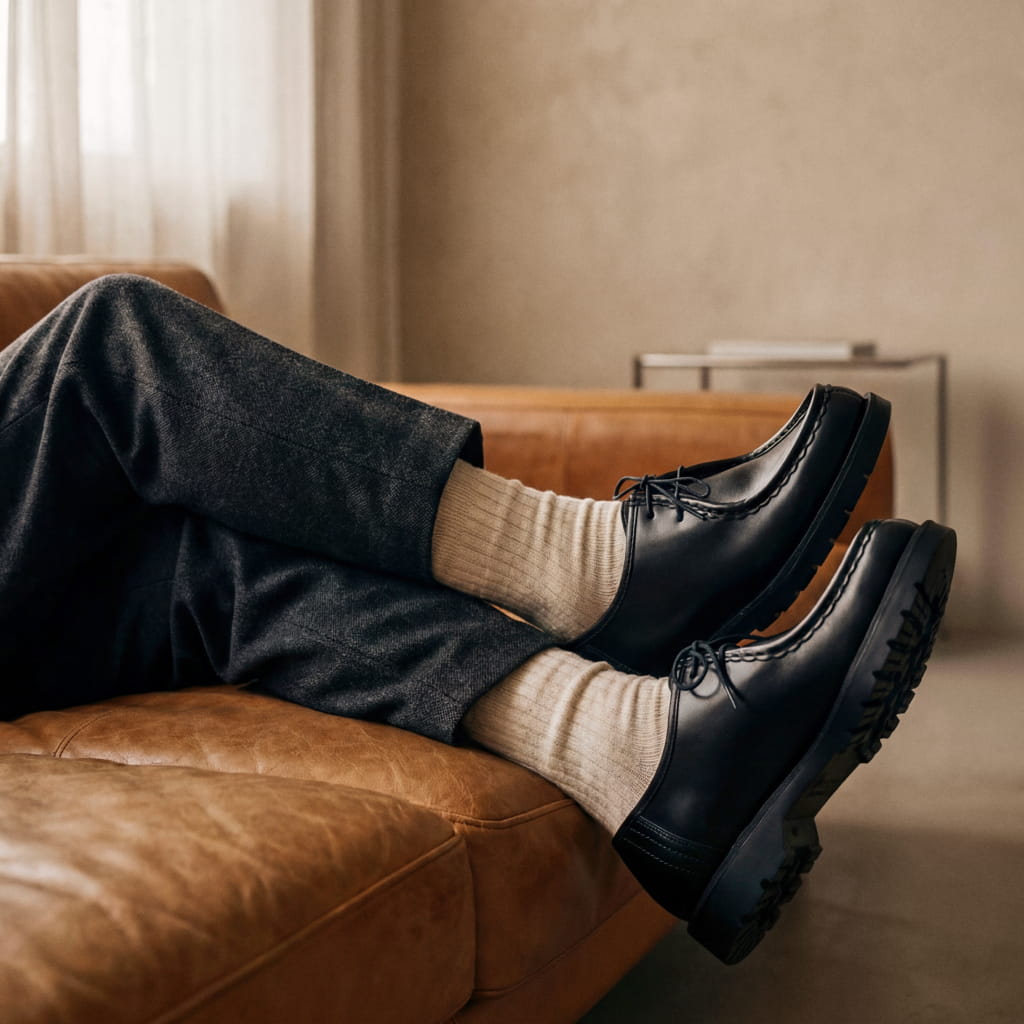
Product A
SQUARE SHOT