


E-commerce photography plays a direct role in how customers perceive your products and your brand. Clear, well-lit images help shoppers understand size, color, and features before making a purchase.
Without accurate visuals, customers may hesitate or choose a competitor instead. Consistent product imagery also reinforces trust and supports a professional brand identity. In online retail, photos are often the only point of contact before checkout, making them a critical sales tool.
High-quality images can reduce returns, improve conversion rates, and keep your store competitive. With a service like Squareshot, brands can produce catalog-ready visuals that meet platform requirements while staying on schedule.
This guide covers proven e-commerce photography techniques, from equipment and styling to editing and optimization. Use it to create product images that convert.
What Is E-commerce Photography?
E-commerce photography creates clear, attractive images of products for online stores. These images must show the product’s details, size, and colors accurately.
Different kinds of photos serve specific needs, like showcasing features or fitting various parts of the sales process. Good images shape how shoppers view and trust your products.
Definition
E-commerce photography means taking pictures specifically for online sales. The goal is to help buyers see exactly what they’re getting.
These images must be sharp, well-lit, and free of distractions. E-commerce photos follow strict standards for size, background, and style to keep your store looking consistent.

Your photos should include multiple views, such as front, side, and close-ups, to highlight important features.
Types of E-commerce Product Photos
There are several key photo styles you might use:
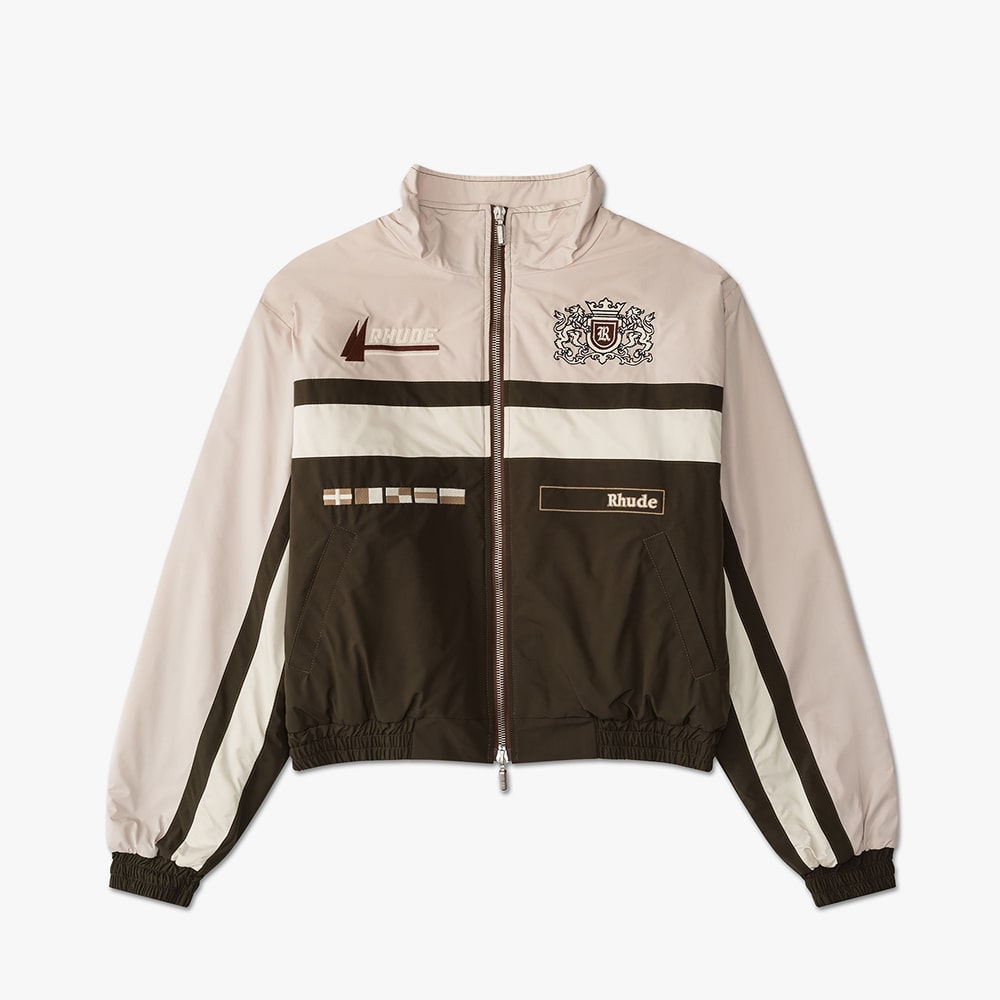
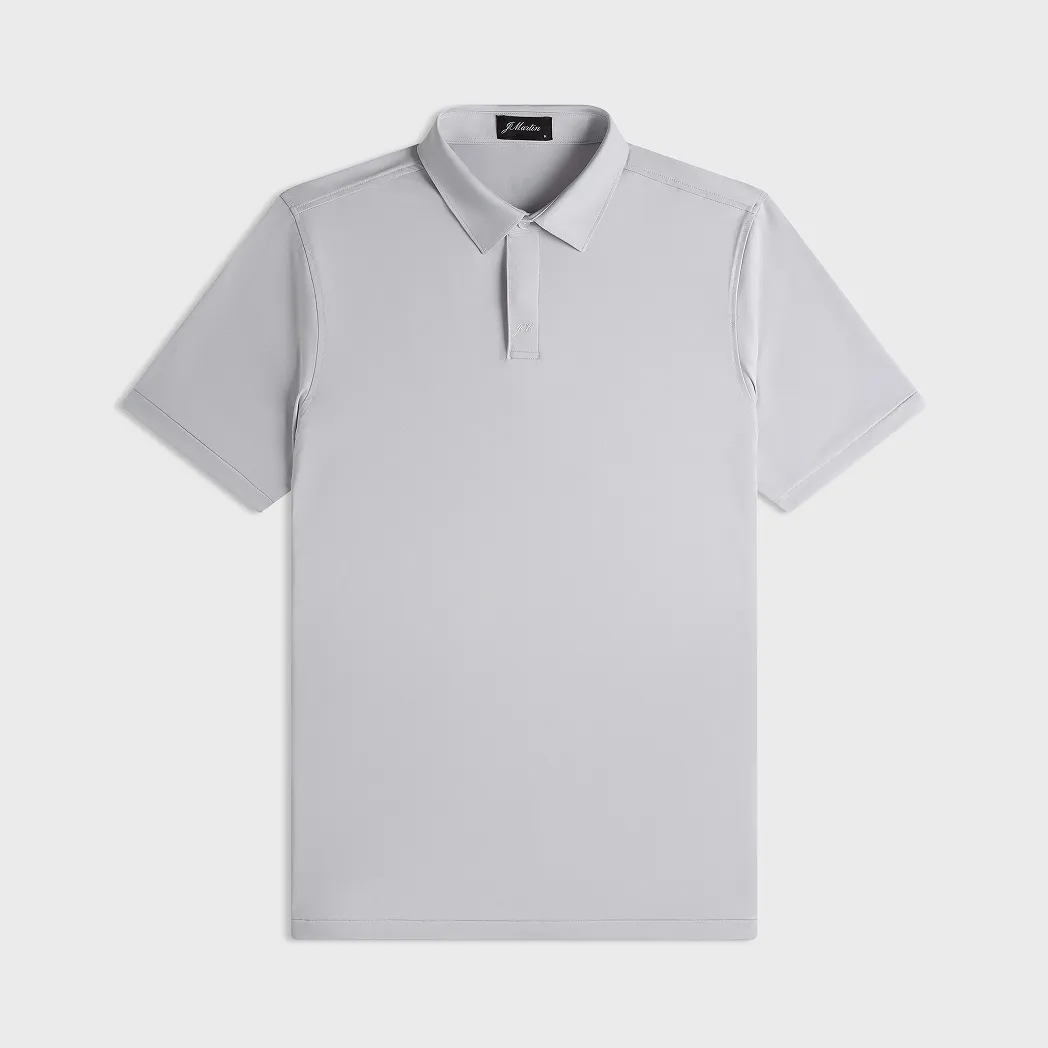
- Hero shots - capture your product clearly and attractively.
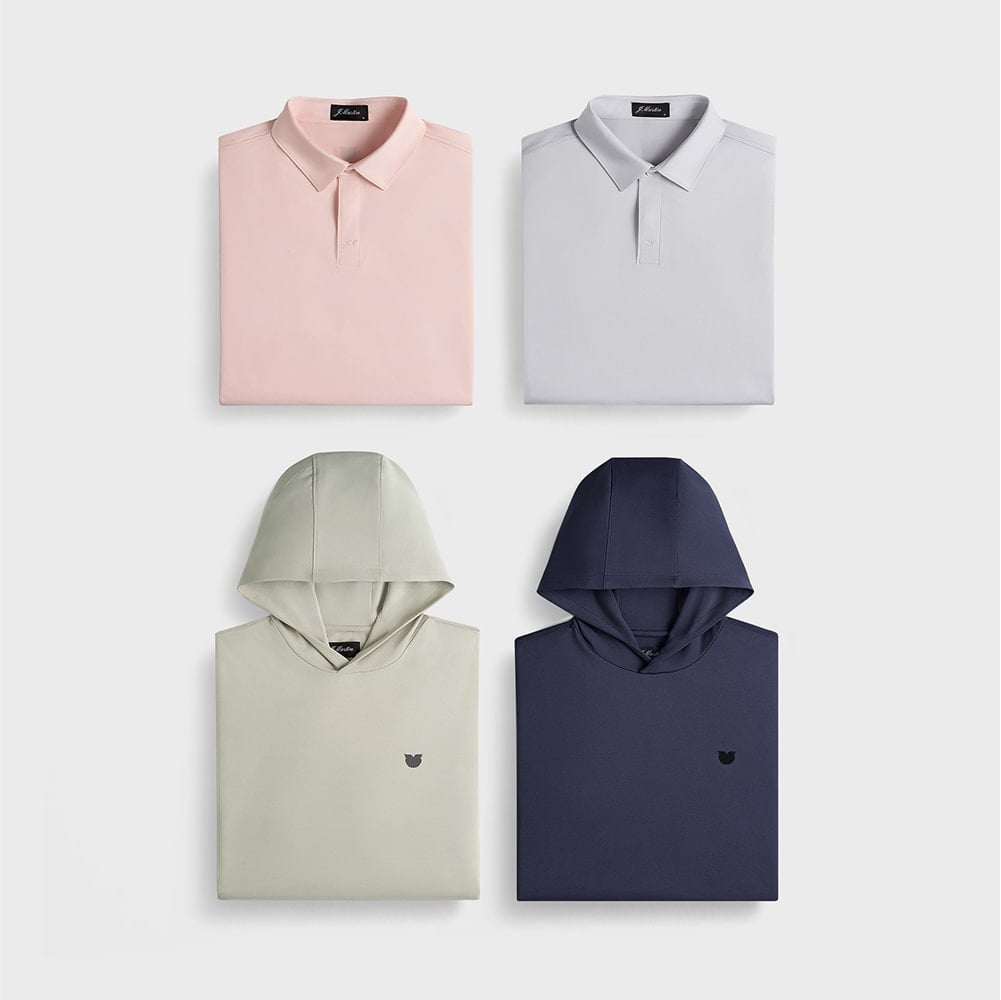
- Flat lay - arranged and shot from above, showing how items look together.
- Ghost mannequin - shows clothing on an invisible form to present shape without a model.
- Lifestyle shots - products shown in use or real-life settings to help customers imagine owning them.
- Detail shots - close-ups of textures, features, or logos to highlight quality.
Choose the right mix based on your product type and marketing goals. For example, small accessories may need multiple detailed shots, while apparel benefits from ghost mannequin and lifestyle photos.
Importance in Online Retail
Product photos are a key part of online selling. Shoppers rely on images because they can’t touch or try items. Clear photos reduce uncertainty and increase buying confidence. High-quality images improve your store’s appearance and help your listings stand out on marketplaces.
Accurate images reduce returns caused by mismatched expectations. They also support your brand by keeping product presentations consistent.
When your photos align with your marketing, you increase the chances of higher clicks and sales. Fast delivery of finished images lets you respond quickly to changes like seasonal launches or promotions.
Essential Equipment for E-commerce Photography
To get clear, consistent photos that show your products well, you need the right gear. This includes tools that help with sharp images, steady shots, and good light to highlight details and colors.
Cameras and Lenses
A reliable camera is the first step. DSLR or mirrorless cameras with at least 20 megapixels capture sharp, detailed images. Avoid phone cameras if you want consistent quality. For lenses, a prime lens like a 50mm or 85mm is ideal for clean backgrounds and sharp focus.
A macro lens helps when shooting small items like jewelry or cosmetics. Choose lenses with a wide aperture (f/1.8–f/2.8) for better control over depth of field and lighting.
Tripods and Stabilizers
Using a tripod prevents blurry photos by keeping the camera steady. This is especially useful for small items or close-up shots where even a slight shake can ruin the photo.
Look for tripods with adjustable height and a sturdy base. A ball head or pan-tilt head allows you to quickly change angles while keeping the camera secure. For mobile setups or handheld shots, stabilizers reduce shaky footage but are less common for static product photos.
Lighting Setups
Lighting controls how your product looks and can make or break a photo. Soft, even light reduces harsh shadows and highlights your product’s features. Start with two or three light sources: a key light, fill light, and possibly a backlight. LED panels or softboxes offer adjustable brightness and color temperature.
Natural light can work, but it needs help from reflectors and diffusers for consistency. Using a white or light-colored background with proper lighting keeps the focus on your product and enables easy editing afterward.
E-commerce Product Photography Techniques
Mastering different photography styles helps your products stand out and connect with buyers. You want images that clearly show your product’s features while fitting your brand’s look.
Below are three effective approaches to help you create those images.
White Background Photography
Using a pure white background keeps all the attention on your product. This technique works best when you want clear, distraction-free photos that show exact details and colors. It’s the go-to style for catalogs, product listings, and marketplaces. To get the best results, make sure your lighting is even and soft.
Avoid shadows by using diffused light sources from multiple angles. A tripod helps keep your camera steady for sharp images.
After shooting, use simple editing to clean up the background and boost contrast.
Lifestyle Product Shots
Lifestyle shots show your products in real-life settings or being used by people. These images help customers imagine how they might use or wear the product. Including props, natural light, or models makes the product feel more relatable. Focus on creating a clear story that matches your target audience. Keep the environment tidy so the product stays the focal point. Play with angles that highlight key features, but avoid clutter or busy backgrounds. This style often requires more planning, but it builds stronger emotional connections.
Flat Lay Techniques
Flat lay photography arranges products on a flat surface, captured from directly above. This method offers a clean, organized look that works well for smaller items like jewelry, accessories, or beauty products.
Arrange your items with consistent spacing and alignment. Use simple props and textures that don’t overpower the main product.
Lighting should be bright and uniform to reduce harsh shadows. Flat lays let you display multiple items in one image while maintaining order and balance.
Lighting Tips for High-Quality Images
Good lighting brings out every detail and shape of your product. It helps create clear, sharp photos that make your items stand out. Controlling light with the right tools also avoids unwanted shadows or reflections that distract buyers.
Natural vs. Artificial Lighting
Natural light is soft and free, ideal for outdoor or near-window shoots. It offers a true color tone but can change with the weather or time, causing inconsistencies. To keep photos uniform, shoot at the same time daily or use supplemental lighting. Artificial lighting gives you full control. You can adjust brightness, direction, and color temperature to match product colors and your brand style. Common options include LED panels and softboxes.
Using artificial lights helps you create consistent images regardless of outside conditions.
Diffusers and Reflectors
A diffuser softens harsh light by spreading it evenly over your product, reducing glare and shiny spots. Use materials like white fabric or professional light diffusers on lamps or windows.
This keeps lighting balanced and gentle, especially on reflective or textured surfaces. Reflectors bounce light onto darker areas of your product, filling in shadows without adding more light sources.
Silver or white reflectors are popular for adding brightness while keeping the tone natural. These tools work together to create a clean, well-lit photo with fewer harsh contrasts.
Eliminating Shadows
Shadows can hide product details and make images look unprofessional. To prevent this, position your lights at multiple angles. Use diffusers to soften the light and reflectors to fill in shadows. Avoid placing a single strong light directly above or in front of the product without adjustment.
Instead, balance key light with fill light to get even coverage. Tripods help keep your camera steady for consistent angles, which also reduces shadow distortion across shots.
Product Styling and Composition
Good product styling and thoughtful composition help your photos stand out and show your products clearly. How you arrange items, choose backgrounds, and use colors and shapes determines how customers see your brand and understand your products.
Arranging Products Effectively
Arrange your products to highlight their main features. Keep the most important item front and center. Use spacing to avoid clutter and let each product breathe. If you're shooting multiple items, group them by size or function for a natural flow. For example, shoes can be shown as a pair with one shoe angled slightly to reveal details. Use symmetry or the rule of thirds to create balance.
Clean and simple arrangements lead to easy-to-understand photos that build trust.
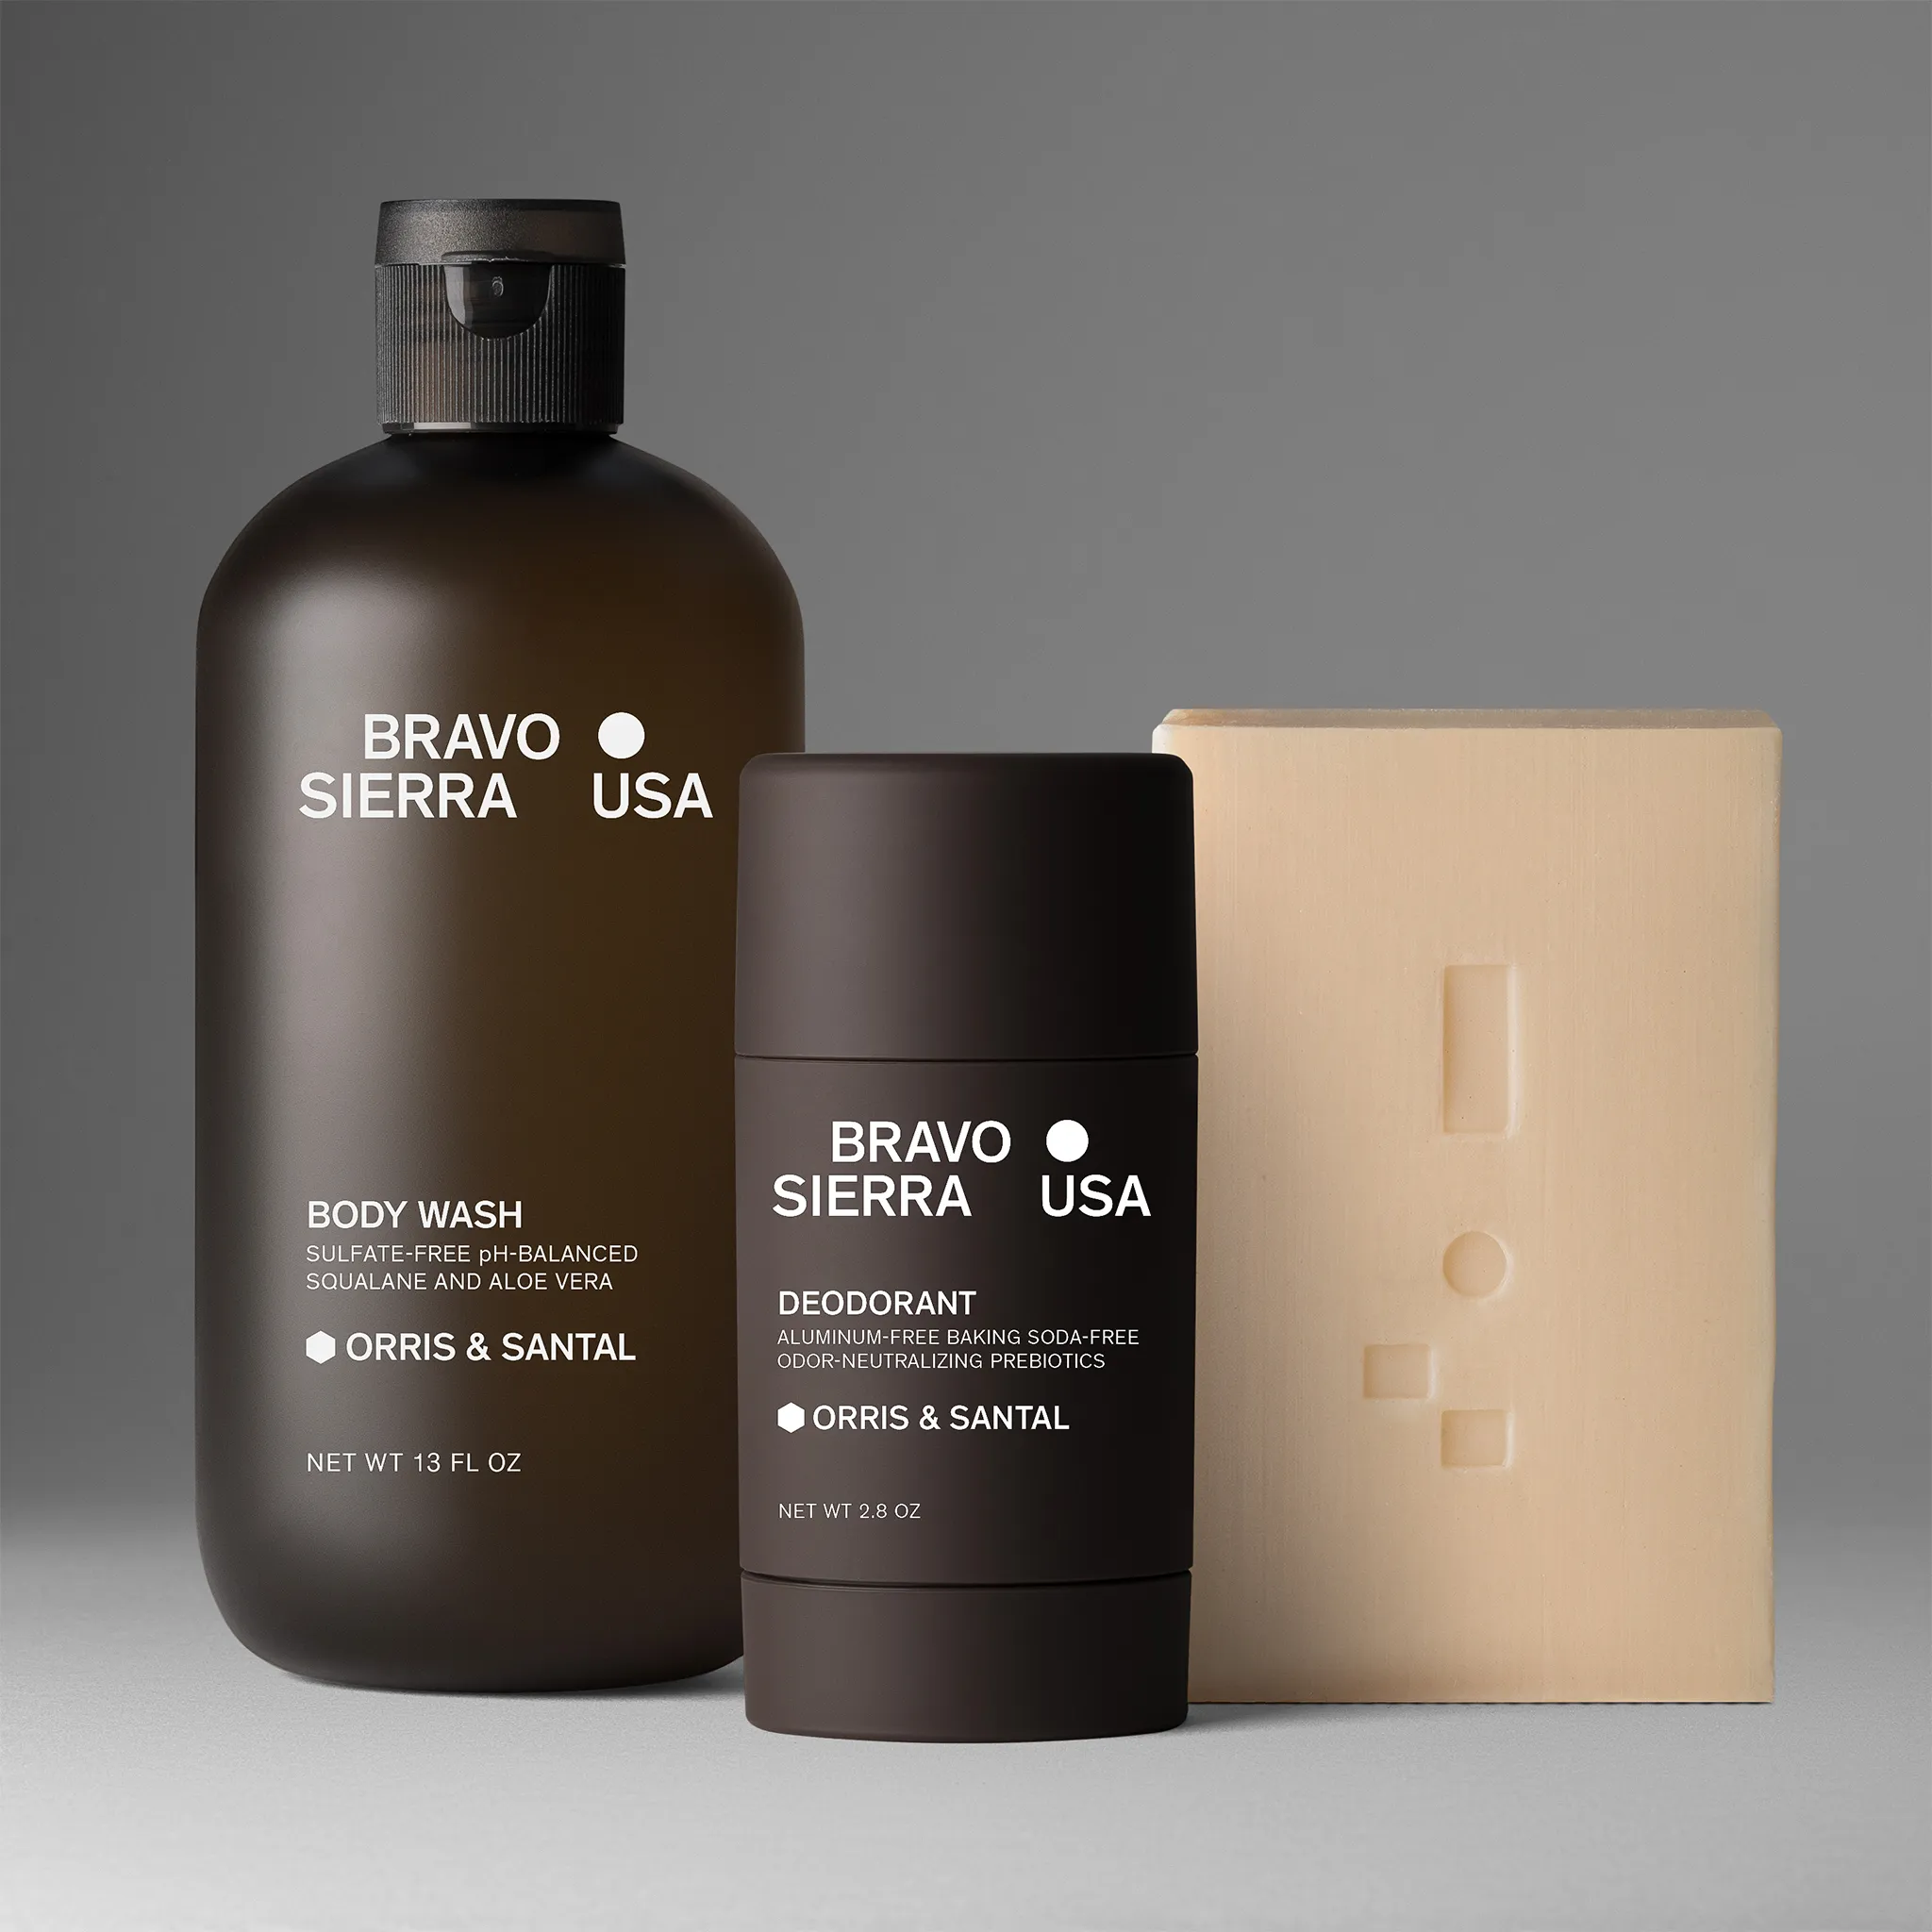
Using Props and Backgrounds
Choose props that support and enhance your product without overwhelming it. Simple, relevant props add context, like leaves for skincare or a watch next to a leather wallet. Avoid busy or bright props that distract from the product. Backgrounds should be clean and consistent across your catalog for a polished look.
White or neutral backgrounds are standard, but subtle textures or muted colors can support brand style. Always test how backgrounds affect lighting and product visibility.
Color Coordination
Use colors that complement your product to attract attention and create harmony. Stick to a limited color palette for props and background to avoid clashing. For example, warm-toned products pair well with earth tones, while bright products stand out on cooler backgrounds. Be mindful of color contrast — your product should clearly pop against the background.
Consistent color styling builds brand identity and makes your catalog easier to browse. When in doubt, prioritize neutral tones and add small color accents to keep photos fresh but coherent.
Editing Ecommerce Photos
Editing your ecommerce photos is a key step to making your products look clear and appealing for your online store. The process includes fixing small flaws, removing distracting backgrounds, and making sure all images share a uniform look across your site.
These adjustments help your products stand out and build trust with shoppers.
Retouching Basics
Retouching fixes small problems that can distract customers. This includes removing dust, scratches, or wrinkles on fabric. You can also adjust brightness, contrast, and color balance to make sure your product appears true to life. Avoid heavy edits that change the product’s actual look. Keep retouching consistently — if you brighten one photo, apply a similar change to others. This creates a polished appearance without misleading buyers.
Standard retouching usually covers these fixes and is included in many ecommerce photo services.
Background Removal
Removing or replacing the background helps your product take center stage. Most ecommerce images use plain, white backgrounds to highlight the product clearly. You can also opt for transparent backgrounds if you want to layer images or add a custom setting. Use clean, sharp edges to keep the cutout natural.
Avoid hard shadows or halos that make products look cut and pasted. Background removal tools and professional services make this easier and faster, especially if you have many images to edit.
Image Consistency
Maintaining a consistent image style helps shoppers confidently browse your store. Consistency includes the same lighting, angle, white balance, and background across all images. This uniformity reduces confusion and presents your catalog as a cohesive collection. Use presets or batch edits to speed up consistency.
You can also create a style guide for your photoshoot and editing process. When your product photos align, they support your brand’s professionalism and improve the shopping experience.
Optimizing Images for Ecommerce Platforms
To get the most from your product photos, choose the right file formats and manage image size without losing quality. Improve SEO with proper tagging and descriptions. These steps help your images load quickly and look sharp. They also help your images rank better in search results.
File Formats and Sizing
Use formats that balance quality and file size. JPEG format is common for product photos because it reduces file size with minimal quality loss. PNG works well for images needing transparency, but is larger. WebP offers good compression and quality, but may not be supported everywhere. Size your images to fit the platform’s requirements. For example, Amazon suggests at least 1,000 pixels on the longest side to enable zoom features.
Large images can slow down your site. Resize photos to meet, but not exceed, platform standards.
Image Compression
Compress images to reduce file size without making them blurry or pixelated. Use tools that remove unnecessary data while preserving detail. Lossless compression keeps quality intact. Sometimes, a small amount of quality loss through lossy compression is acceptable to speed up loading.
Try compressing images to under 200 KB if possible. Faster loading improves user experience and can boost sales. Avoid extreme compression that causes visible artifacts. Compression saves bandwidth and helps your site work well across devices.
SEO for Product Images
Optimizing your images for search engines can increase traffic and sales. Use descriptive file names with keywords related to your product, such as “blue-cotton-tshirt.jpg.”
Add clear, keyword-rich alt text that describes the product and its features. This helps search engines understand your images and improves accessibility. Include structured data for products and use image sitemaps to make your images easier to find. Alt text and captions should be natural and useful, not stuffed with keywords.
Building a Consistent Brand Look
Your product photos set the first impression for your brand. Keeping a clear, uniform style helps shoppers trust your store and find what they want. Every image should work together to reinforce your brand message. A unified style makes your site easy to browse.
Developing Style Guides
Start with a style guide to stay consistent. This set of rules covers colors, backgrounds, lighting, and angles. For example, you might always use white backgrounds for product shots. Define how models pose, what props are allowed, and the tone of images. Use your style guide to brief photographers and editors. This keeps photos aligned, no matter who is shooting or when.
It also speeds up review and approval since everyone knows the expected look. Your guide should be detailed but flexible for updates or special campaigns.
Maintaining Visual Consistency
Use the same lighting, color tone, and image size across all your products. This helps users move through your catalog smoothly.
Apply the same editing style to every photo. Retouching should enhance product details without changing how the product really looks. Make sure image cropping and framing are uniform. If you use models, keep their styling steady in different shots.
Track this by using a shared folder or client portal for all final images. This makes updates and reorders easy and keeps your brand recognizable.
Hiring Professional Ecommerce Photographers
Find the right photographer by considering timing, skill, and cost. You want images that show your products clearly and attractively.
When to Outsource
Outsource if you don’t have the equipment or skill in-house. It helps when you need fast delivery and consistent quality across many products. Professional services save you time if your products require studio lighting, retouching, or styling. Outsourcing also works well for seasonal spikes or product launches. You can ship items directly to the studio or drop them off. Often, you manage the process remotely.
Choosing the Right Photographer
Look for a photographer who understands your product category and online store needs. Check if they offer a clear process for briefing, shooting, and revision requests.
Transparent pricing per image or hour helps avoid surprises. Access to a client portal lets you track progress and approve images remotely. Studios with fixed turnaround times, typically 6-8 business days, work well for strict launch schedules. Creative flexibility matters if you want to control styling, backgrounds, or model usage.
Confirm if retouching is included and what edits might cost extra.
Cost Considerations
Costs vary by product type and service style. Clothing photos might start around $50 per image, while jewelry or watches cost more. Per-hour pricing is common for catalog or creative shoots, often including crew and retouching, with half-day rates around $1,495. Membership plans can lower per-image prices and speed up delivery if you photograph regularly.
Factor in any extra fees for rush orders or complex edits. Compare pricing with the level of customer support and delivery speed offered. Choose a service that fits your needs and timeline.
Using DIY vs. Professional Studios
Choosing between doing your own photos or hiring a studio affects your product images, timing, and cost. Each option has benefits and drawbacks based on your needs.
Pros and Cons of DIY
Doing product photography yourself saves money and gives you direct control over each shot. You can shoot whenever you want and adjust the style or setup on the fly.
Basic lighting kits and cameras can create decent images for simple products. However, DIY photos can lack polish without skill in lighting and composition. Editing takes extra time unless you have software and know-how. Inconsistent quality might confuse your brand image. You’ll also spend more hours learning and shooting, which can delay product launches.
Benefits of Professional Studios
Hiring a product photography studio gives you consistent, catalog-ready images without handling technical details. Studios have optimized lighting, backgrounds, and equipment for clean and bright product shots. You also get post-processing included, ensuring corrections and retouching are done with precision. Studios offer set pricing per image or hour and set turnaround times.
You can track progress remotely and request revisions through client portals. This frees you to focus on marketing and sales while your photos get handled efficiently.
Common Mistakes in Ecommerce Photography
Getting your product photos right means focusing on clear lighting, consistent backgrounds, and optimized images. Mistakes in these areas can hurt how your products appear and turn away buyers.
Poor Lighting Choices
Lighting shapes how your product looks. Using harsh or uneven light creates unwanted shadows or overexposes parts of your product. Avoid direct flash or mixing different light sources, as this changes color tones and can confuse customers. Aim for soft, even lighting that highlights your product’s details without glare.
Natural light or studio lights with diffusers work well. Avoid underlighting, which causes dull and unclear images. Consistent lighting across all your photos helps maintain a professional appearance.
Inconsistent Backgrounds
Backgrounds can make or break your product photos. Switching between different backgrounds or cluttered settings distracts viewers and lowers trust. For clear presentation, use a plain white or neutral background. It draws attention to the product and reduces distractions. Keep backgrounds wrinkle-free, evenly lit, and free of color casts or shadows. Consistent backgrounds help your site look organized. If you use props, keep them simple and relevant so they don’t overpower the item.
Ignoring Image Optimization
High-quality photos are important, but so is optimizing them for the web. Large files slow down your site and can increase cart abandonment. Avoid uploading images that are too heavy or in the wrong format. Resize images to balance clarity and loading speed.
Use JPEG or WebP formats for faster web performance without losing detail. Include alt text describing your product to improve search visibility and accessibility.
Trends in Ecommerce Product Photography
Today’s ecommerce photos give buyers more detail and interaction. You will see images that let customers explore products fully and engage with the content.
These e-commerce trends help turn visits into sales by making products clear and appealing.
360-Degree Photos
With 360-degree photos, your customers can rotate a product to see it from every angle. This gives a better understanding of size, shape, and details than flat shots. You can display 360-degree views on product pages or in ads. They often increase engagement and lower returns because shoppers feel more confident.
To create these images, shoot your product on a turntable or use software that stitches photos together. This style fits well for gadgets, shoes, jewelry, and anything where details matter.
Interactive Images
Interactive images let users zoom in, change colors, or pick styles directly on a photo. This makes product pages more engaging and helps customers personalize their choices. Examples include clickable hotspots or swappable layers showing variations. This approach matches how shoppers want to explore online. Many ecommerce platforms support interactive formats, letting you upload images with extra layers or animations.
User-Generated Content
User-generated content (UGC) means showing photos customers take with your products. It adds authenticity and builds trust because shoppers see real-life use. Encourage buyers to share pictures on social media with a hashtag or through contests. Feature these photos on your website or in marketing emails.
UGC provides genuine views and opinions. When shoppers see others enjoying your products, they feel more sure about making a purchase. It also drives community and repeat business.
Final Insights on Mastering E-commerce Photography
E-commerce photography shapes how your products are seen and trusted online. Clear, consistent images help shoppers make informed decisions, reduce returns, and improve conversion rates.
Choosing the right photography style, mastering lighting, and maintaining a consistent brand look all contribute to a stronger online presence. Optimizing images for platform requirements and SEO ensures they load quickly and rank well in search.
Staying updated on photography trends, from interactive content to user-generated images, keeps your store competitive. For brands that need efficiency without sacrificing precision, Squareshot delivers professional, catalog-ready images on a fixed timeline.
Start your next product shoot with Squareshot to create visuals that sell.
Frequently Asked Questions
This section covers key details about selecting a studio, nearby service options, career paths, typical pricing, AI’s role, and essential gear for e-commerce photography.
What should I look for when choosing a studio for product photography?
Choose a studio with clear pricing and a fast turnaround time. Look for a client portal that lets you track progress and request revisions easily. Consider if the studio allows you to participate remotely during shoots.
How can I find a reputable e-commerce photography service nearby?
Search for studios in your area with transparent pricing and a record of on-time delivery. Read reviews and check if they work with brands similar to yours. Studios in cities like Brooklyn or Los Angeles often offer flexible options.
What are the career opportunities in e-commerce photography?
You can work as a product photographer, retoucher, or studio assistant. Freelance work, agency positions, and catalog or model shoot roles are available. Skills in lighting, styling, and editing improve your chances.
What are the typical costs associated with professional product photography agencies?
Per-image rates usually range from $50 to $95, depending on the product type. Hourly rates for half or full-day shoots start around $750. Membership plans can lower costs for ongoing projects.
How has artificial intelligence impacted e-commerce photography?
AI speeds up editing tasks like color correction and retouching. It automates background removal and image optimization, which reduces manual work. Creative direction and shoot setup still rely on people.
What equipment and setup considerations are essential for high-quality e-commerce photos?
Use consistent lighting and clean backgrounds that match your product style. A good camera, tripod, and editing software are essential. Accessories like reflectors and props can improve image appeal.
Proper preparation ensures your images are ready for catalogs.


Product A
SQUARE SHOT
.jpg)


