Flat lay product photography is everywhere you look in 2025. From Instagram feeds to top e-commerce sites, brands are using creative flat lay product photography to capture attention and drive sales.
Why is this style taking over visual branding? Flat lays make products look irresistible, tell a story, and fit perfectly with modern digital marketing trends. If you want your brand to stand out and look professional, mastering creative flat lay product photography is essential.
This guide gives you the tools and tips you need to excel. You will learn about must-have gear, creative concepts, composition tricks, lighting techniques, editing steps, and common mistakes to avoid. Ready to create images that wow your audience? Let’s dive in.
Essential Gear for Flat Lay Product Photography
The right gear is the backbone of creative flat lay product photography. Whether you are just starting or refining your studio setup, having the essentials at hand can make all the difference. Let’s explore how to build a toolkit that supports sharp, eye-catching results.
Camera and Lens Selection
Choosing the right camera is the first step toward mastering creative flat lay product photography. Today, mirrorless cameras are the go-to for most professionals, offering flexibility and lightweight builds.
For lenses, a 35mm to 50mm prime lens offers sharpness and minimal distortion, perfect for detailed product shots. Zoom lenses add flexibility but may sacrifice a bit of clarity. Even smartphones like the iPhone 15 Pro can deliver stunning results, especially when paired with good lighting and composition. For more actionable advice on maximizing your gear, check out these flat lay photography tips.
Tripods and Overhead Rigs
Stability is essential in creative flat lay product photography. A sturdy tripod ensures your camera stays perfectly still, preventing motion blur and keeping angles consistent across multiple shots.
For large or complex flat lays, overhead rigs are a game-changer. These setups allow you to mount your camera directly above your scene, capturing every detail from a true bird’s-eye view. Adjustable arms are ideal if you want flexibility in positioning, while standard tripods are great for smaller setups.
A popular choice is the Manfrotto overhead tripod, which is widely used for fashion flat lays. It helps achieve those crisp, evenly aligned shots that define professional work.
Backgrounds, Surfaces, and Props
The background you choose can make or break your creative flat lay photography. Common options include vinyl for easy cleaning, paper for color variety, fabric for texture, wood for warmth, and marble for a luxe feel.
Match your surface to your product’s style. Select props that enhance your story without overwhelming the main subject.
Experiment with combinations to find what best complements your creative flat lay product photography. A thoughtful background and a few well-chosen props can elevate your photos from simple snapshots to scroll-stopping visuals.
Developing Creative Concepts for Flat Lays
Building standout visuals with creative flat lay product photography starts long before you hit the shutter. Crafting compelling concepts is the foundation for eye-catching, on-brand images that captivate audiences and drive engagement.
Visual Storytelling and Branding
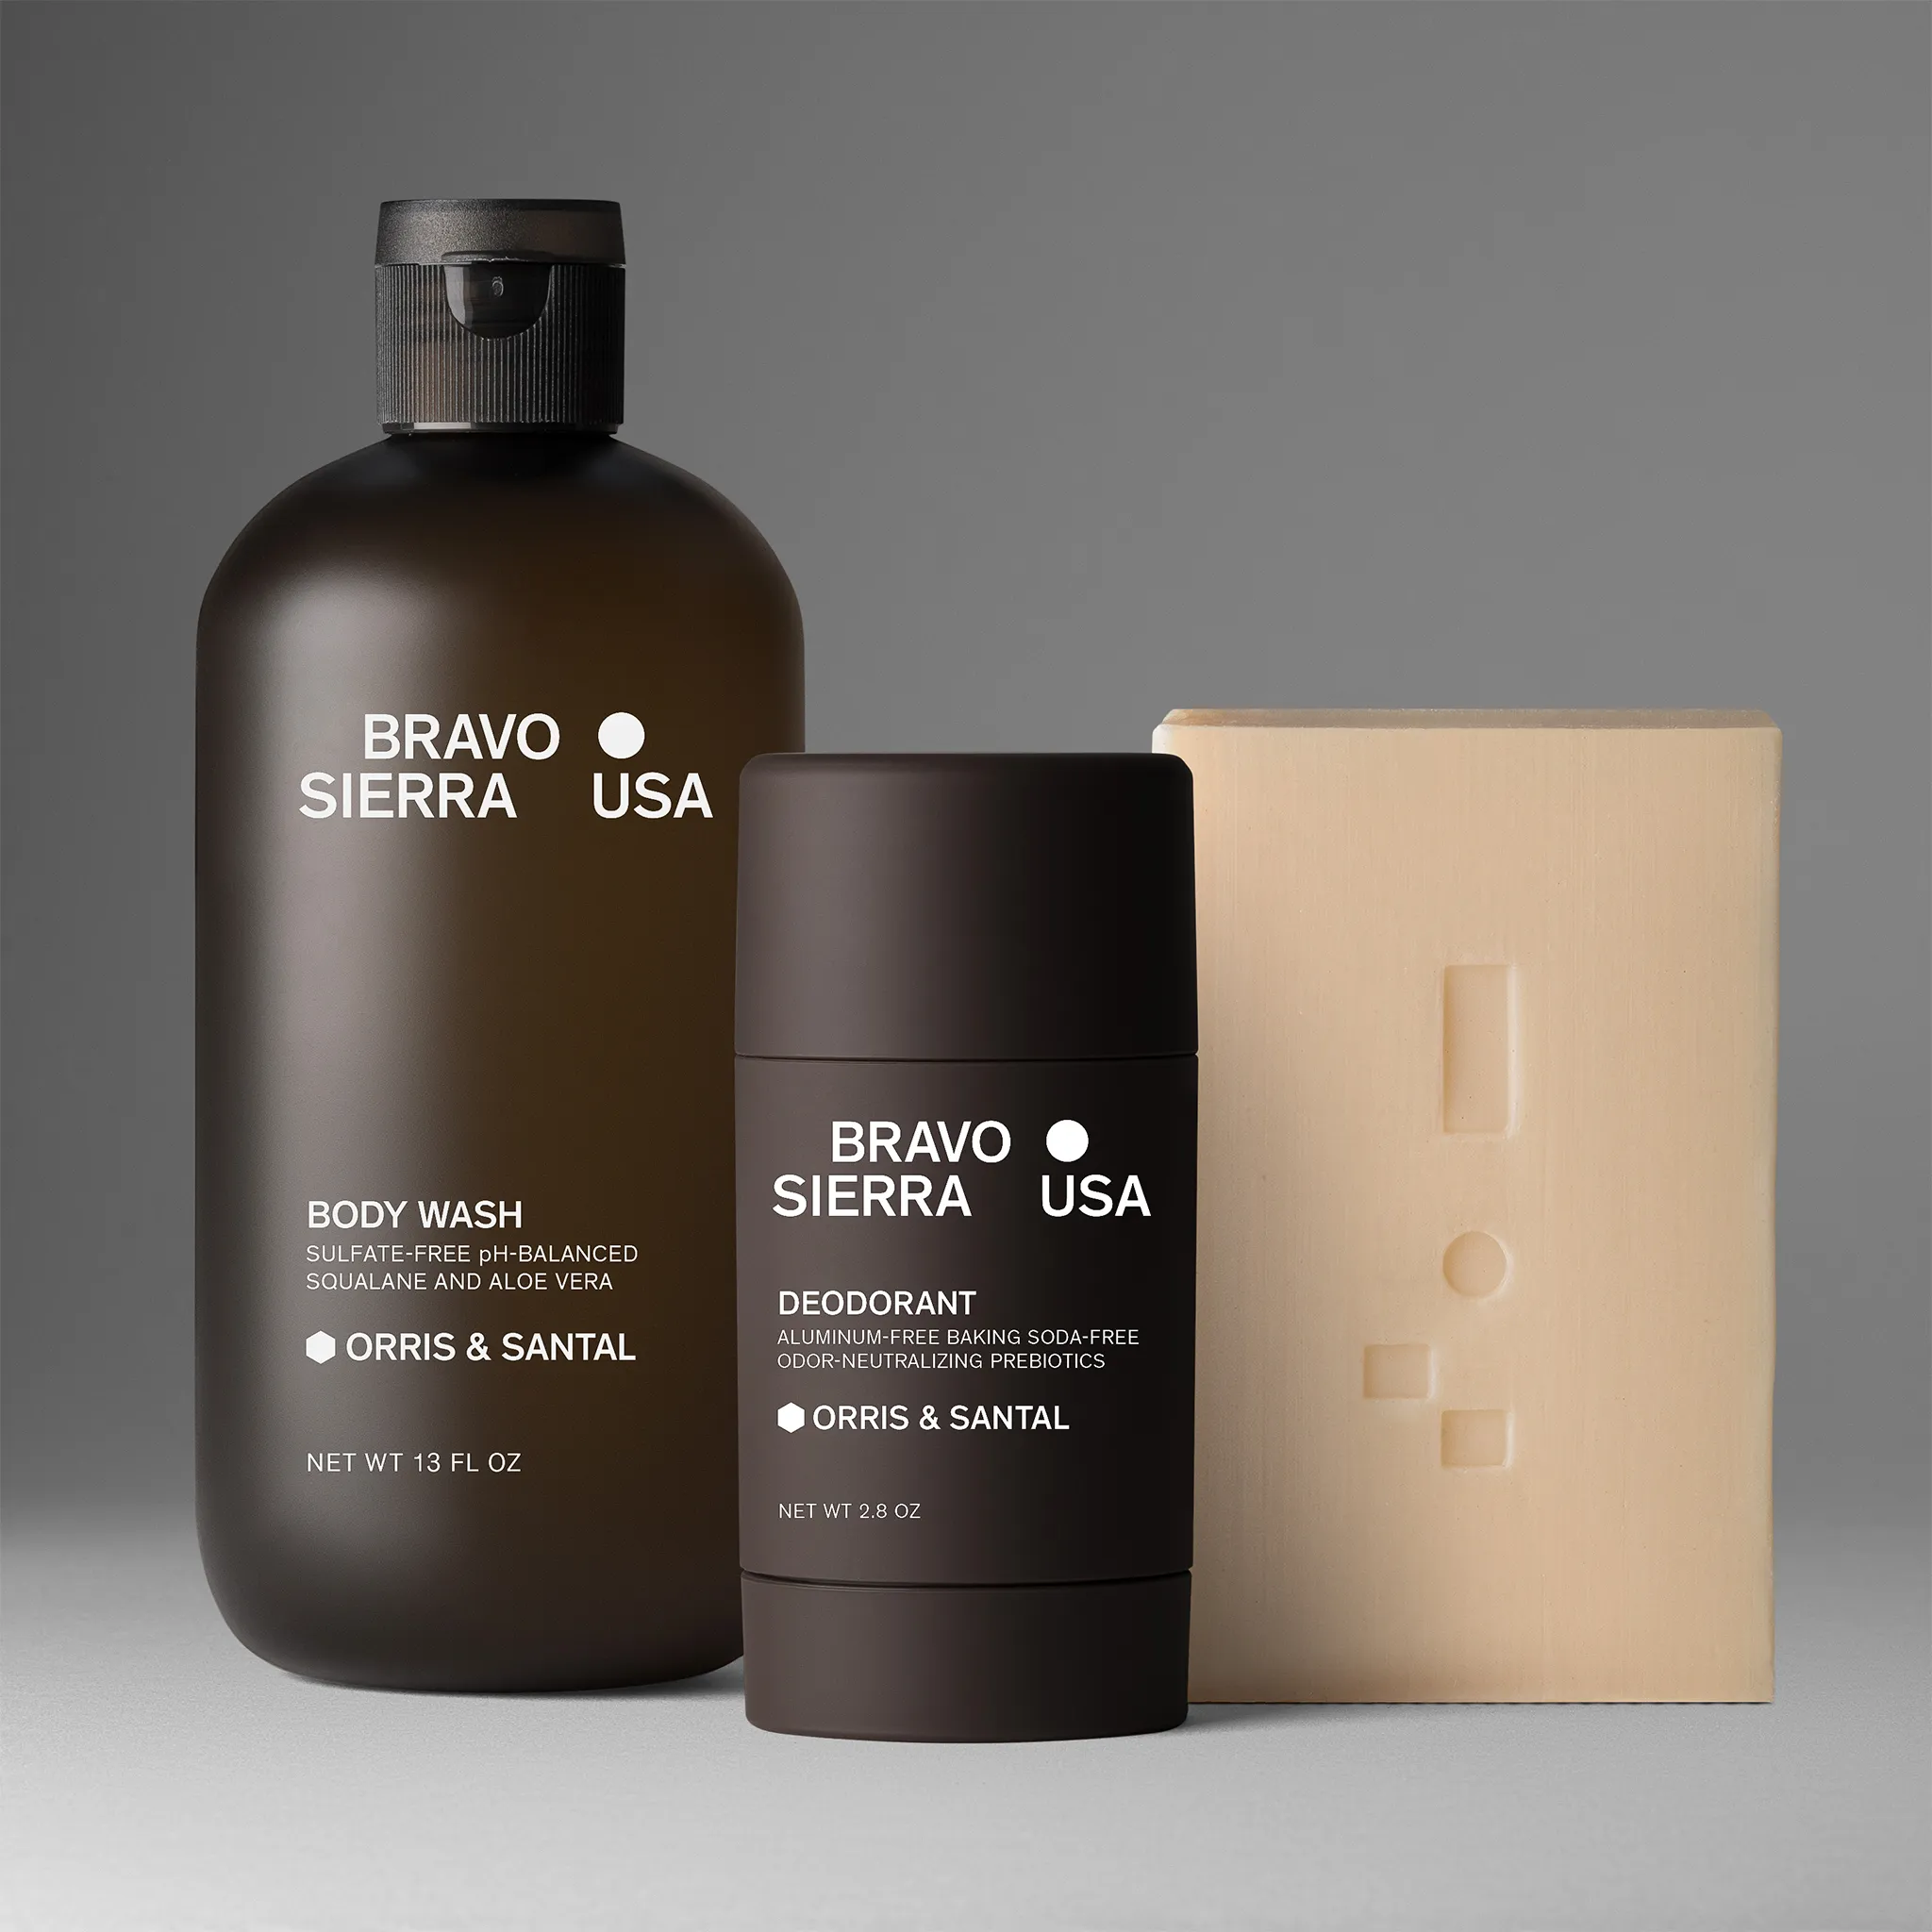
Every creative flat lay product photography session should begin with a clear sense of your brand’s story. Think about the emotions and values you want to communicate. Build a mood board that captures your vision, using color psychology to evoke the right feelings in your audience.
For example, wellness brands often lean toward pastel palettes to create a sense of calm and trust. Choose backgrounds, props, and layouts that reflect your brand’s identity at every stage.


When your creative flat lay product photography matches your branding, you build consistency and recognition that keeps customers coming back.
Trendspotting and Inspiration Sources
To keep your creative flat lay product photography fresh, stay inspired by the latest trends on platforms like Instagram and Pinterest. Look for patterns in color, prop use, and layout styles. Incorporate seasonal or cultural touches, such as holiday-themed props or trending color schemes, to keep your visuals current.
For more expert insights into flat lay composition and lighting, check out the Flat Lay Photography Guide by Adobe. This resource can help you identify emerging trends and adapt them to your own style.
Holiday campaigns, for example, often use themed props and bold colors to stand out in crowded e-commerce feeds. The right inspiration can spark new ideas for your next shoot.
Planning and Sketching Your Layout
Careful planning is essential for creative flat lay product photography that looks polished and effortless. Start by sketching your ideas on paper or using digital tools. This pre-visualization step helps you refine your composition and ensures you don’t miss any key details.
Create a shot list to streamline your workflow, especially if you’re working with multiple products or concepts. Digital platforms like Canva make it easy to mock up layouts and experiment with arrangements before you set up your camera.
By planning, you save time on shoot day and ensure your creative flat lay photography delivers the impact you want.
Professional Product Photography Services: Squareshot
If you want to elevate your creative flat lay product photography, professional studios like Squareshot offer tailored solutions for brands and e-commerce businesses. We deliver high-quality, on-brand images with advanced retouching, scalable production, and creative direction that suits your vision.
Choosing a studio means you benefit from:
- Consistent, polished results for every campaign
- Access to professional lighting, props, and backgrounds
- Efficient turnaround for large product batches
Partnering with specialists ensures your creative flat lay product photography stands out in a competitive market.
Mastering Composition Techniques
Composition is the secret ingredient that transforms ordinary product shots into scroll-stopping visuals. In creative flat lay product photography, mastering composition techniques can make your images stand out in crowded social feeds. Whether you are just starting out or looking to refine your style, understanding these core concepts is essential for building compelling, professional imagery.
Rule of Thirds and Symmetry
Applying the rule of thirds is a game-changer for creative flat-lay product photography. Imagine your frame divided into 9 equal parts by 2 horizontal and 2 vertical lines. Position key items where these lines intersect for natural balance and visual flow. Symmetry brings order and sophistication, especially for products like jewelry or accessories. Try aligning similar objects on either side of the center for a harmonious feel.
Using both rule of thirds and symmetry ensures your flat lays are visually engaging and on-brand.
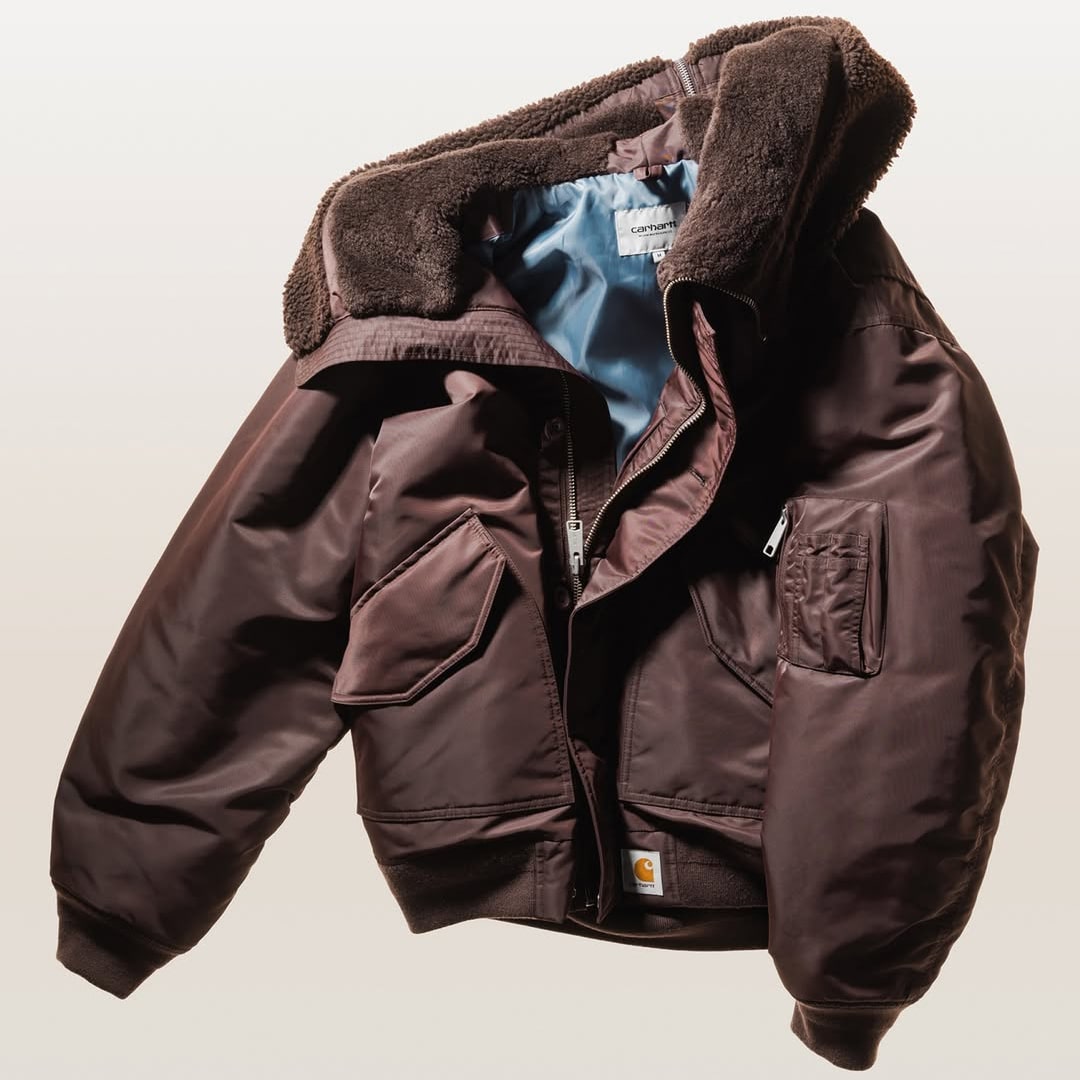
Layering and Depth
Creating depth is crucial in creative flat lay product photography. Layering involves stacking items — think fabrics, papers, or props — to add dimension and interest.
Overlapping elements, such as a watch resting on a textured scarf, draw the viewer’s eye and mimic a natural, lived-in look.
Here are some layering tips:
- Use background materials like wood or marble beneath your products.
- Add textiles or paper for visual interest.
- Slightly overlap products to create a sense of connection.
Experimenting with different heights and materials will help your flat lays feel dynamic and professional.
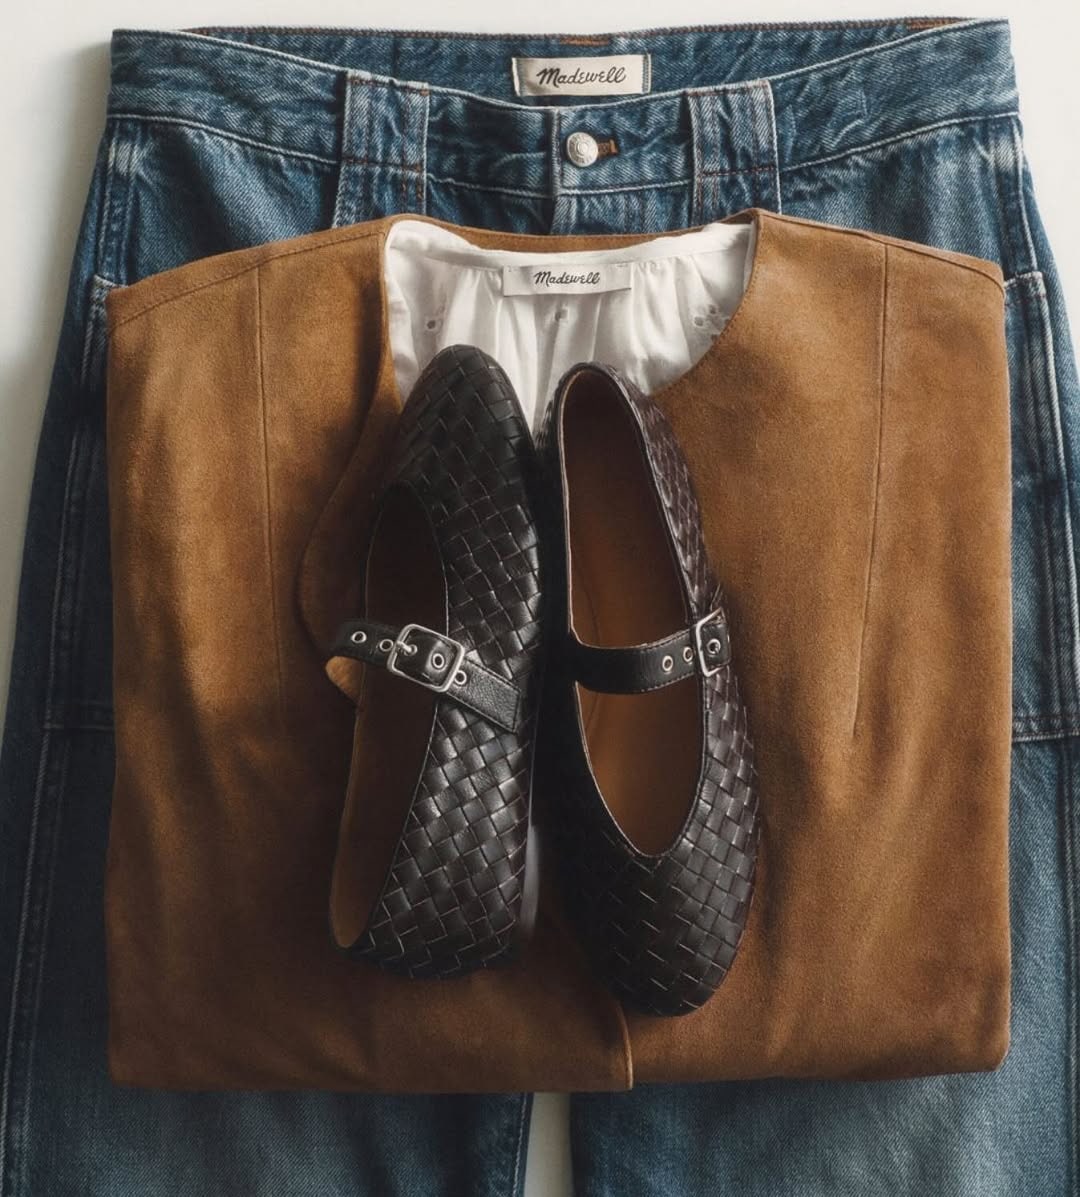
Negative Space and Focus
Negative space, or the empty areas around your products, is a powerful tool in creative flat lay product photography. Leaving intentional gaps draws attention to your hero product and prevents the shot from feeling cluttered. Minimalist setups are especially effective for tech gadgets, where clean lines and open space highlight the product’s design.
To avoid overcrowding, select only the most relevant props. Position your main item off-center to create tension and visual interest. This approach makes your product the star of the show and keeps the viewer’s focus exactly where you want it.
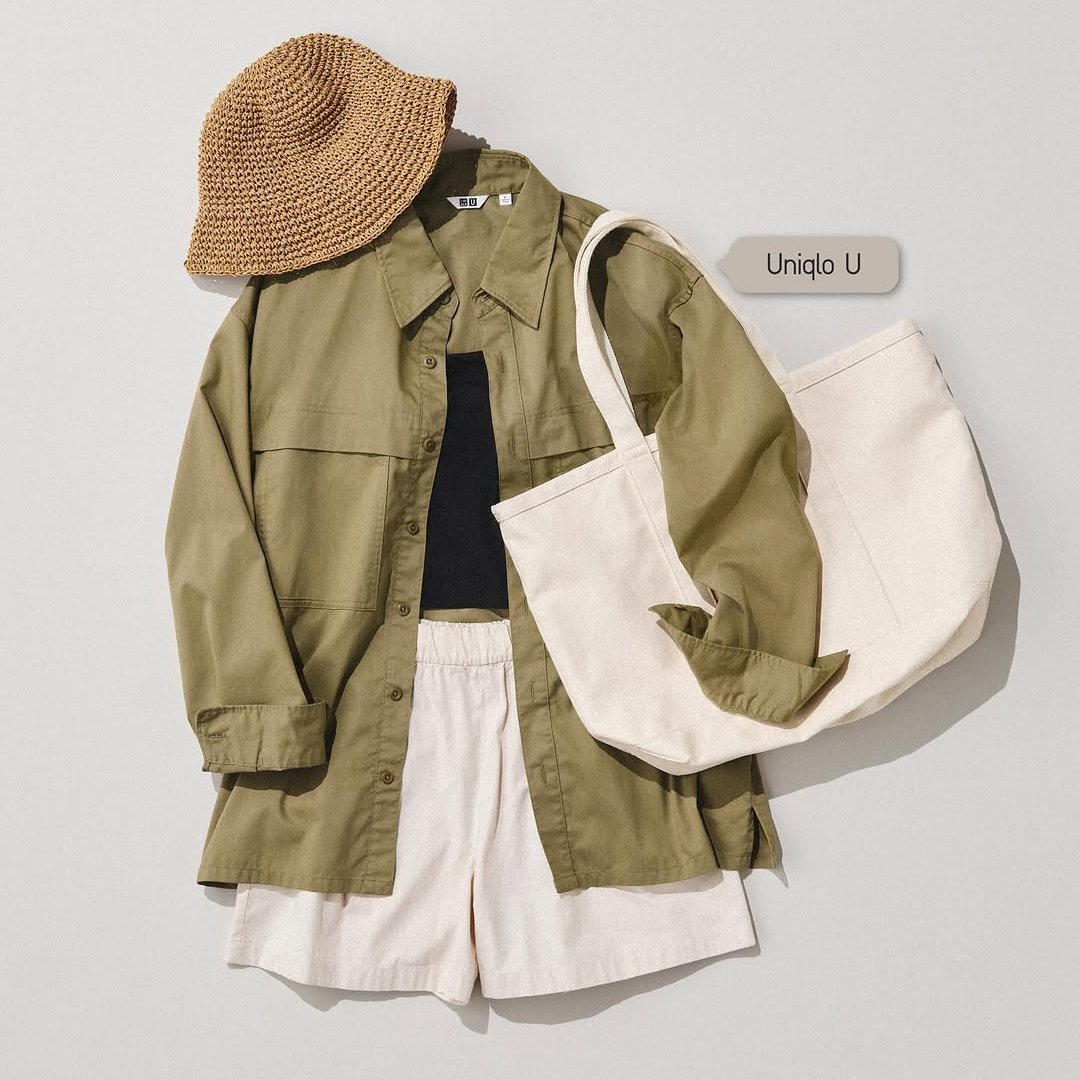
Color Harmony and Contrast
Color choices can make or break your creative flat lay product photography. Complementary colors create harmony, while bold contrasts add energy and grab attention.
Try these quick color tips:
- Use a color wheel to find complementary shades.
- Add pops of color with props or backgrounds.
- Keep your palette consistent with your brand’s identity.
Mastering color harmony ensures your flat lays are not only beautiful, but also instantly recognizable and memorable.
Lighting Techniques for Stunning Flat Lays
Lighting can make or break your creative flat lay product photography. Mastering the right lighting techniques is essential for producing stunning, scroll-stopping images. Let’s explore how to use both natural and artificial light, control shadows, and achieve perfect color accuracy for flawless results.
Natural vs. Artificial Lighting
Choosing between natural and artificial lighting is a foundational decision in creative flat lay product photography. Natural light, like soft daylight from a window, creates a gentle, authentic look that works beautifully for lifestyle and food shots. However, it can be unpredictable and change throughout the day.
Artificial lighting, such as continuous LED panels or softboxes, offers full control and consistency. Studio lights let you shoot any time, rain or shine. The key is to avoid harsh direct light, which can cause strong shadows. Many photographers blend both for flexibility, using daylight as a base and adding fill from a softbox or ring light. For a deeper dive into lighting setups, check out these lighting for product photography tips.
Diffusers, Reflectors, and Light Modifiers
Diffusers and reflectors are must-have tools for creative flat lay product photography. A diffuser softens harsh light, preventing blown-out highlights and giving your products a gentle, even glow. You can use commercial diffusion panels or simple DIY options like tracing paper or a sheer curtain.
Reflectors bounce light back onto your setup, filling in shadows and creating a balanced exposure. White foam boards, silver reflectors, or even a large sheet of white paper can serve this purpose. Light modifiers, like grids or barn doors, let you direct and shape light for more dramatic effects. Experimenting with these tools helps you craft the perfect mood for your flat lays.
Managing Shadows and Avoiding Glare
Shadows can add depth and interest to creative flat lay product photography, but uncontrolled shadows or glare can be distracting. To manage shadows, position your light source at an angle and use diffusers to soften the edges. For glossy products, glare is a common challenge. Try angling your lights or camera slightly to minimize reflections.
Using multiple light sources or fill cards can help eliminate unwanted dark spots. When photographing reflective items, consider polarizing filters or shooting from a higher angle to reduce glare. Consistent practice and small adjustments will make your lighting setup shine.
Color Temperature and White Balance
Accurate color is crucial in creative flat lay product photography. Mixing different light sources can cause unwanted color casts. Always set your camera’s white balance to match your main light source, whether it’s daylight or artificial.
Custom white balance settings or a grey card ensure your products’ true colors come through. This small step helps avoid editing headaches later and keeps your flat-lays looking professional.
Editing and Post-Processing Flat Lay Photos
Editing is where your creative flat lay product photography truly comes to life. Post-processing refines your images, polishes their details, and ensures your visuals stand out in a crowded digital space. Whether you shoot with a DSLR, a mirrorless camera, or a smartphone, mastering editing is essential for professional results.
Essential Editing Steps
Start your editing workflow by cropping and straightening your flat lay images. This removes distractions and centers your hero product, which is vital in creative flat lay product photography. Next, align your objects so lines and surfaces look clean and intentional. Adjust exposure, contrast, and saturation for a crisp, true-to-life result.
Here’s a basic editing process:
- Crop to highlight the main product.
- Straighten lines for balance.
- Fine-tune exposure and contrast.
- Adjust colors to match your brand palette.
- Batch edit for consistency.
Many photographers rely on Lightroom for efficient batch editing. For more tips on achieving clean, professional edits, check out these studio-quality product photo tips.
Retouching and Removing Imperfections
Even the best creative flat lay product photography can suffer from minor imperfections. Use spot removal tools to clean up dust or debris that may have landed on your background. Wrinkle smoothing is key for fabric surfaces, while maintaining natural product textures ensures authenticity.
Common retouching steps include:
- Removing dust and small spots.
- Smoothing out wrinkles or creases.
- Preserving textures so products look real.
- Fixing background blemishes.
Photoshop’s healing brush is perfect for erasing small flaws without over-editing. Take your time and zoom in to check for any missed details, especially around product edges. Subtle retouching keeps your photos looking polished, yet natural.
Creating Consistent Visual Style
Consistency is the secret weapon in creative flat lay product photography. Apply the same preset or color filter across your images to build a recognizable brand style. Export your files in web-optimized formats for fast loading and sharp quality on social media.
To boost brand recognition, maintain a uniform look by:
- Using the same color grading and contrast levels.
- Aligning brightness and saturation for each set.
- Exporting with consistent file names and sizes.
According to Product Photography Statistics 2025, brands that present a cohesive visual style see a 23% increase in recognition. Make sure each flat lay photo reflects your brand’s personality at first glance.
Avoiding Common Flat Lay Photography Mistakes
Perfecting creative flat lay product photography goes beyond having great gear and ideas. Even experienced photographers can fall into common traps that compromise the quality and impact of their images. By recognizing and addressing these mistakes, you can elevate your work and ensure every shot aligns with your brand's visual goals.
Overcrowding and Poor Composition
One of the most common mistakes in creative flat-lay product photography is overcrowding the frame with too many props or elements. When your layout is cluttered, the main product loses its spotlight, and the overall message gets lost.
How can you avoid this?
- Start by identifying your "hero" product and build the scene around it.
- Limit props to a few items that enhance the story, not distract from it.
- Use the rule of thirds to guide placement, making sure each object has room to breathe.
Want more advice on impactful layouts? Check out these essential product image display tips for practical solutions that boost the effectiveness of your creative flat lay product photography.
Inconsistent Lighting and Color Casts
Lighting inconsistencies can quickly undermine creative flat lay product photography. Mixed lighting sources like daylight and artificial bulbs often create unwanted color casts, making products look unnatural or unappealing.
To prevent this, stick to a single light temperature for your setup. Use daylight or continuous studio lights, but avoid combining them. If you notice a blue or yellow tint in your images, correct it during editing by adjusting the white balance. Consistent lighting not only keeps colors true but also ensures your flat lays look professional and cohesive.
A quick fix: always take a test shot before your session and review it for any odd color shifts or harsh shadows. This habit can save valuable editing time and help you maintain the visual quality expected in creative flat lay product photography.
Ignoring Brand Guidelines and Messaging
Overlooking brand guidelines is a common pitfall, especially when experimenting with new creative flat lay product photography concepts. Straying from established brand colors, fonts, or visual styles can weaken your brand identity and confuse your audience.
To stay on track:
- Reference your brand’s style guide before each shoot.
- Match backgrounds, props, and lighting to your signature look.
- Double-check that all elements align with your messaging and target audience.
For example, a luxury brand using a casual, bright background can unintentionally dilute its premium image. Consistency is crucial to building trust and recognition through creative flat lay product photography, so always keep your brand’s visual language front and center.
Now that you’ve got the essentials for creating eye-catching flat lay product shots — from picking the right gear to nailing your brand’s visual story — why not turn your ideas into stunning images? If you’re ready to make your products stand out with professional quality photography and creative direction, let’s make it happen together.
You don’t have to go it alone — our team at Squareshot is here to help you bring your vision to life with expert retouching and fast turnaround times.
Product A
SQUARE SHOT