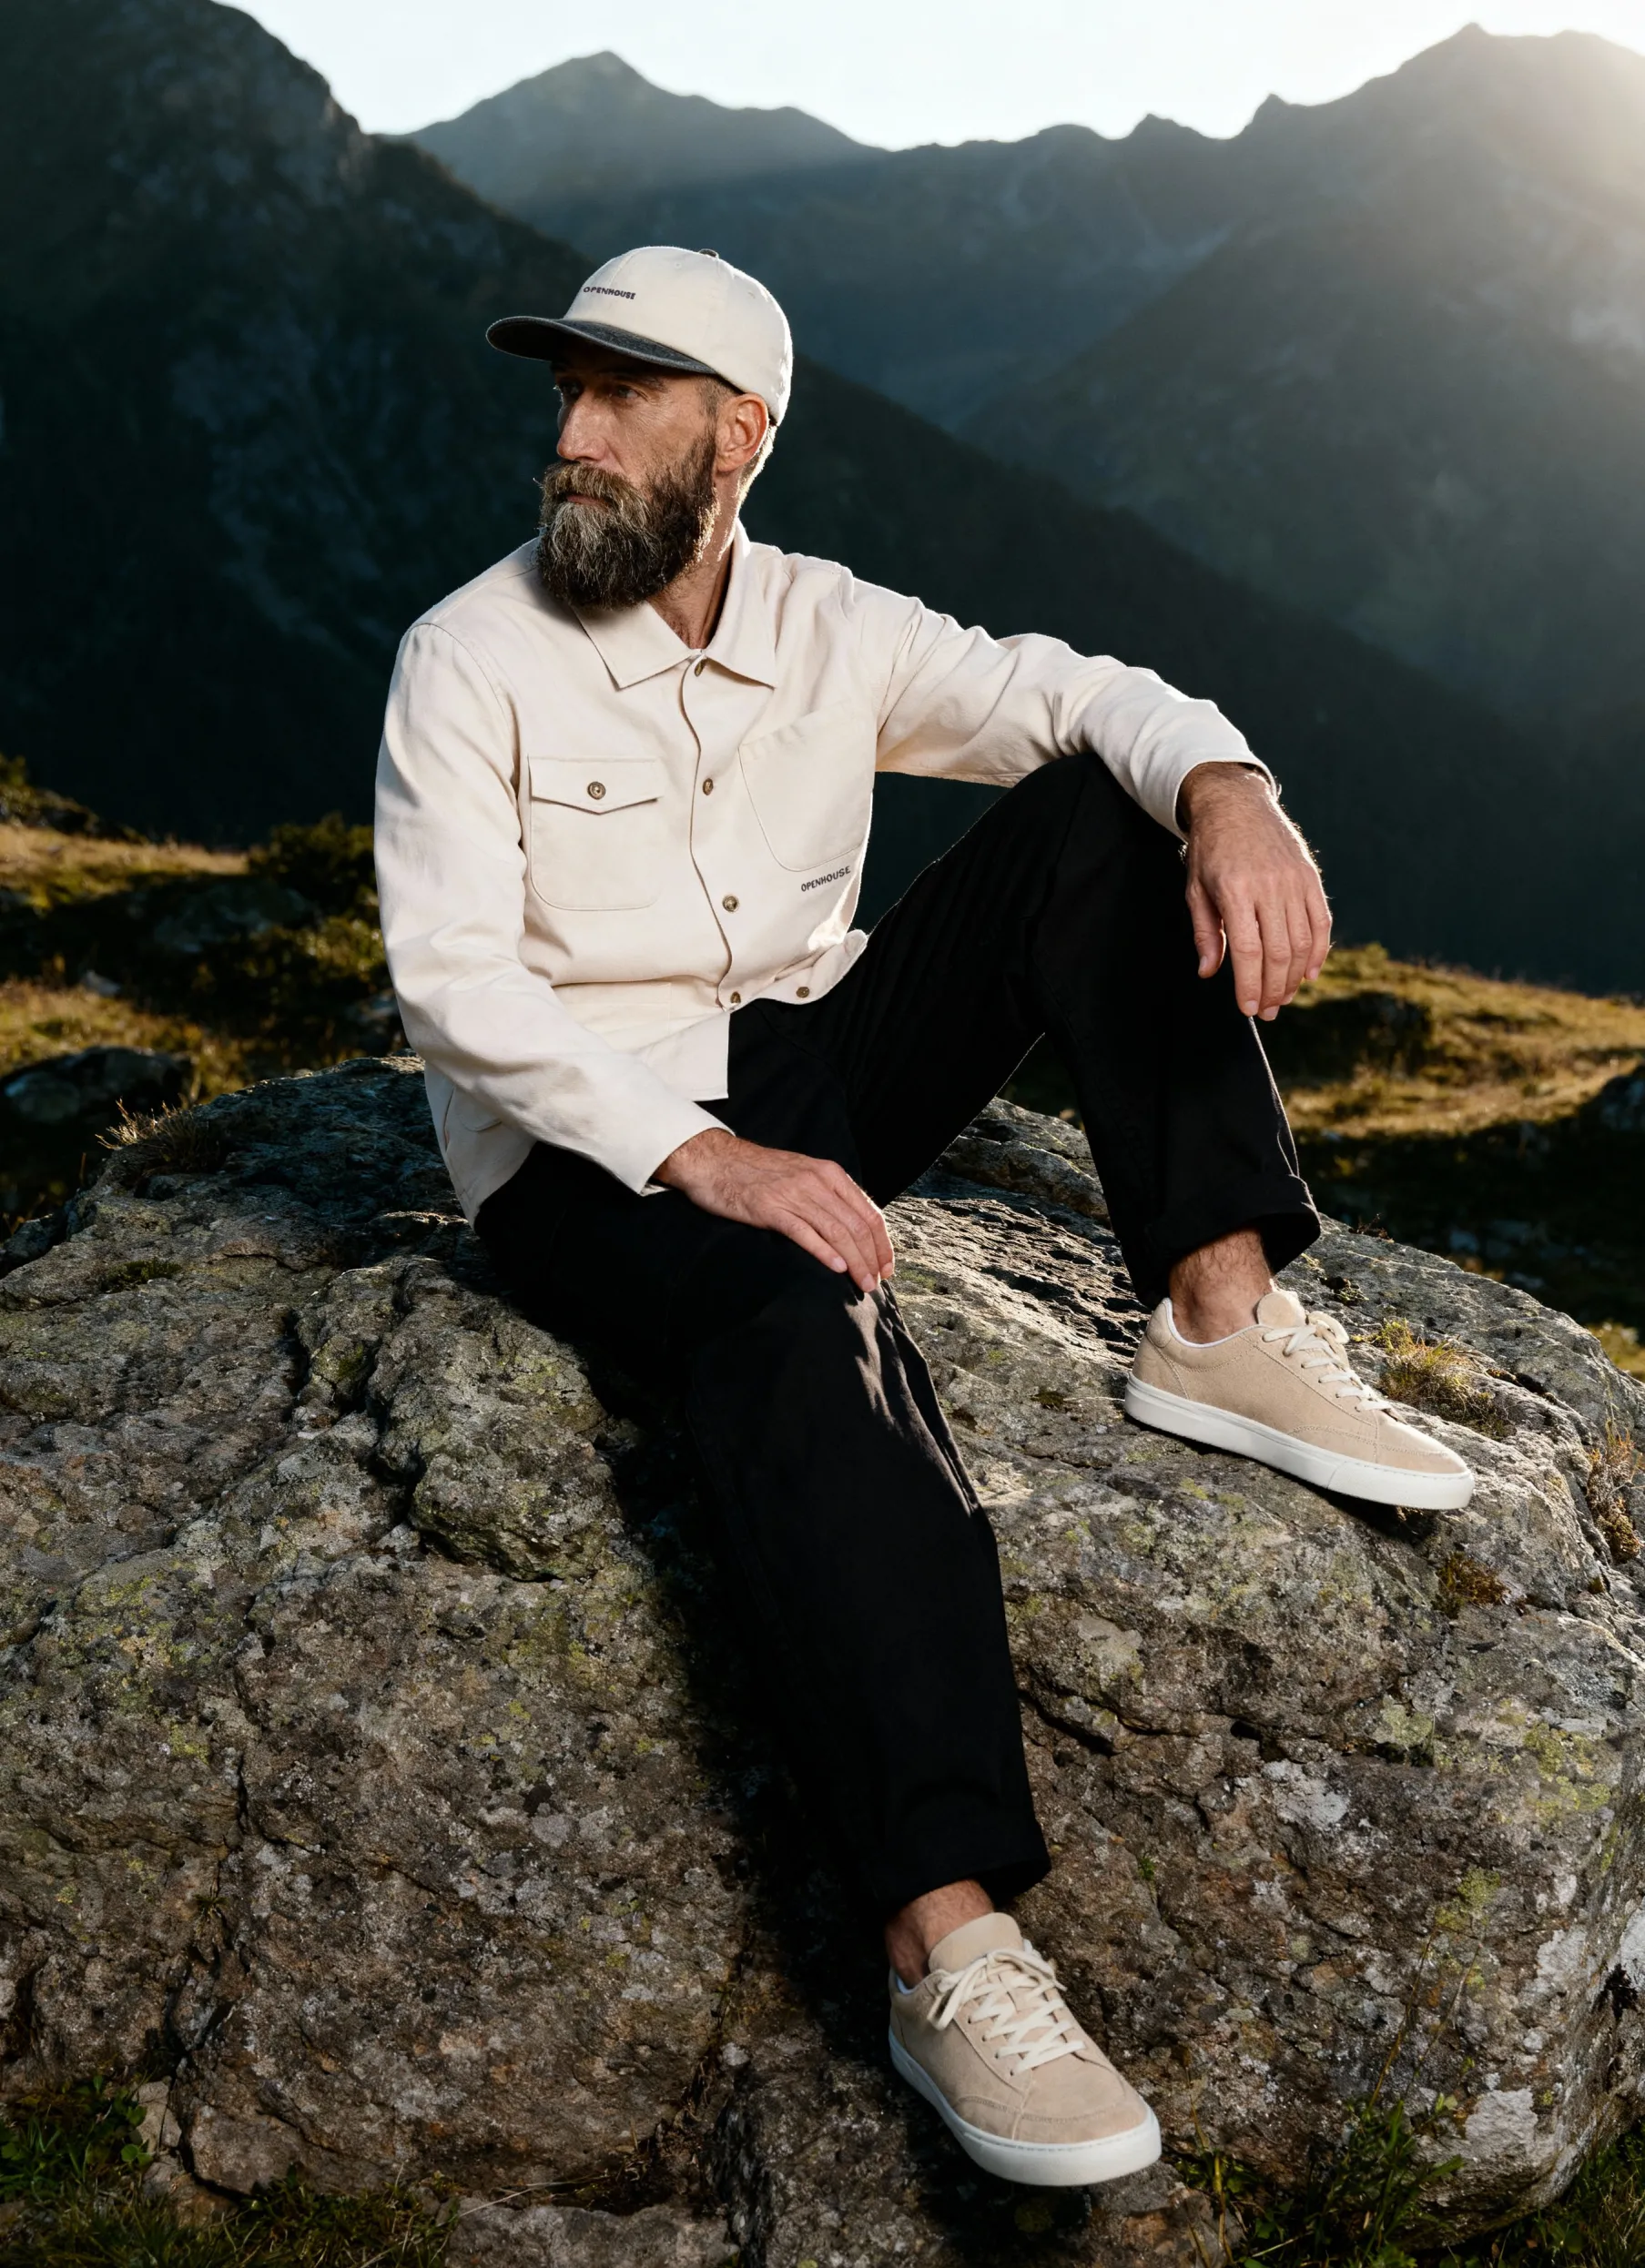
Lighting is the most critical factor in creating professional product photography. Whether you're shooting jewelry, apparel, or electronics, how you use light defines how customers perceive quality, color accuracy, and texture. The right lighting setup ensures your product appears true to life — free of glare, harsh shadows, or color distortions.
At Squareshot, lighting is treated as a tool to ensure product images are consistent, clean, and ready for use. We reduce the need for additional editing and allow for easy use in digital catalogs.
By mastering how different lighting types behave, you can improve shot quality and workflow efficiency. This guide explains the core principles of light for product photography and how to apply them for better eCommerce outcomes.
Understanding Light in Product Photography
To create images that showcase your product clearly, you need to know how light affects appearance. The way light interacts with your product shapes shadows, colors, and textures. Knowing the key elements of lighting helps you control and improve your photos.
What Is Product Photography Lighting
Product photography lighting uses light sources to highlight a product’s shape, details, and texture. You can work with natural light, artificial light, or a mix of both to get the right exposure and mood. You want to reduce harsh shadows and reflections while keeping the product true to life. Soft lighting spreads light evenly and avoids shiny spots.
Studio lights, LED panels, and lightboxes are common tools. Position your light to enhance the product’s best features and create a clean background. Lighting setup changes based on whether you shoot jewelry, clothing, or larger items.
The Science of Light and Shadow
Light hits your product and creates shadows that give depth and dimension. Shadows help show the product’s shape and surface. Without shadows, images look flat and less interesting. You need to control shadow length and softness.
Hard shadows have sharp edges and show texture, but can be distracting. Soft shadows are blurred, making the product appear smooth and polished. Use diffusers or bounce cards to soften light. The angle of light also affects shadow placement. Side lighting enhances texture, while front lighting reduces shadows.
Color Temperature and White Balance
Color temperature refers to the warmth or coolness of light, measured in Kelvin (K). Daylight is around 5500K (cool white), while indoor bulbs can be warmer (2700K-3200K).
Color temperature changes how your product’s colors show in photos. White balance adjusts your camera’s color settings to match the type of light you use. Getting your white balance right keeps colors true and prevents them from looking yellow, blue, or green. You can set white balance manually in your camera or fix it later in post-processing.
Consistent white balance is important for product catalogs to maintain a unified look.
Types of Lighting Sources
Choosing the right lighting source affects how your product looks. Different lights give different brightness, color, and shadow effects. Understanding these options helps you show your product clearly and attractively.
Natural Light
Natural light comes from the sun. It is soft and even, especially during early morning or late afternoon. You can control it with reflectors to bounce light or diffusers to soften harsh rays. Natural light works well for simple setups and products needing true color accuracy.
It’s free and easy, but it depends on the weather and time of day. Use one main light source, like sunlight through a window, and position your product so light hits it evenly.
Continuous Artificial Light
Continuous lights stay on while you shoot, giving you constant control over your setup. They include LED panels or fluorescent bulbs. You see exactly how shadows and highlights fall on your product in real time. This helps when you must make small lighting adjustments quickly.
Continuous light sources often have adjustable brightness and color temperature. You can match the mood or look you want. They work well for detailed shots and videos.
Strobe and Flash Lighting
Strobe and flash lights produce a powerful burst of light for a short moment. Studios use these because they let you freeze motion and create sharp images. Balance the main, fill, and backlight to show your product clearly while controlling shadows. Strobes let you use smaller apertures for better focus and sharper details.
Using triggers and modifiers like softboxes helps shape the light precisely. This option is ideal for complex scenes or when you want full control over brightness without heat output.
Lighting Equipment Essentials
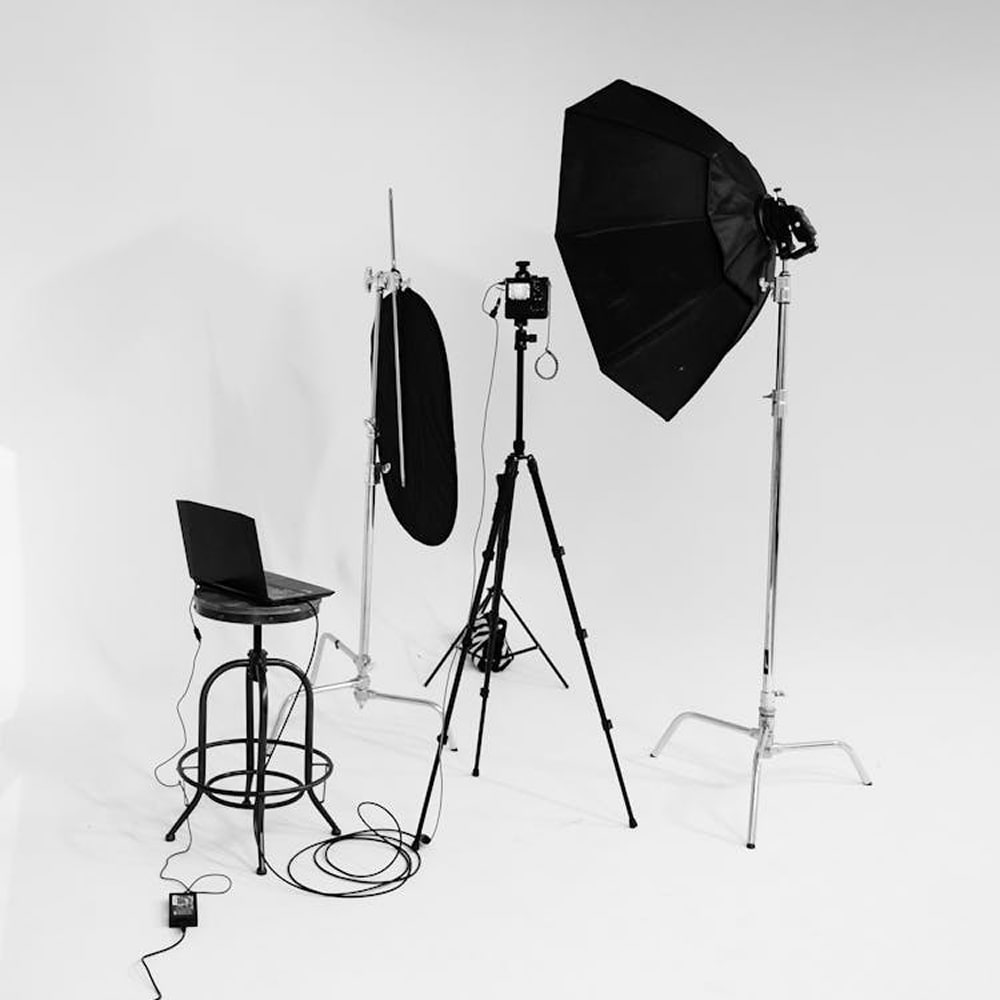
Good lighting tools help you control shadows, reduce glare, and make your products look clear and appealing. The right gear shapes the light to show details and colors accurately.
Softboxes and Diffusers
Softboxes spread light evenly to avoid harsh shadows on your product. This makes the image look smooth and professional. You can use diffusers with other lights to soften the glow if you don’t have a softbox. Softboxes come in different sizes, so pick one that fits your product scale.
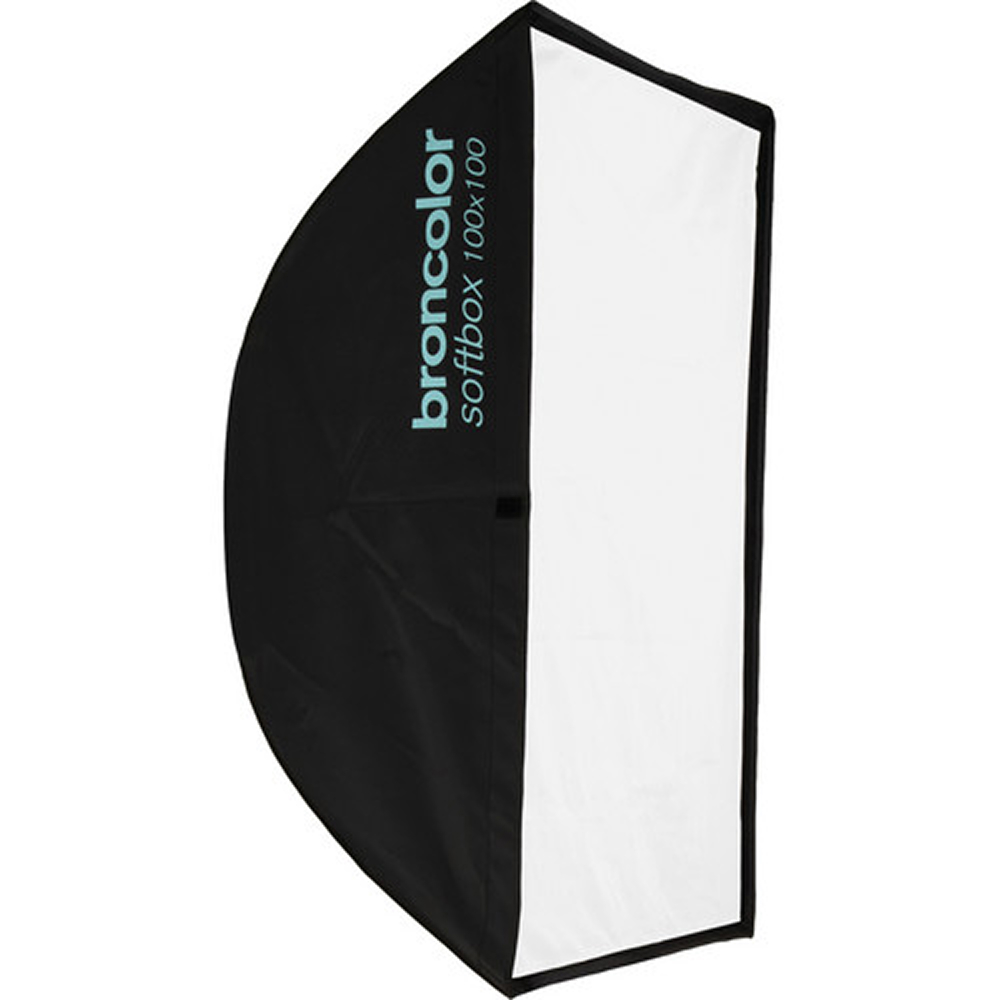
Smaller ones work well for jewelry, while bigger products need larger softboxes. Position your softbox at a 45-degree angle for natural light fall. This setup helps highlight textures without making bright spots that distract buyers.
Reflectors
Reflectors bounce light back onto your product to fill in shadows and brighten dull areas. They are simple, lightweight, and affordable tools. White reflectors give a neutral fill, while silver reflectors add stronger brightness. Gold reflectors warm up your shot, adding a subtle color tone.
Use reflectors opposite your main light to balance the scene. This reduces dark spots and keeps colors accurate. A collapsible reflector makes it easy to adjust light flow on the fly, saving time during your shoots.
Ring Lights
Ring lights produce uniform light that reduces shadows and highlights details evenly. They create a soft glow around your product, great for close-ups like cosmetics or tech items. Many ring lights have adjustable brightness and color temperature. You can match the light to either daylight or indoor tones.
Place your camera or phone in the center of the ring light so the product receives light from all angles. This setup is helpful if you want a clean, bright look without complicated equipment. Ring lights also help minimize reflections on shiny surfaces.
Lighting Setups for Different Products
Different products need different lighting to show their best features. You choose lighting based on size, texture, and what part of the product needs to stand out. Soft, even light works well for small items. Layered lighting adds depth for clothing or electronics.
Jewelry and Small Items
For jewelry, use soft, diffused lighting to reduce harsh reflections and avoid glare. Position small softboxes or diffusers close to your setup to create an even glow. Reflectors help fill shadows and bring out details, such as stones and metal finishes. Avoid direct light, which can create strong shadows and lose fine details.
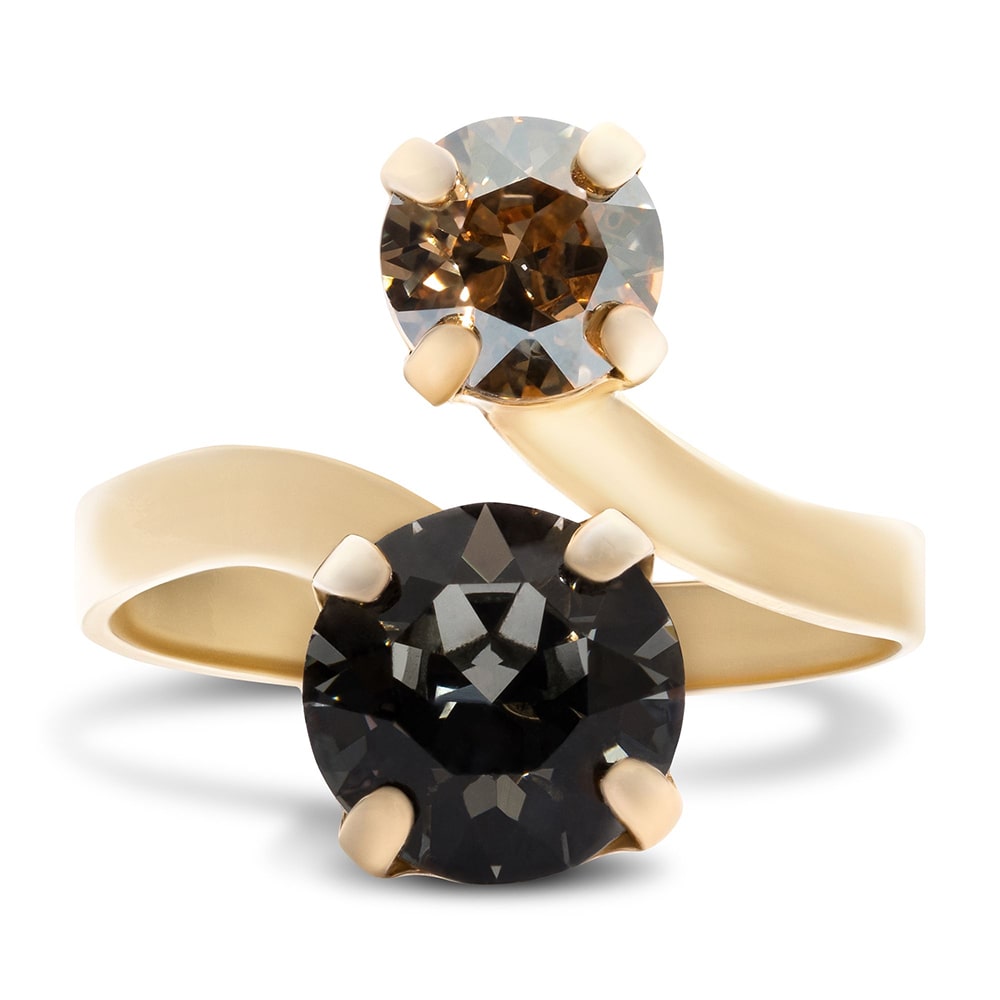
Use a clean, simple background to keep the focus on the product’s shine and texture.
Apparel and Fashion
Clothing needs layered lighting to capture fabric texture and color. Use a key light to highlight the main parts, a fill light to soften shadows, and a backlight to separate the item from the background.
Natural light near large windows works well, but you can use softboxes for consistent results. Adjust lighting height depending on whether you photograph flat lays or hanging garments.
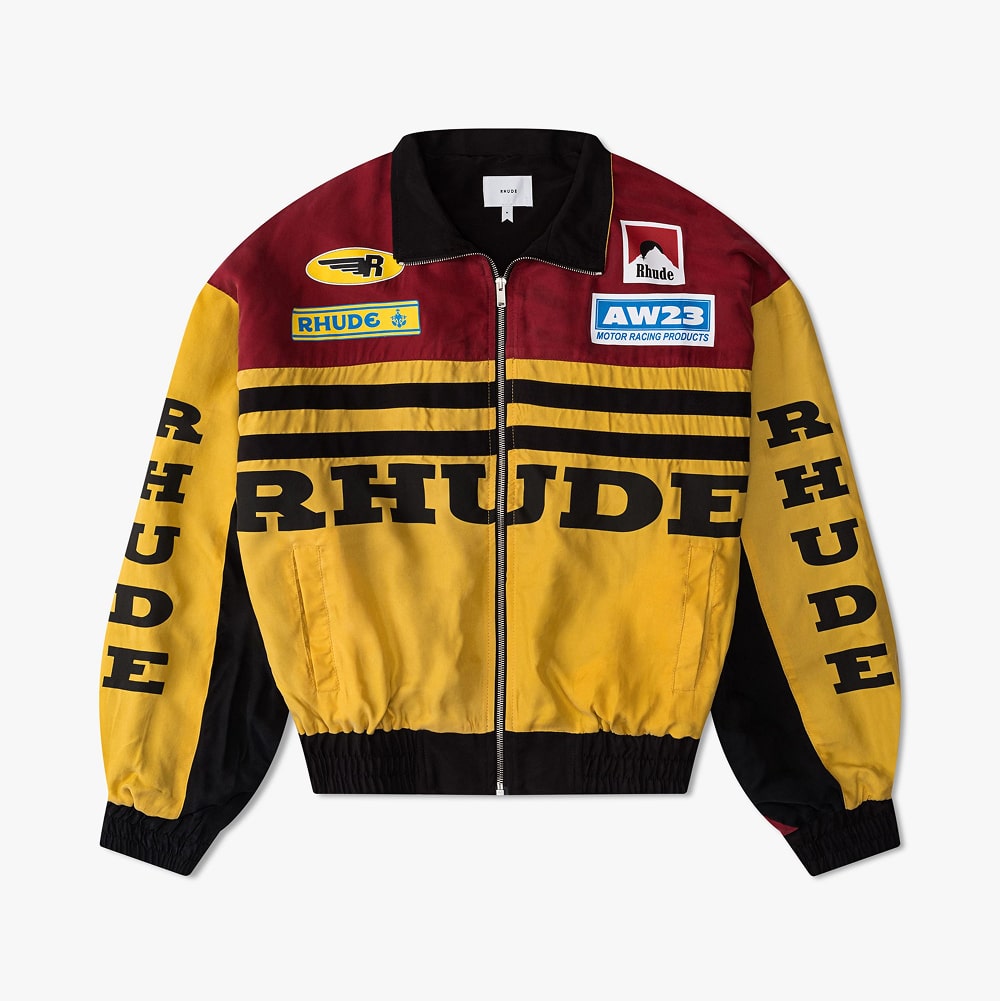
Avoid harsh light to prevent shiny spots and keep colors true.
Food and Beverage
For food, aim for soft, natural light or diffused artificial light to highlight colors and textures. Side lighting creates depth by casting gentle shadows. Control reflections on glossy surfaces with diffusers or reflectors to avoid glare. Use warm light temperature to enhance natural food tones. Position your lights to show freshness, moisture, and surface details without overpowering the image.
Electronics and Gadgets
Electronics need controlled, balanced lighting that highlights shape and features without harsh reflections. Use softboxes on each side and a backlight to create depth and separate the product from the background.
Position lights to avoid glare on screens or glossy surfaces. Adjust angles to show buttons, ports, or textures clearly. A neutral background helps focus on the design and function of the gadget.
How to Control and Shape Light
Controlling and shaping light means adjusting its direction, intensity, and quality to highlight your product's details. You can use tools and techniques to control shadows and reflections.
This ensures your photos look clean and professional.
Using Modifiers
Modifiers change the hardness, softness, and spread of light. Use softboxes to create soft, even light that reduces harsh shadows. Reflectors bounce light back onto your product, filling in dark areas without adding new light sources. Flags and grids help block or narrow light to specific parts of the product.
Use diffusers to soften strong light, making it less glaring. Pick modifiers based on your product’s material. Soft light works well for fabric, while harder light can highlight texture on hard surfaces.
Directional Lighting Techniques
Positioning your light source affects how your product appears. Side lighting emphasizes texture and shape by casting shadows.
Front lighting flattens features but can show color accurately. Backlighting can create a glow effect or highlight product edges. Adjust the angle and distance of your lights to control brightness and shadows. A tripod and consistent camera angle help keep your shots uniform.
Try small moves with lamps or strobes to find the best look that makes your product clear and appealing.
Avoiding Unwanted Shadows
Shadows can distract in product photos, so managing them is key. Use multiple light sources or reflectors to fill shadowed spots. If a shadow is too sharp, soften it by placing a diffuser between the light and the product. Watch for reflections on shiny surfaces and adjust lighting angles or use polarizing filters if needed.
Sometimes, moving your product slightly changes shadow placement. Make sure shadows don’t hide important details or create a messy look.
Optimizing Lighting for Different Backgrounds
Getting the lighting right depends on what background you use. Different setups need specific light placement and intensity to keep your product clear and attractive.
You will learn how to adjust your lights to handle white backgrounds, colored or textured surfaces, and reflective materials.
White Backgrounds
White backgrounds reflect a lot of light, so you want to avoid glare while keeping the background bright and even. Place lights on both sides of your product to reduce shadows.
Use a separate background light aimed at the white backdrop to keep it glowing without overexposing the product. Softbox or diffused lighting helps by softening shadows and revealing details without harsh spots.
Keep the background evenly lit to make editing easier and keep the product the main focus.
Colored and Textured Backgrounds
With colored or textured backgrounds, control your light to avoid washing out the colors or losing texture details. Softer lights placed closer to the product reduce harsh shadows but keep colors vibrant and consistent.
Try using a key light for your product and a fill light at a lower intensity to keep the background visible but not overpowering. Avoid direct backlighting that can blur textures or dim colors.
Adjust white balance on your camera to match the background tone. This keeps colors true to life and maintains brand consistency across your images.
Transparent or Reflective Surfaces
Lighting transparent or reflective products takes more care to avoid glare or unwanted reflections. Use diffused light sources positioned at angles that don’t bounce directly back to the camera.
Try using a light tent or softboxes around your product to spread light evenly without harsh highlights. Sometimes, slightly lowering the brightness reduces glare and helps you reveal product details clearly.
Avoid direct flash or ring lights, as these can cause bright spots that distract from the item. Position background lights carefully to keep the area bright but controlled.
DIY Lighting Solutions
You don’t need expensive gear to improve your product photos. Simple tools and clever setups can control light, reduce shadows, and create even brightness. Using common items helps you shape light and get cleaner shots without breaking the bank.
Homemade Reflectors
Reflectors bounce light onto your product to fill dark areas and soften shadows. You can make reflectors from white foam board, aluminum foil-covered cardboard, or white poster paper. Place these opposite your main light source to brighten shadows without adding a second light. Tape foil onto a flat surface for a shiny reflector that adds stronger light bounce.
Use plain white surfaces for softer reflection. Move reflectors closer or farther and adjust angles to control how much light hits your product. Reflectors are lightweight and easy to move. They are ideal for quick setup changes during shooting.
Budget Lighting Hacks
- LED desk lamps or clamp lights with daylight bulbs offer affordable lighting. Move these lights closer or farther from your product to control brightness.
- Diffuse harsh direct light with a DIY diffuser made from translucent paper, white fabric, or parchment paper stretched over a frame. This softens the light on your product.
- Continuous lighting lets you see how shadows shift as you adjust your setup. Combine two or more lamps for more even light on your subject.
- Clip-on lamps with adjustable arms help you direct light exactly where you want it. You don’t need extra stands or mounts for these.
Lighting Mistakes to Avoid
- Using harsh lights without diffusion creates strong shadows and glare on your product. Use softboxes, umbrellas, or diffusers to spread light evenly. This reduces reflections that distract from product details.
- Ignoring shadow placement can make your photo look unprofessional. Position lights at 45-degree angles on both sides of the product to balance light and reduce unwanted shadows.
- Overexposure or underexposure hides the product’s true appearance. Take test shots with your darkest and lightest products to find the right exposure. This keeps colors accurate and details clear.
- Relying on a single light source leads to uneven brightness. Use at least two lights or combine natural and studio lights for consistent illumination. This keeps your background clean and your product sharp.
- Not adjusting for shiny or reflective surfaces can cause glare spots. Use reflectors and bounce light off white surfaces to soften reflections. Diffusers are essential when shooting jewelry or glossy items.
- Failing to check your white balance causes color shifts. Set your camera’s white balance based on your lighting setup to match your product’s true colors.
Post-Processing and Enhancing Light Effects
After your shoot, post-processing helps you adjust and improve the lighting. You can brighten shadows, soften harsh highlights, or add subtle glows to emphasize details.
Use contrast and exposure tools to balance light and dark areas. This keeps the image clear and natural. Avoid heavy edits that change how the product truly appears. Refine shadows to give your image depth. Shadows should look natural and match the light source you used. Handle edited shadows carefully to avoid obvious mistakes.
Here are some tips for editing:
- Keep brightness balanced: Too much light can wash out the product, while too little hides details.
- Enhance texture: Highlight surface details to show quality.
- Use localized adjustments: Edit only specific areas for precision.
Review your images on different screens to make sure the lighting looks right everywhere. Good post-processing supports your original lighting setup and saves time on reshoots.
Staying Creative With Lighting in Product Photography
Lighting shapes how your product looks and feels. To stay creative, change the angle or distance of your light sources. Small moves can create new shadows or highlights that make your product stand out. Use tools for control.
Reflectors bounce light to fill shadows without extra lamps. Diffusers soften harsh lights for a natural look. These tools keep your setup simple and flexible. Experiment with different light types. Softbox lighting gives smooth, even light. Direct light adds texture and depth.
Mixing these adds interest to your photos. Try color gels or LED lights with adjustable settings. Colored light can add mood or match your brand’s style. Here’s a quick list to keep your lighting creative:
- Shift light angles slightly
- Mix soft and hard lighting
- Add reflectors or diffusers
- Experiment with color temperature
- Use colored gels or LED effects
Test these options to keep your images fresh and polished. Creative lighting helps you highlight your product’s best features and improves consistency across your catalog.
Lighting Techniques That Elevate Your Product Photography
Mastering lighting in product photography is essential for creating consistent, conversion-focused visuals. The type and direction of light directly influence how textures, shapes, and colors appear in your final image.
Tools like softboxes, reflectors, and diffusers offer even light, while modifiers and directional setups adapt to product material or size. From basic home setups to advanced studio shoots, optimizing your lighting workflow increases efficiency and output quality.
Squareshot offers transparent pricing and consistent lighting execution. We deliver catalog-ready results with every shoot.
Ready to streamline your lighting setup and improve consistency? Explore our product photography services to keep your catalog visuals clean, clear, and on schedule.
Frequently Asked Questions
Good lighting makes your product photos clear and appealing. The right tools and setups improve your product images and save you time.
What type of lighting setup works best for home-based product photography?
Soft, diffused light works well at home. Use natural light from windows with a simple white reflector to reduce shadows. Avoid direct sunlight. It can create harsh highlights and dark spots.
How do I choose the right LED light for capturing professional product photos?
Pick LED lights with adjustable brightness. Choose a color temperature around 5,500K for daylight balance. Make sure the lights have a high CRI (Color Rendering Index) of 90 or above. This helps show true colors.
Can you suggest a basic lighting setup suitable for beginner product photographers?
Start with two LED softbox lights at 45-degree angles from the product. Use a white or neutral background. This setup reduces shadows and highlights product details.
What advantages does a ring light offer in product photography?
Ring lights give even, shadow-free lighting. They highlight fine details. Ring lights are compact and easy to use. They work well for shooting small items like jewelry or cosmetics.
What should I look for in a product photography lighting kit?
Choose kits with adjustable LED panels, softboxes, and light stands. Look for color temperature control and portability. A kit with diffusers and reflectors helps you get better results.
Are there any advanced lighting techniques I can learn from a PDF to improve my product photography?
Many guides cover topics like three-point lighting, light shaping, and controlling shadows. PDFs often include diagrams and tips for modifying light with gels or grids.

Product A
SQUARE SHOT


