High-quality product photography for online stores is essential for attracting buyers and building trust. Clear, well-lit images help shoppers understand your products, compare options, and feel confident making a purchase.
Consistent visuals also create a professional, cohesive brand presence across your catalog. In e-commerce, photographs serve as the customer’s only direct interaction with your product before checkout.
Without them, shoppers rely solely on descriptions, which often leads to hesitation or abandoned carts. Strong images reduce returns by setting accurate expectations for size, color, and texture.
They also improve conversion rates by making product pages more engaging. With services like Squareshot, brands can achieve catalog-ready visuals that meet marketplace standards. And they do it while keeping production timelines efficient.
Keep reading to see how this approach works from start to finish.
Why High-Quality Product Photography Matters
Clear, detailed images affect how your customers decide and feel about your products. Good photos can increase sales, build trust, and shape how people see your brand.
How Quality Images Influence Customer Decisions
Investing in sharp, well-lit photos is key to standing out in a crowded online market. When your product photos are clear and professional, shoppers are more likely to click “buy.” Images give buyers a better understanding of size, color, and texture, which reduces hesitation. Studies show that stores with strong visual content can see up to seven times higher conversion rates.
Using multiple angles or styled flat lays can help customers see exactly what they get. This leads to fewer returns, since buyers know what to expect before purchase.
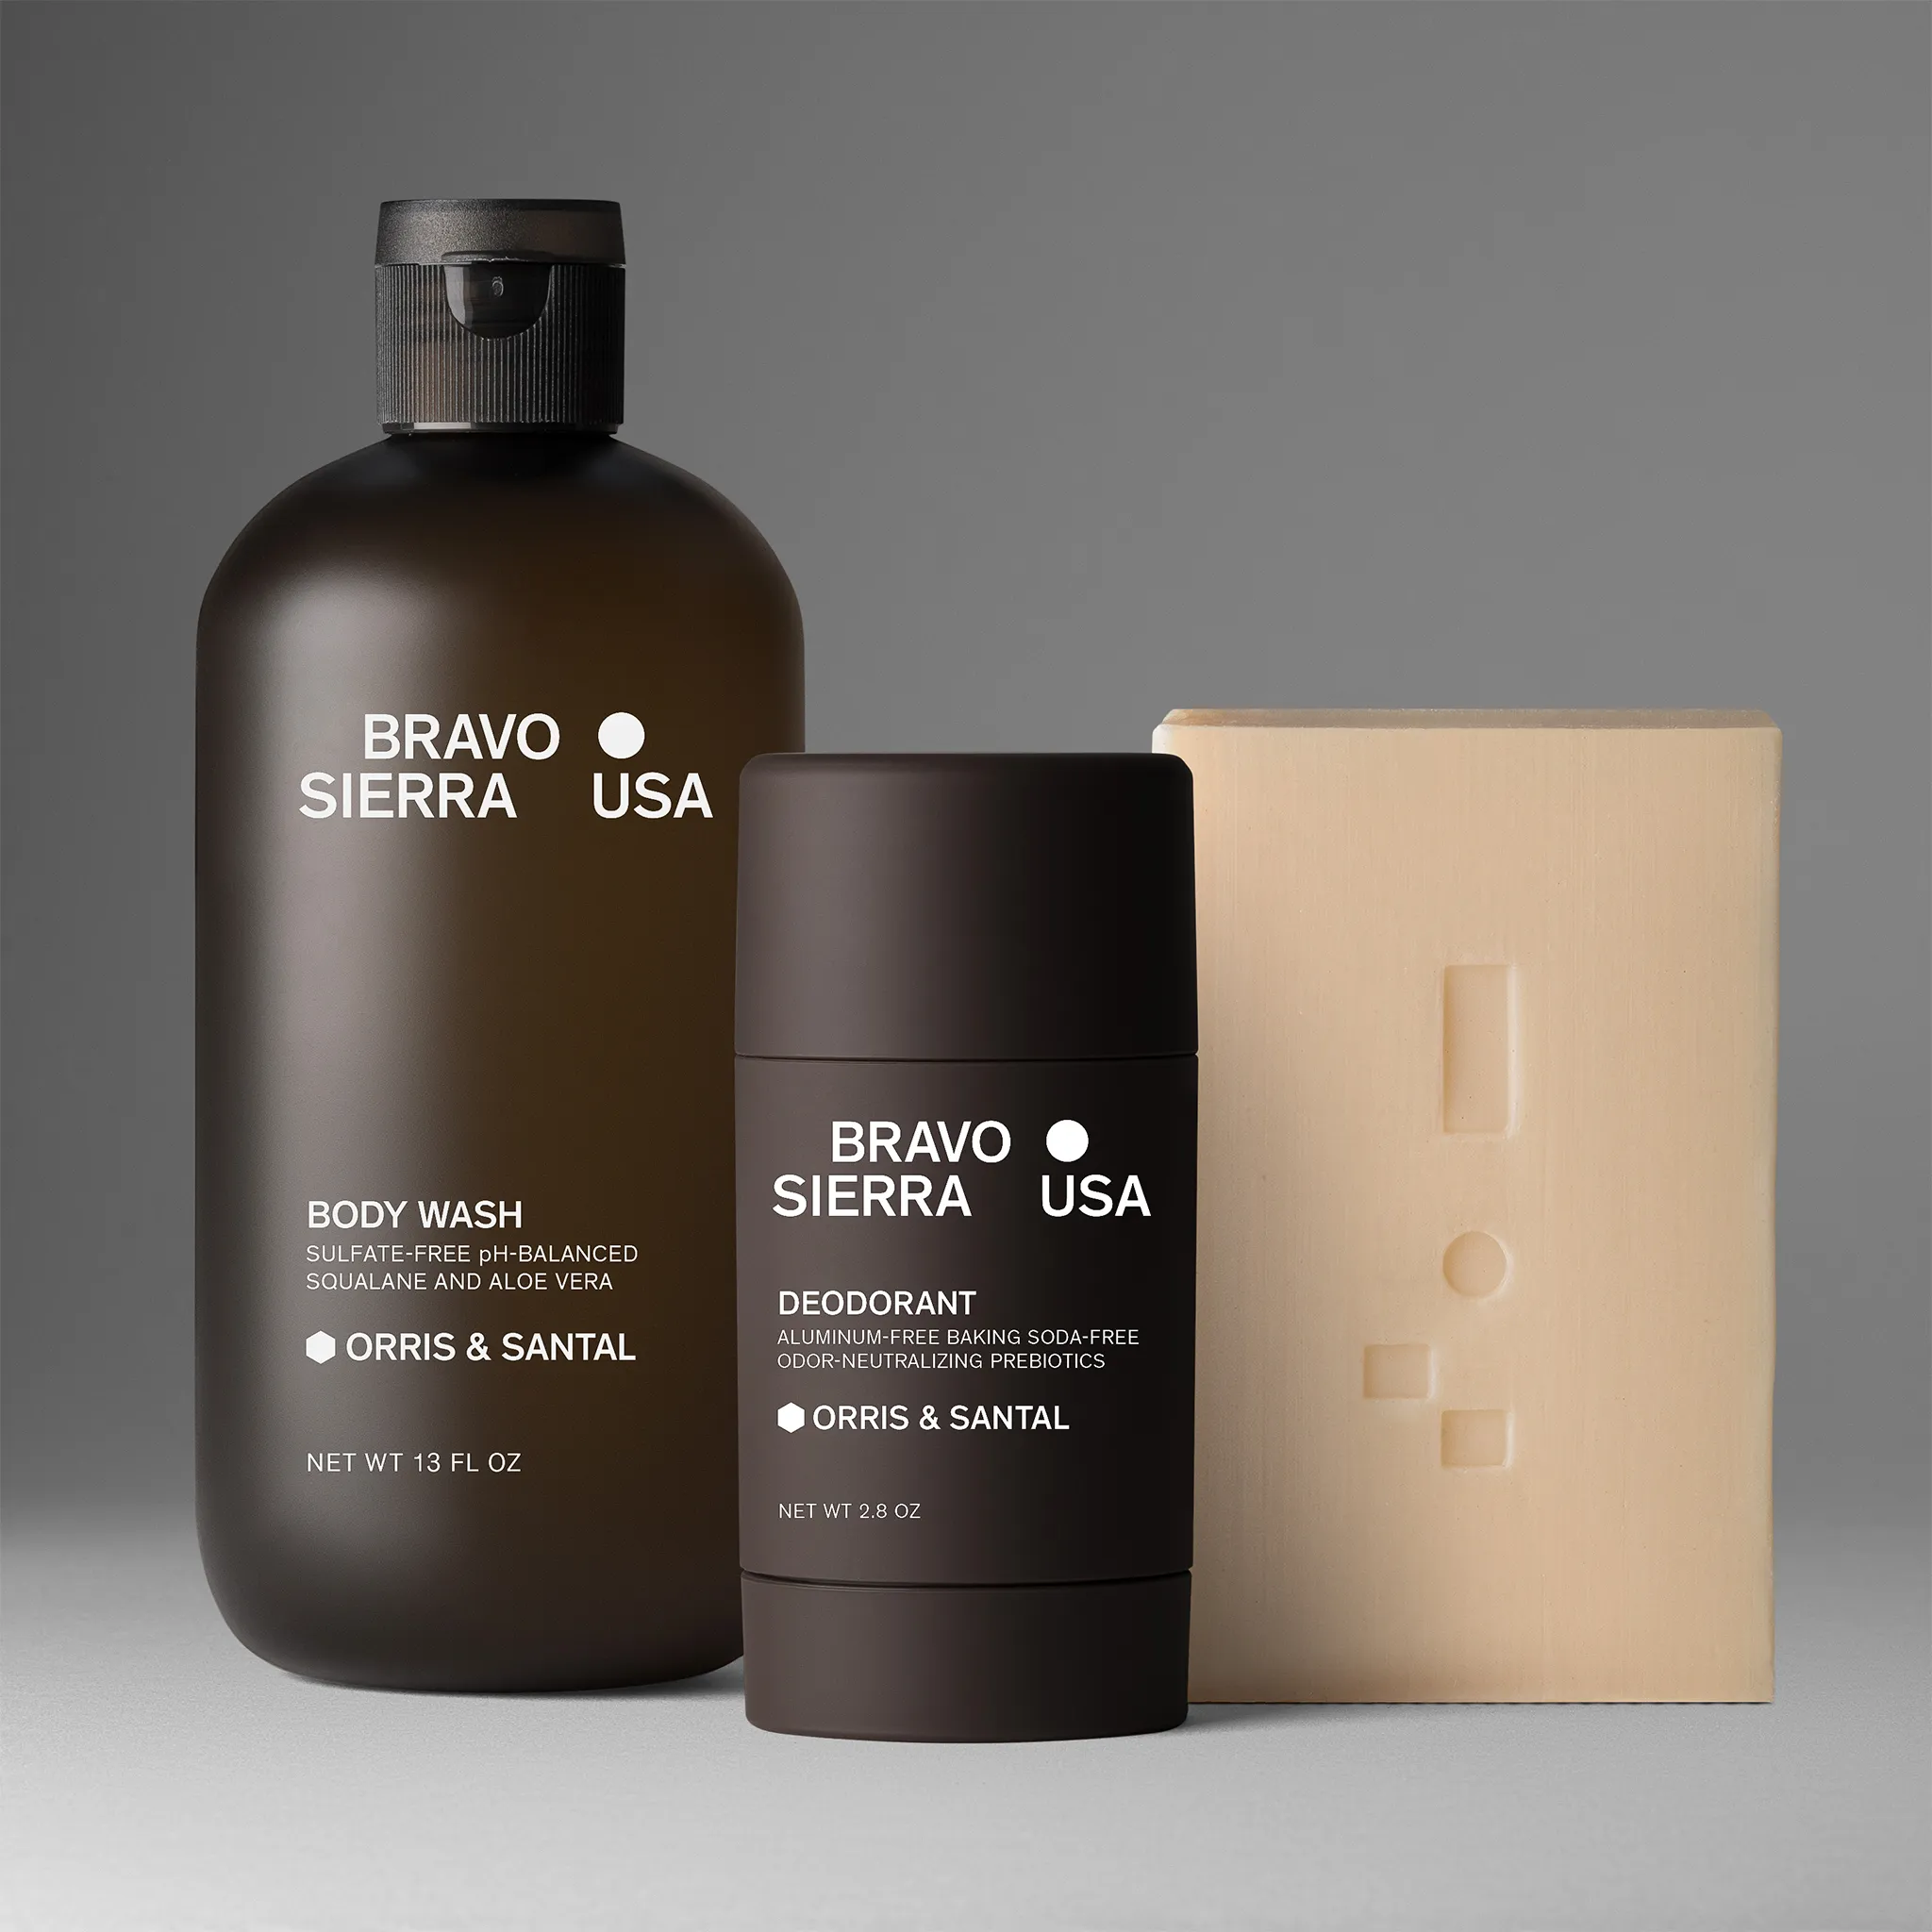
High-quality photos make your products look reliable and real. When images are sharp and consistent, customers feel more confident that your store is trustworthy. Products photographed in a clean studio environment appear well cared for, which builds confidence. You also send the message that you pay attention to details. This lowers doubts and helps shoppers feel secure about spending money with you.
Transparent pricing and clear visual presentation go hand in hand for trustworthy shopping. Your photos reflect your brand’s personality and values. Crisp, consistent images show professionalism and elevate your store's look.
A distinctive photo style creates a memorable experience that sets you apart from competitors. Creative flexibility in shots allows you to highlight product features that matter most to your audience.
Whether it’s lifestyle images with models or straightforward catalog shots, quality photos help define your brand voice online.
Essential Equipment for Product Photography
To get clear, attractive photos of your products, you need the right gear. This includes tools that help capture sharp images, proper lighting to show true colors, and backgrounds that make your products stand out.
Choosing the Right Camera and Lens
Each part plays a key role in producing images that can boost sales. Choosing the right camera and lens affects how detailed and sharp your product photos look. A DSLR or mirrorless camera with manual settings lets you control focus and exposure. For most products, a lens with a focal length between 50mm and 100mm works well.
Macro lenses are useful for small items like jewelry because they capture fine details. Sharpness and color accuracy depend on using quality glass. Avoid smartphone cameras unless paired with professional lenses and lighting. Make sure your camera allows shooting in RAW format to keep more image data for editing later.
Lighting Setup for Accurate Colors
Good lighting shows your product’s true colors and textures. Soft, even light reduces harsh shadows and highlights important details. You can use continuous LED lights or strobes with diffusers to spread light evenly. Natural light can work, but is hard to control consistently.
Position lights at 45-degree angles or use light tents to avoid glare. Adjustable lighting helps you highlight specific product features. Keep your light color temperature consistent to maintain color accuracy across images. Investing in reliable studio lighting improves photo quality and buyer confidence.
Selecting the Right Background
The background should not distract from your product. Plain white or neutral-colored backgrounds are common for e-commerce because they keep the focus on the item.
Seamless paper or vinyl sheets are easy to use and clean. You can also use textured surfaces like wood or fabric to add context, but keep them subtle.
Reflective surfaces work for items like jewelry but require careful lighting to avoid unwanted reflections. Using consistent backgrounds across your photos helps maintain a uniform look for your online store.

Choose backgrounds that fit your brand style while keeping the product front and center.
Setting Up Your Product Photography Space
Creating the right space for your product photos means paying attention to location, lighting, and organization. These factors work together to produce clear, consistent images that highlight your product’s details.
Choosing the Right Location for Your Shoot
Pick a quiet, clutter-free area with enough room for your backdrop, camera, and lighting gear. Avoid small spaces that limit movement or force awkward angles.
Natural light helps, but is not always reliable. If you have large windows, position your setup nearby for soft, even light.
Make sure the walls and floors are neutral colors to avoid unwanted reflections or color casts. Consider space for different shoots, like flat lays or model shoots, which may need more room for backdrops and extra lighting.
Balancing Natural and Artificial Lighting
Balanced lighting is key. Use multiple light sources to reduce shadows and highlight textures. Place two lights at 45-degree angles from your product for even coverage. Softboxes or diffusers help spread light and avoid harsh spots.
If you shoot near windows, combine natural light with artificial lights to keep your images consistent. Avoid overhead lights that create harsh shadows. Test your setup with different angles until your product looks clear and inviting.
Organizing Your Photography Tools and Props
Keep your props, reflectors, and tools in easy reach to save time during shoots. Use clear containers or shelves to organize small items like clips, tape, or color cards. Label everything and keep backups ready, such as extra batteries or SD cards.
This reduces interruptions and lets you focus on the shoot flow. Only bring props that add value to your images. Too many items can distract from the product and create a cluttered look.
Shooting Techniques for Crisp Product Photos
To get sharp and clear product photos, focus on how you set up your camera, control the focus, and manage lighting challenges. These details play a big role in making your products look their best and ready to sell.
Choosing the Best Angles for Product Shots
Choosing the right angle shows your product’s shape and details clearly. Start with a straight-on shot to give a true view of the product. Then, add tilted or side angles to highlight its depth or special features. Adjust the height to avoid distortions — eye level or slightly above works well for most items.
Use a tripod to keep the camera stable and ensure consistent framing. Take multiple shots from different angles, then select the ones that best represent the product.
Mastering Focus and Depth of Field
Set your camera to focus sharply on the key part of the product, like a logo, texture, or feature customers want to see. Use a smaller aperture (higher f-stop number) to increase depth of field if you want everything in focus, especially for smaller products.
For larger items or creative shots, a shallow depth of field (lower f-stop) can blur the background and keep the attention on the product. Test your focus before the full shoot to avoid blurry images.
Managing Reflections and Lighting Challenges
Reflections can distract from your product’s details, especially on shiny or glass surfaces. Use diffused lighting, such as softboxes or light tents, to spread light evenly and reduce glare.
Place lights at multiple angles to avoid harsh shadows. If shadows appear, use white reflectors or foam boards to bounce light and fill in dark spots.
Adjust the product’s position and background to limit unwanted highlights. Check images on screen during the shoot to catch and fix these issues early.
Editing and Post-Processing Your Images
Editing sharpens your product photos and makes them ready to attract buyers. This includes adjusting colors, removing backgrounds, and polishing details. Each step enhances how your products appear across online stores and social media.
Color Correction for Accuracy
Color correction ensures your product’s colors look natural and consistent. You want the photo colors to match the real product as closely as possible. Adjust brightness, contrast, and white balance to avoid dull or overly bright images. Use tools to fix color casts or shadows that make items look off. Accurate colors help shoppers trust your product and reduce returns caused by misleading photos.
Keep your corrections subtle; the goal is clarity, not exaggeration. Consistent colors across all photos make your catalog look unified.
Removing and Customizing Backgrounds
Removing the background places your product on a clean, distraction-free surface. A white or neutral background is common for e-commerce as it highlights the item clearly.
Simple background removal tools or professional services can create smooth edges without cutting into the product. You can also add creative backgrounds later, such as colors or patterns for promotions.
A clean background improves focus on the product, supports fast page loading, and meets marketplace standards like Amazon’s white background rule.
Retouching and Image Optimization
Retouching fixes small flaws like dust, scratches, or unwanted reflections. It also sharpens details and smooths textures to make your photo polished. Optimization involves resizing images to fit platforms while keeping quality. You want files small enough for fast loading but large enough for zooming.
Make sure each product photo looks crisp and consistent across devices. Good retouching lets customers examine your product confidently before buying. Avoid over-editing, which can distort or misrepresent the item.
Optimizing Images for Online Stores
To make your product photos work well online, focus on the right file types, proper size, and SEO. This will help your site load fast, look good on all devices, and reach more buyers through search engines.
Choosing the Right File Formats and Sizes
Choosing the right file format keeps your images sharp without slowing your site. Use JPEG for photos because it balances quality and file size well. For images needing transparency or sharper edges, like logos or icons, use PNG. Avoid TIFF or BMP online as they create large files.
Compressing Images for Fast Loading
Compress your images to reduce file size while keeping clear details. Aim for a file size below 500 KB when possible; smaller sizes load faster and help user experience.
Tools like TinyPNG or ImageOptim can shrink files without noticeably losing quality. Set your images to suit the display where they’ll appear. For product photos, a width of 800 to 1200 pixels is standard. This size looks good on mobile and desktop without huge file sizes.
Keep your images consistent in size and aspect ratio. This uniformity improves the site’s design and makes your product catalog easier to browse. Also, provide extra views or zoomable versions for closer detail, but avoid using very large images that slow loading times. Optimizing your images for search engines helps bring more visitors to your store.
SEO Best Practices for Product Images
Use concise, descriptive file names like blue-cotton-t-shirt.jpg instead of generic names like IMG001.jpg. Add clear, keyword-rich alt text that explains the product and its key features, for example, "blue cotton t-shirt with short sleeves."
This helps visually impaired users and improves your SEO rankings. You can also include structured data (schema markup) on product images to boost search engine understanding and enhance your listings with rich snippets.
Keep image URLs simple and avoid spaces or special characters.
Showcasing Your Products Effectively
Present your products clearly and attractively so customers understand their value. Show images of the product in use, from all angles, and highlight what makes it unique.
Creating Lifestyle Shots
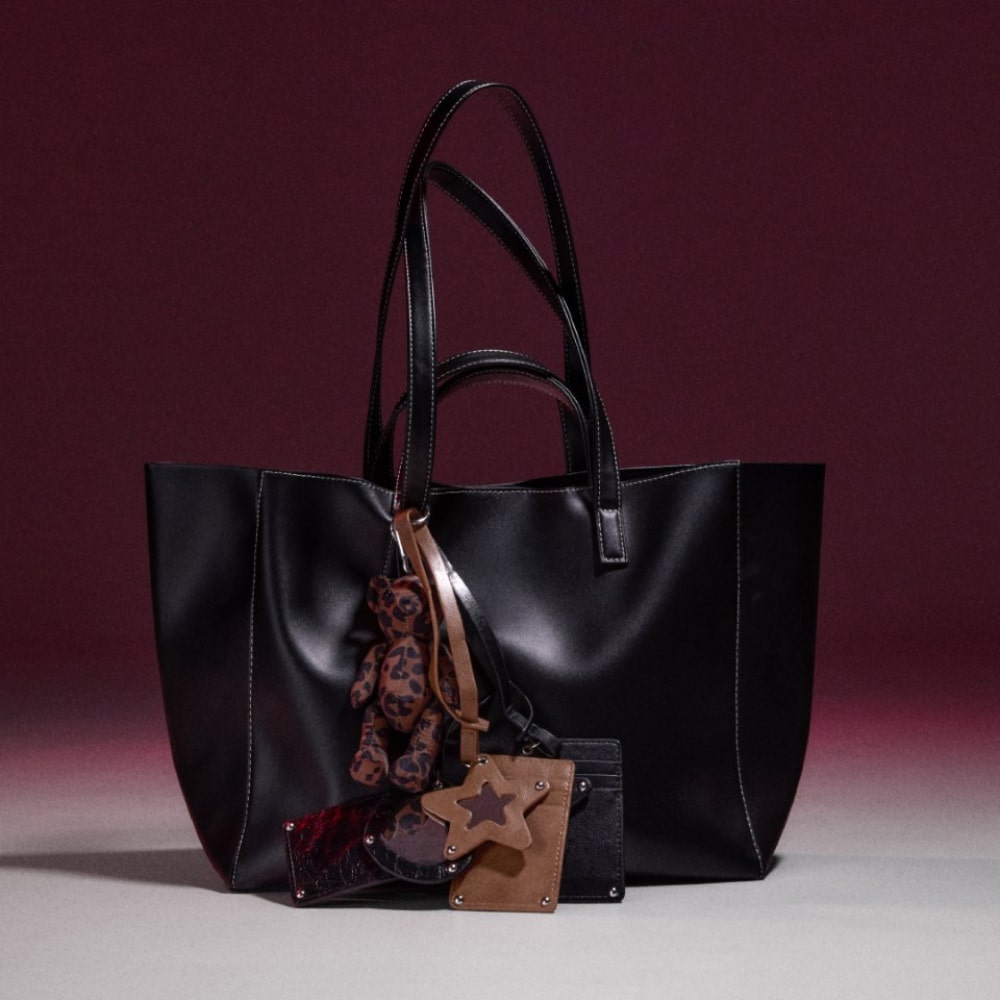
Lifestyle shots place your product in real-life settings. Use natural light and backgrounds that match your target customers’ environment. For example, show clothing on models in casual or formal settings, depending on the style. Keep props minimal and relevant to keep the product as the main focus.
These images help shoppers picture themselves using the product. They create an emotional connection that encourages buying.
Using 360-Degree Views
360-degree views let shoppers rotate the product digitally. Customers can inspect every detail before buying. Mount your product on a turntable and shoot it in consistent lighting from all sides. Make sure the finished result loads quickly and works smoothly on all devices.
This format works well for items like shoes, tech gadgets, and accessories. It helps reduce doubt and returns.
Highlighting Key Features
Close-up shots show texture, materials, and special features. Focus on the details that make your product unique or solve a problem for the buyer. Show stitching on apparel, the finish on jewelry, or the texture of skincare products. Use sharp, well-lit images with plain backgrounds.
Include a simple list of key features next to these photos to guide buyers’ attention.
Outsourcing vs. DIY Product Photography
Decide between outsourcing your product photography or doing it yourself by balancing quality, cost, and control. Each choice affects your brand’s look, timelines, and the effort you’ll spend on shoots.
Working with Professional Photographers
Hiring a product photography service can save you time on setup, shooting, and editing. You receive catalog-ready images quickly, often within 6 to 8 business days after sending your products.
Pricing is clear, with per-image rates starting around $50 or hourly packages for larger campaigns. Studios handle retouching, lighting setup, and creative direction.
You can participate in shoots remotely through client portals and make adjustments in real-time. This approach gives you a consistent style across products and fast delivery with less hands-on work.
Budget-Friendly DIY Solutions
If your budget is tight or you want full control, DIY photography is an option. Use a smartphone or basic camera with natural light to create decent images.
Online tutorials can guide you through lighting, backgrounds, and editing tools. DIY requires time to learn and experiment to avoid mistakes like poor lighting or inconsistent style.
Retouching and matching your brand look may need extra effort or software investment. DIY works well for startups testing products or businesses with smaller product ranges.
Staying Ahead: Trends in Product Photography
To capture attention and boost sales, keep your product photos current with evolving styles and technology. Use clean, simple designs, add motion through videos, and let customers interact with your products using new tech tools.
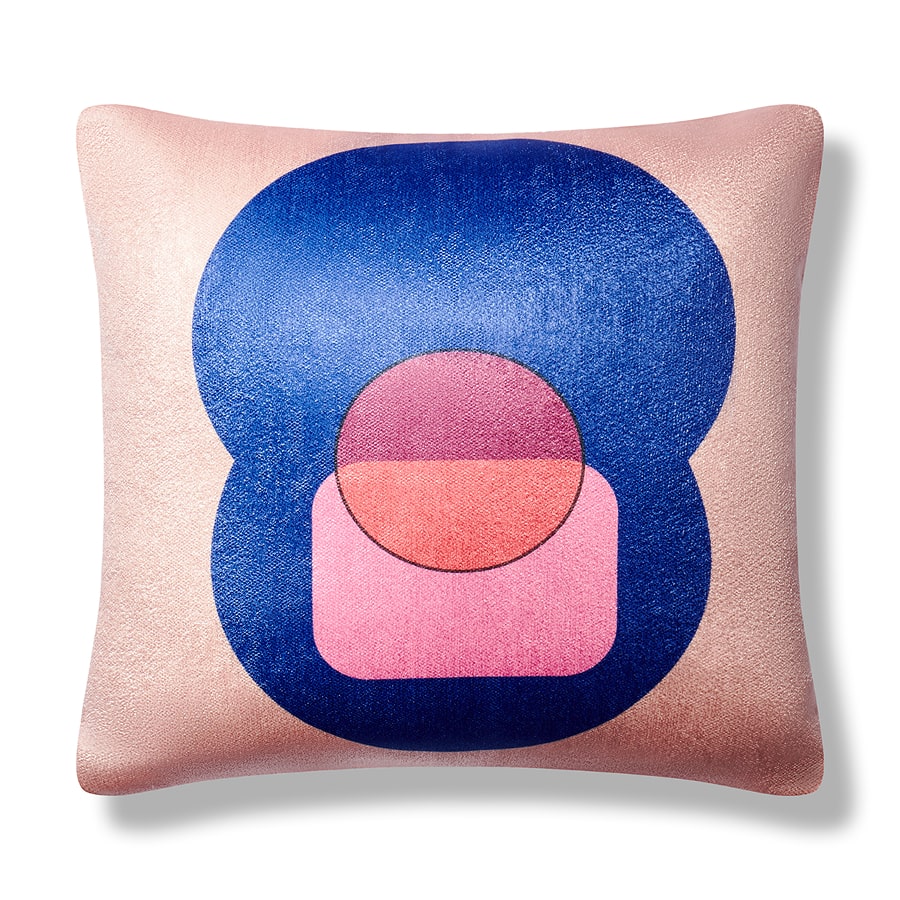
Embracing Minimalism
Minimalism keeps your product as the center of focus. Use plain backgrounds and simple props that don’t distract. Consistent lighting and angles matter. Stick to soft, even lighting to avoid hard shadows.
Maintain a clear style across all your photos so viewers recognize your brand immediately. This approach helps your catalog look organized and professional.
Incorporating Video Content
Short videos let customers see your product in action. Videos can show how the item fits, moves, or works. Keep videos under 30 seconds and focus on key features. Use a steady camera and good lighting.
Looping videos or 360-degree spins help shoppers engage longer. Videos also perform well on social media and product pages.
Interactive and AR Experiences
Augmented reality (AR) and interactive images give shoppers a hands-on feeling without leaving home. AR lets users “place” products in their space through phone apps. Interactive photos allow zooming or rotating parts of the product. These tools build confidence by letting shoppers explore products before purchase.
They continue to grow in popularity, especially in categories like furniture and footwear. Offering AR options may give you an edge when customers compare brands online.
Final Takeaways on Product Photography
High-quality product photography directly influences how customers perceive and engage with your products. Sharp, consistent images help shoppers make informed decisions, reduce returns, and improve conversion rates.
The right setup, equipment, and shooting techniques ensure every product is presented clearly and accurately. Optimizing images for web performance and marketplace compliance expands reach and improves customer experience.
Staying updated on trends, from lifestyle shots to AR tools, keeps your brand competitive in a fast-changing ecommerce space.
For brands seeking reliable, catalog-ready visuals without the guesswork, Squareshot offers a streamlined approach that combines technical precision with consistent delivery.
Start your next shoot and give your online store the product imagery it deserves.
Frequently Asked Questions
High-quality product photos show different angles and use natural light. You can also add props to highlight your product’s features. Set up simple photo spaces at home or use your smartphone for effective shots. Knowing photography basics helps you get better results.
What are some creative ideas for shooting product photos for my e-commerce site?
Capture your product from multiple angles to show details. Use everyday settings or themed props to make images more engaging. Try 360-degree views or flat lays to give customers a full sense of the item.
How can I create a professional product photography setup at home?
Use a clean, white background to keep the focus on your product. Natural light near a window works well. Use soft lighting to avoid shadows. Keep your setup simple with a tripod and a steady surface for sharp images.
What tips can you share for taking high-quality product images using a smartphone?
Clean your lens before shooting to avoid blurry images. Use the phone’s grid lines to align products straight. Tap to focus and adjust exposure manually if your phone allows. Shoot in natural light and avoid using the flash.
What's the typical cost range for a professional ecommerce product photoshoot?
Per-image pricing often starts around $50 for items like clothing or accessories. Hourly rates can range from $750 for a quarter day to $2,950 for a full day. These rates usually cover shooting, crew, and retouching. Membership plans offer lower rates for recurring shoots.
Can you explain the '100 rule' in photography and its relevance to product shots?
The "100 rule" means using a shutter speed faster than 1/100th of a second to avoid blur. For product photography, this keeps your images sharp, especially when shooting handheld or in low light.
How do I find a skilled product photographer near me?
Look for studios that offer transparent pricing and clear delivery timelines. Check reviews and portfolios for experience with ecommerce products. Many studios let you participate remotely so you can stay involved regardless of location.


Product A
SQUARE SHOT