Jewelry photography angles play a critical role in how your pieces are perceived and purchased. In ecommerce, clear, intentional visuals help build trust and reduce hesitation.
Using varied angles lets buyers examine shape, texture, and craftsmanship as if holding the piece. When done well, these choices improve conversion, reduce returns, and reinforce a sense of premium quality.
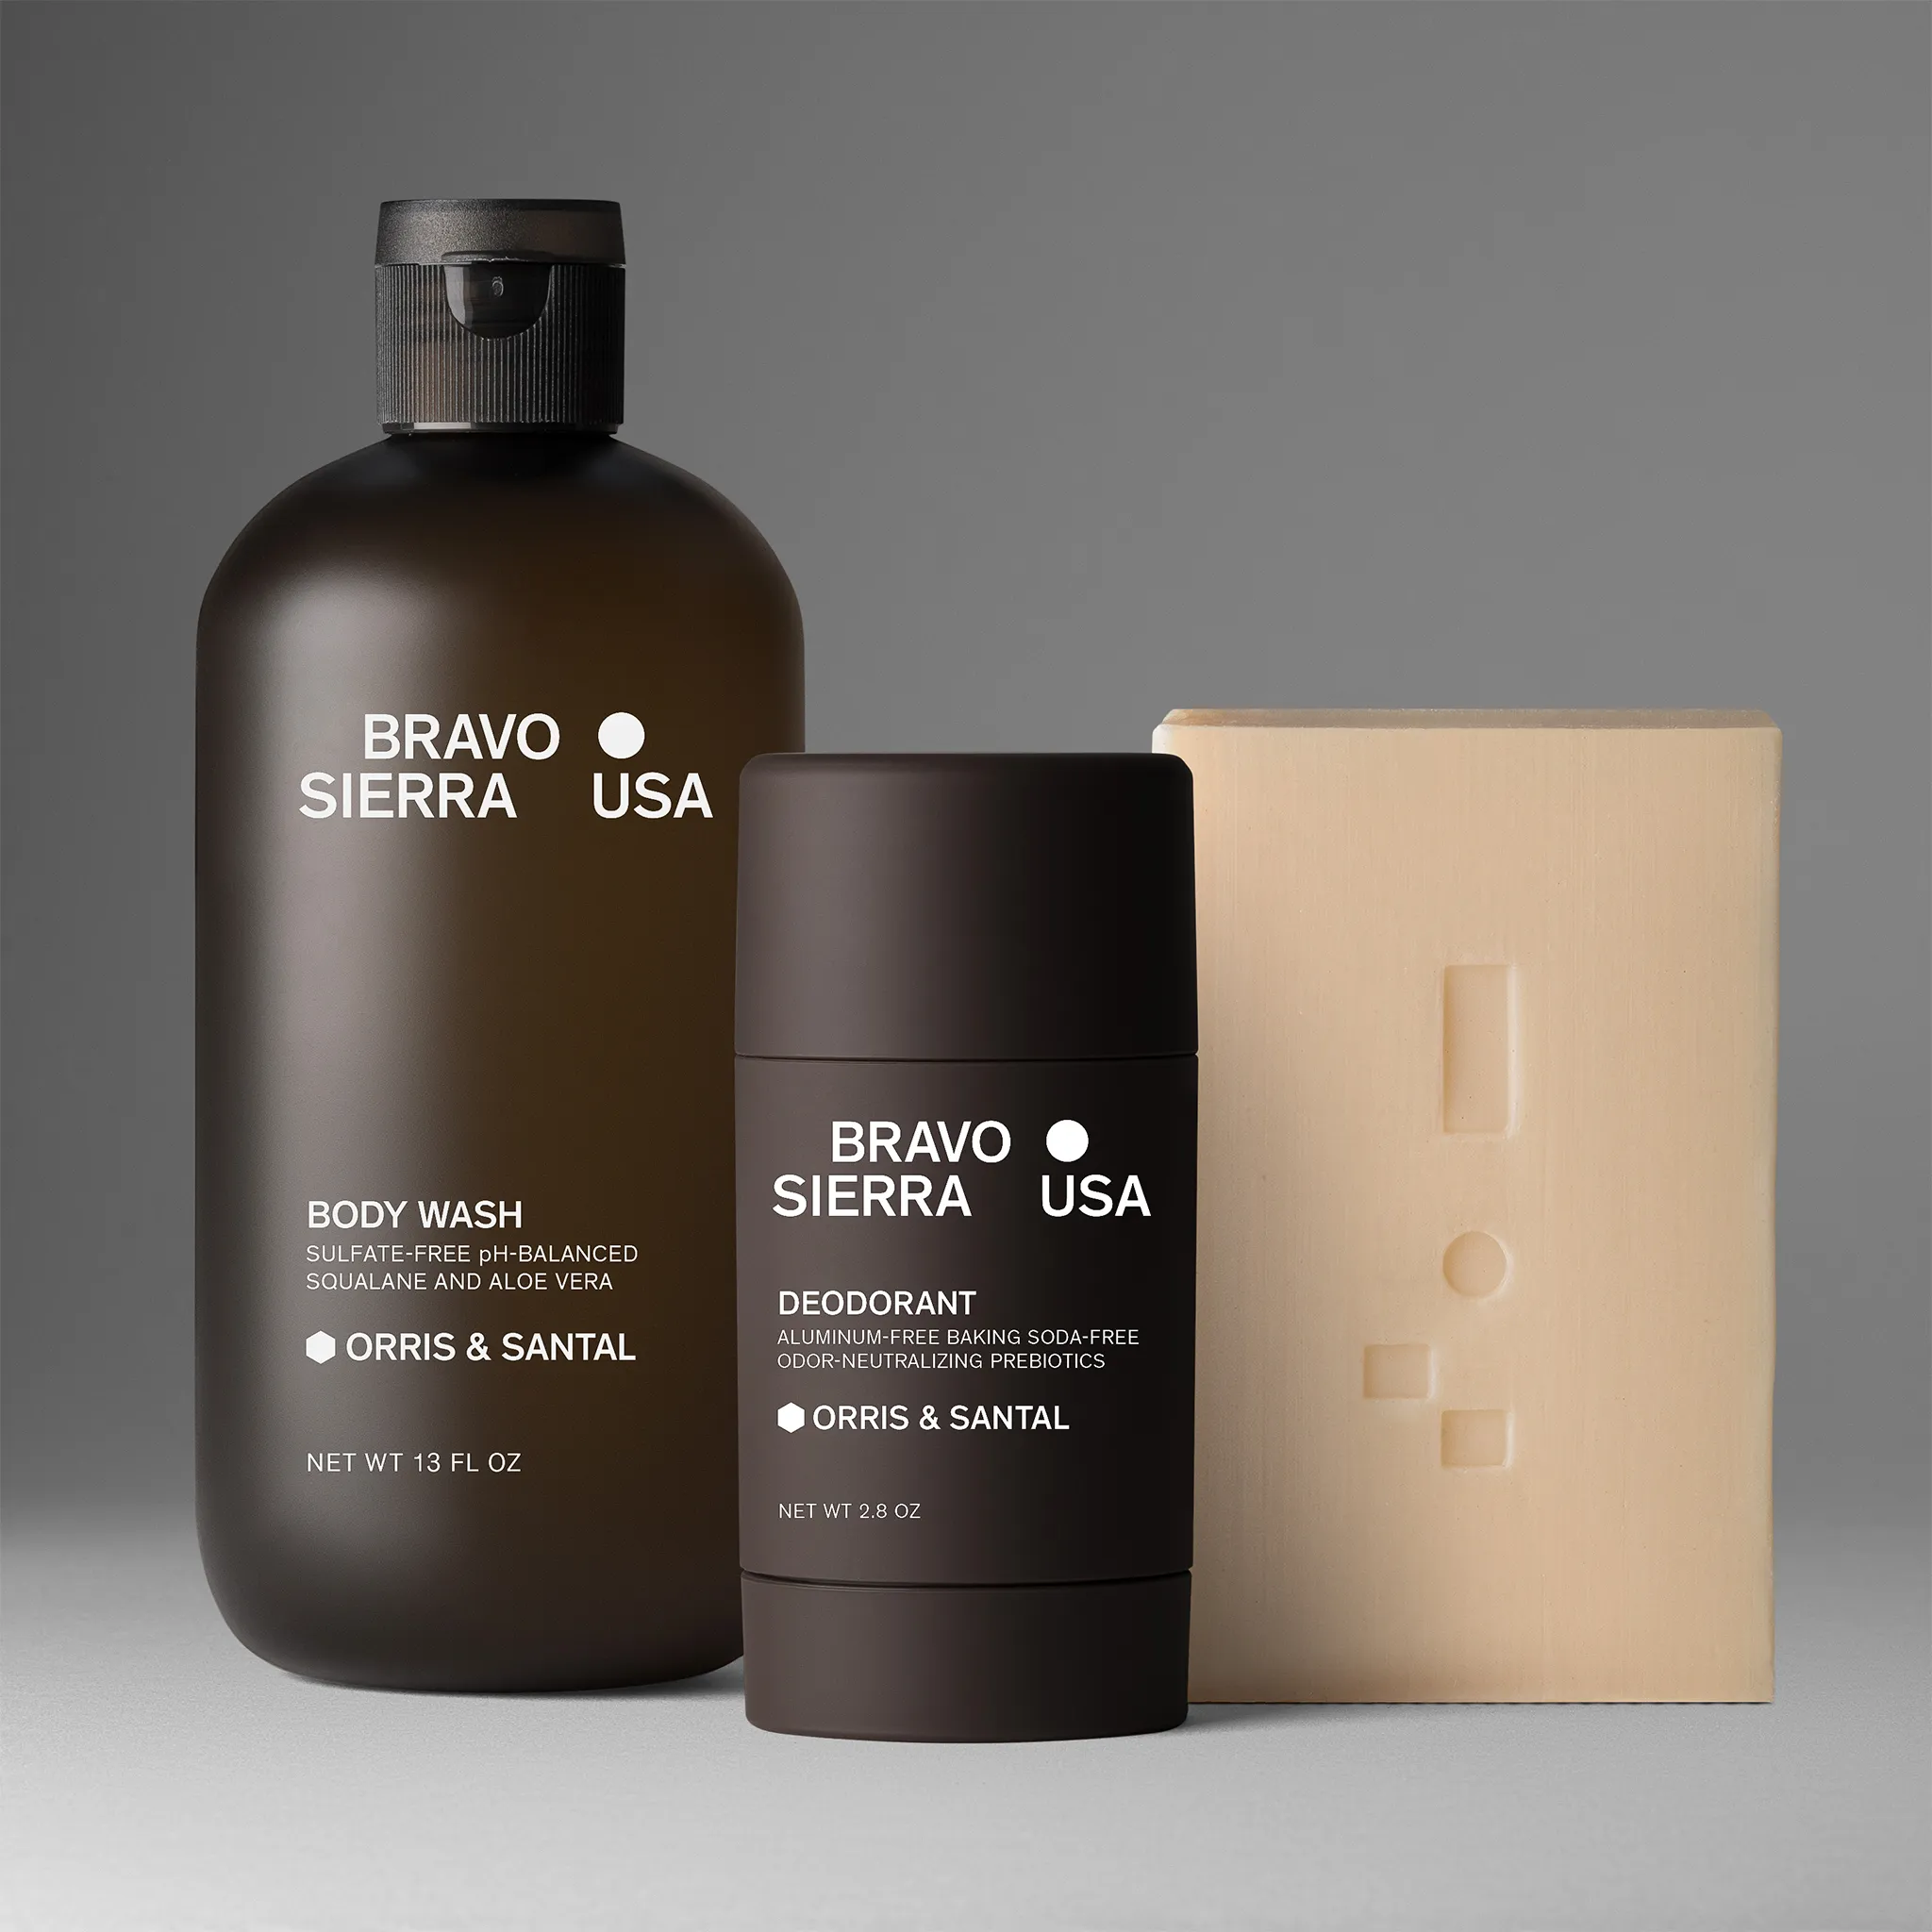
At Squareshot, we work with fashion and jewelry brands to ensure that catalog-ready images reflect true form and detail.
This guide breaks down which angles to use and how they influence perception. Read on to learn how to align them with both aesthetic and technical goals.
Understanding the Importance of Jewelry Photography Angles
Choosing the right angles for jewelry photography helps show off every detail. Angles affect how people value your pieces and can boost sales. Angles direct a viewer’s attention to key features like cuts, settings, and textures.
For earrings, shooting from the front and a 3/4 angle highlights the design clearly. Rings look best when photographed slightly from above or at a low tilt to reveal the stone’s depth. Using multiple angles helps capture different views, showing size, shape, and sparkle.

This variety makes your images more useful for buyers who can’t see the product in person. Sharp focus and lighting combined with the right angle reveal the true craftsmanship behind your jewelry.
Angles create a sense of quality and luxury. A low straight-on shot gives earrings a bold, solid appearance. Tilting the piece with a slight shadow adds dimension, making your jewelry look more expensive.
Angles that highlight shine and reflection can increase the perceived value. For example, capturing a ring’s facets at a 3/4 angle emphasizes clarity and brilliance. Choosing flattering perspectives builds trust in your brand’s premium feel.
Clear and well-angled shots reduce buyer hesitation by giving a realistic and detailed view of your products. Photos that vary in angle let customers examine jewelry as if they held it.
This lowers doubts about size or color. Strong visuals draw attention on websites and social media, encouraging shoppers to click and buy.
How Jewelry Angles Affect Consumer Perception
Photography angles shape more than product appearance—they influence trust, perceived quality, and brand value. A 2025 study by Shopify showed that 60% of online buyers rely on image clarity and angle consistency when evaluating luxury items like jewelry.
For example, a 3/4 angle might increase perceived depth and craftsmanship, while a low-profile view makes rings feel premium and substantial. Incorporating multiple angles reduces uncertainty, especially when buyers can’t inspect pieces in person.
Brands that align angles with storytelling (e.g., soft diagonals for elegance) may also boost dwell time and click-through rates.
Essential Angles for Jewelry Photography
Choosing the right angles highlights your jewelry’s design and sparkle. Using clear views helps customers see textures, shapes, and details that matter. Each angle reveals a different aspect of the piece. Varying your shots will give you a stronger image set.
Top-Down Angle
This angle looks straight down at the piece. It’s great for showcasing flat or symmetrical designs, such as rings or bracelets laid out on a flat surface.
You capture the entire shape with balanced lighting, avoiding shadows that could hide details. Use this angle to show the overall pattern, metal finish, and how smaller stones or engravings are arranged.
It also helps with flat lay setups where you want simple, clean backgrounds. The top-down view keeps the focus on the jewelry without distractions.
45-Degree Angle
Shooting from a 45-degree angle mixes the benefits of top-down and profile views. This angle adds depth and shows the jewelry’s height and structure. It works well for necklaces, layered pieces, and earrings, giving a sense of how they might look when worn. This angle also captures reflections and sparkle better than a flat shot.
Make sure your lighting highlights the stones without harsh glare. The 45-degree angle offers a natural, inviting view without distorting proportions.
Profile Angle
The profile angle is a side-on shot showing the piece’s thickness, curves, and edge details. It’s key for rings and bracelets where the band’s shape or clasp design matters. This view gives insight into the craftsmanship and build quality. Use profile shots to highlight dimensional elements like stone settings and metal contours.
Keep your lighting soft to avoid harsh shadows but clear enough to reveal texture. Profile views complement other angles by providing a complete picture of your jewelry’s form.
Creative Angles for Stunning Jewelry Shots
Special angles can highlight the details and beauty of your jewelry pieces. You can capture sparkle, shape, and texture in ways that make the product stand out. Lighting and perspective work together to show your items in their best light.
Macro Close-Up Angles
Focus tightly on small parts of the jewelry, like gemstone cuts or intricate metalwork. This angle reveals fine details you might miss in wider shots.
Use a macro lens or a camera setting that lets you get very close, showing texture and craftsmanship. Pay attention to sharpness and avoid shadows that block parts of the product.
Keep the background simple to prevent distractions. Lighting should highlight the sparkle without creating glare or harsh reflections. Perfect macro shots bring the viewer’s eye directly to the quality and design. This helps your customer appreciate craftsmanship before buying.
Backlighting Effects
Position a light source behind your jewelry to create glowing edges or highlight transparency. This works well on pieces with clear stones or delicate metalwork, adding a soft, elegant halo effect.
Backlighting can also create interesting shadows and contrast that emphasize shape and layers. Avoid overpowering the subject, and balance the light to keep details visible in the front. Use this style to add depth and mood. This makes the jewelry feel more three-dimensional and eye-catching.
Dynamic Diagonal Views
Shoot your jewelry at a diagonal angle rather than straight on. This approach shows more of the product’s form and brings movement to the image. It works well for rings, earrings, and layered pieces. Try tilting the product or the camera to capture edges and curves that a flat shot can miss.
Sometimes, combining diagonal views with a slight rotation helps display multiple features at once. This angle adds energy and helps your images stand out by breaking away from standard front-facing shots.
Tips for Selecting the Best Angle for Each Jewelry Type
Choosing the right angle lets you show the jewelry’s key details, like sparkle, shape, and craftsmanship. Focus the viewer’s attention on what makes the piece special, while avoiding reflections or shadows that hide its quality.
Lighting and background also affect how well the angle works.
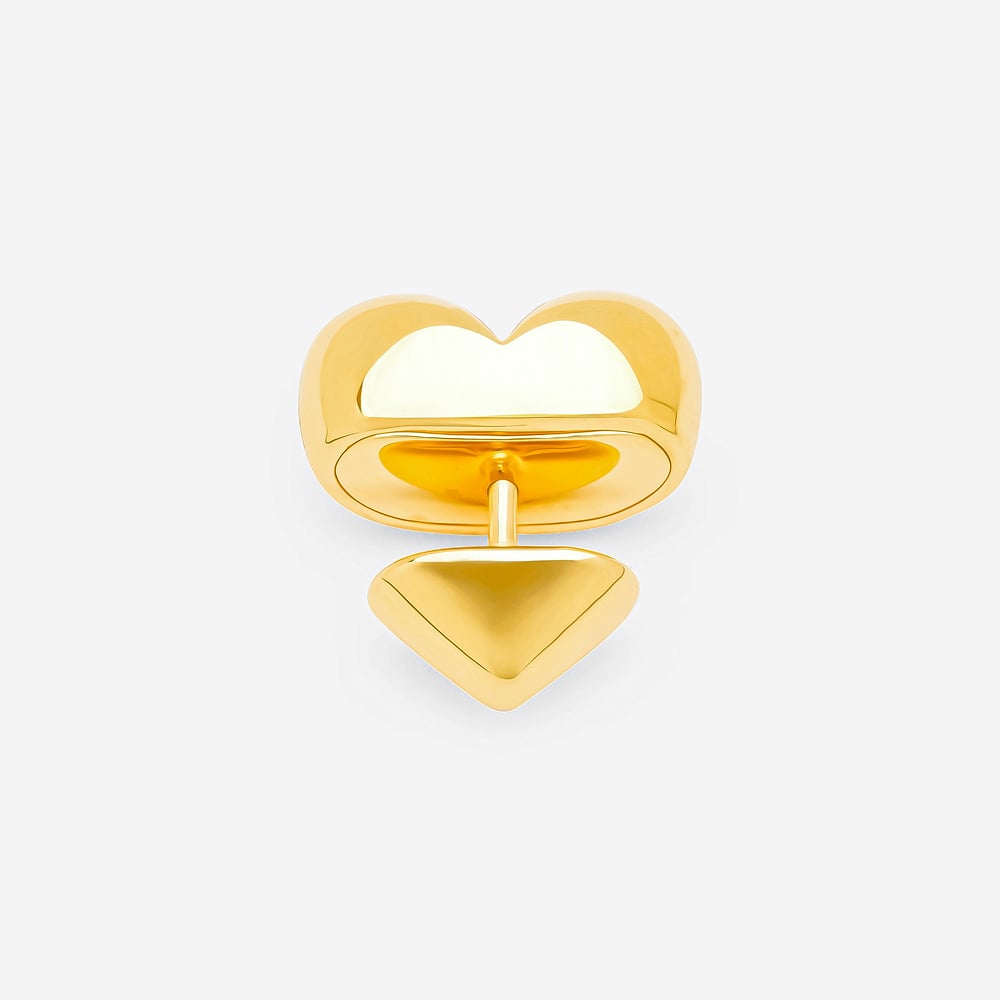
Rings
For rings, highlight the design on the band and the stone or detail on top. A 45-degree angle often works well because it reveals both the face and some of the side profile. Shoot from slightly above the ring to catch the sparkle of any stones. This angle shows how the ring looks on a finger or when placed on a simple surface.
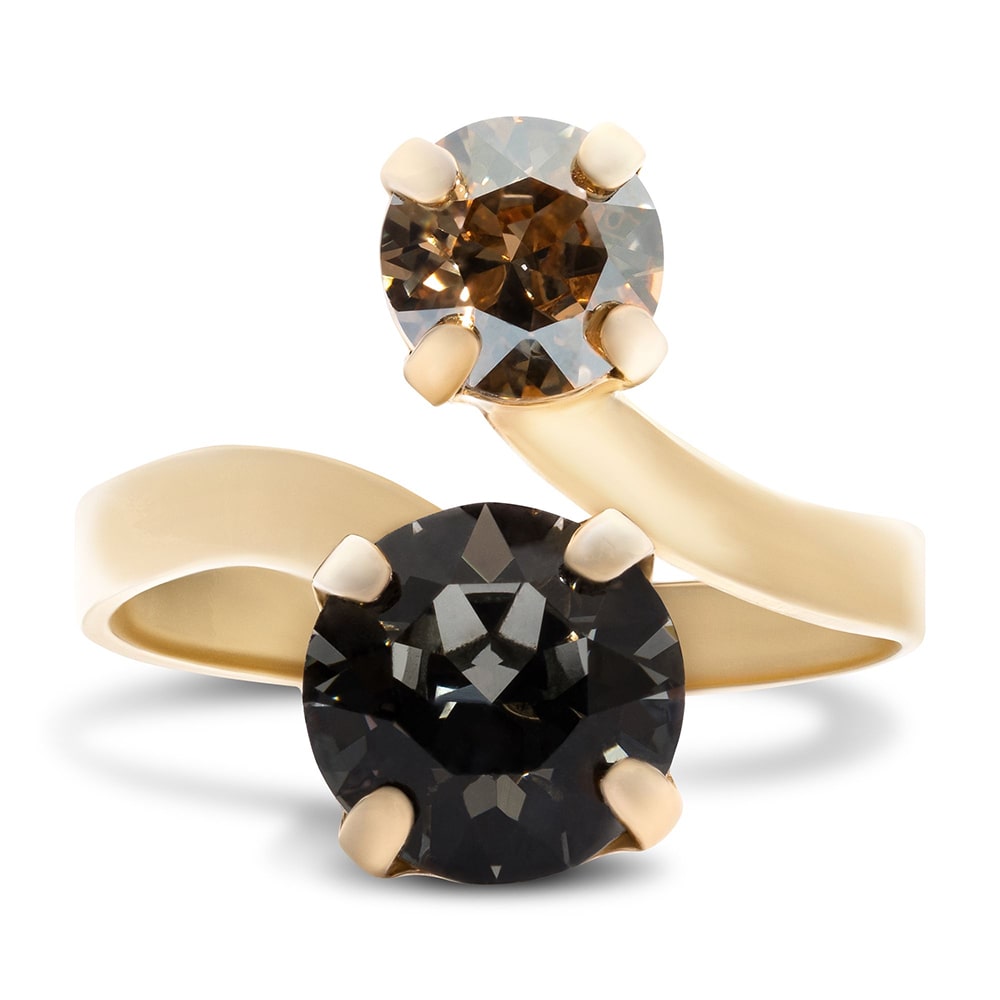
Use soft, diffused light to reduce harsh reflections and keep the metal’s shine clear but not blinding. Include close-ups of textured details or engravings. Multiple shots from different sides create more options to choose from later.
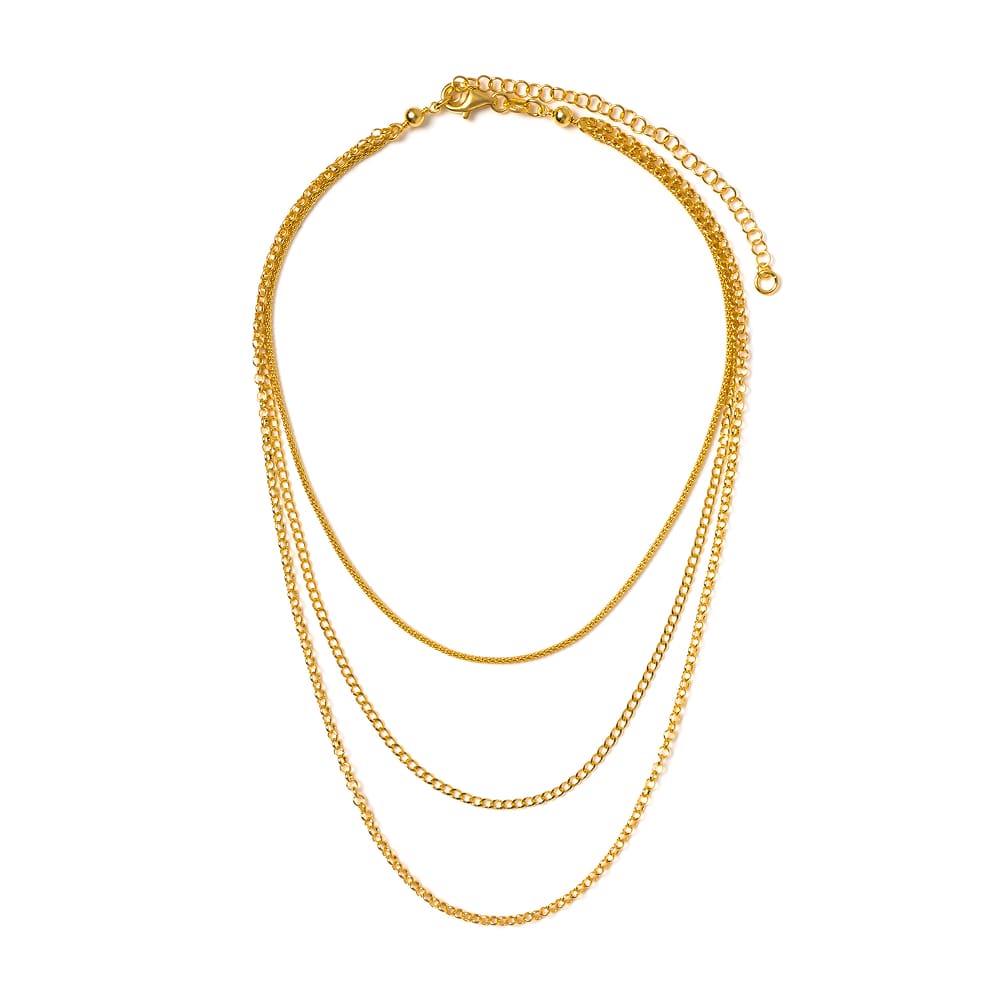
Necklaces
Necklaces often look best when shot straight-on to capture how they hang naturally. For chains or detailed pendants, a 3/4 angle provides depth and makes the shapes stand out. If you photograph a model, focus on the neckline area to show how the necklace fits and moves with the body. Adjust the angle slightly to avoid glare on metals or gemstones.
Close-up shots of clasps or unique pendant features help show craftsmanship. Flat lay shots from above can also work well, especially with layering or styles that include charms.
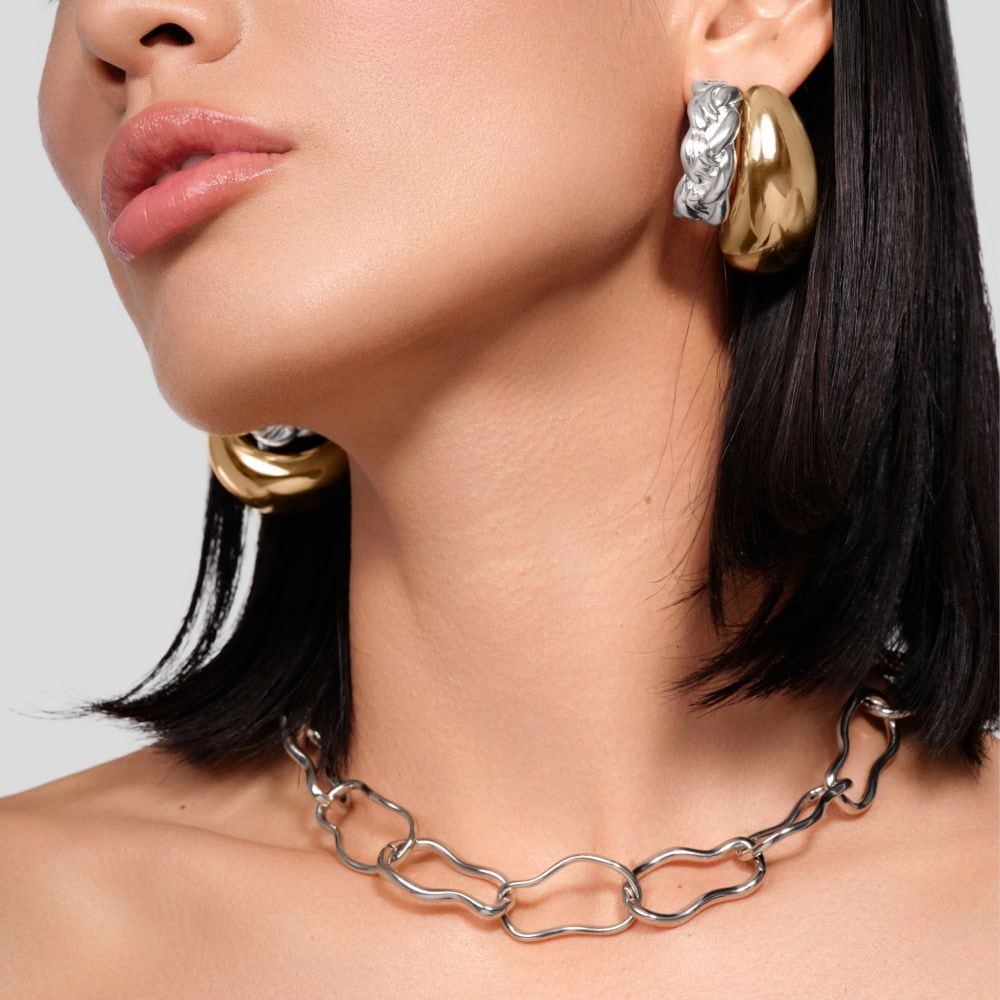
Earrings
Earrings need angles that reveal both the front design and the earring’s shape or length. For studs, a slight tilt highlights stones or patterns. For dangling earrings, a side angle shows movement and length clearly. Shoot with the earrings hanging or attached to a model’s ear for context.
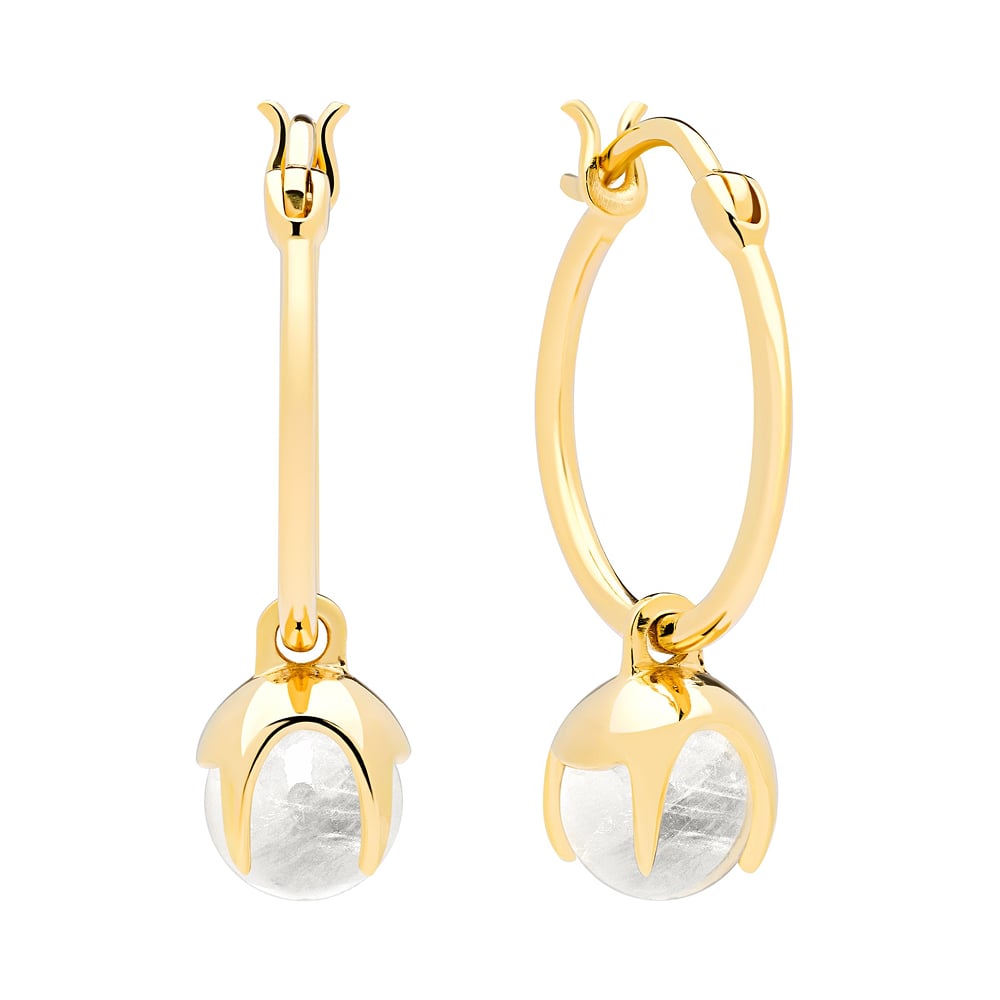
This sets the scale and shows how they sit when worn. Avoid angles that flatten the design or create distracting shadows. Pair your main shots with detailed close-ups of clasps, hooks, or fine metalwork to provide a fuller picture. Adjust lighting carefully to keep stones bright but avoid glare on reflective surfaces.
Techniques for Experimenting With Jewelry Angles
Trying different angles can change how light hits your jewelry and how its details show up. Adjusting reflections and the position of pieces helps you find the angle that best highlights the design and sparkle.
Using Reflectors and Diffusers
Control light and shadows by placing reflectors or diffusers around your jewelry. A reflector bounces light onto dark areas to reduce harsh shadows. You might use white cards or silver reflectors, depending on how much brightness you want. Diffusers soften the light hitting the piece. This reduces glare and sharp reflections that can distract from the jewelry’s details. Moving diffusers closer or farther changes how soft the light looks.
Use a combination to balance between sparkle and detail. Reflectors help fill in light while diffusers create even coverage. Experiment by shifting their positions and observing changes through your camera lens.
Rotating Props and Jewelry Displays
Use rotating props or displays to capture your jewelry from multiple angles without touching the piece directly. You can smoothly turn rings, bracelets, or necklaces to find the most appealing view.
Adjust the height and tilt of the jewelry display to show different perspectives, like top-down, side, or three-quarter angles. This also helps you manage reflections and shadows by exposing different facets to the light source.
Try slow rotation with continuous shooting to pick the best still frames later. This method saves time and keeps consistency across shots, especially for product lines with multiple similar items.
Optimizing Angles for Social Media and E-Commerce
Choosing the right angles helps keep your jewelry photos clear and consistent. It also lets you showcase different details to capture buyer interest. Careful planning of shots makes your product pages and social feeds easy to browse and more engaging.
Consistency Across Product Pages
Keep your angles consistent across all product pages so shoppers can compare items easily. Use a standard set of views, like straight-on, 3/4 angle, and side shots.This lets your buyers see your jewelry’s shape, size, and sparkle from reliable angles every time. For earrings, the 3/4 angle works well to show depth and detail. Rings often benefit from a low straight-on angle to highlight the stone and setting. Avoid random angles that can confuse customers or hide important features.
Use the same background and lighting for all shots. This creates a uniform look that feels polished and trustworthy. When shots line up across your site, customers focus on your jewelry, not distracting differences in photos.
Creating Carousel Image Series
Carousels are great for social media and e-commerce to tell a product story through multiple angles. Start with the main shot—usually a clean, straight-on image.
Follow up with close-ups, 3/4 angles, and detail shots to highlight craftsmanship. Each image should add value.
For example:
- Image 1: Front view to show the overall design
- Image 2: Side angle reveals thickness or setting
- Image 3: Close-up of stones or textures
- Image 4: Styling shot to show size on a model or hand
This sequence guides customers through the product’s features. On social media, carousel posts encourage interaction and keep viewers swiping. Make sure your carousel images maintain the same style and lighting. This keeps your brand looking cohesive and your product clear across platforms.
Common Mistakes to Avoid With Jewelry Photography Angles
Ignoring key angles can hurt how well your jewelry shows. Shooting only straight-on views may hide important shapes or depth. Include angles like low straight-on and 3/4 to highlight details and volume. This helps your jewelry look more interesting.
Using flat angles all the time makes pieces look dull. Jewelry needs dimension, so change your viewpoint to bring out sparkle and form. Avoid only flat or boring shots. Try different perspectives to show off your product.
Failing to show size and scale can confuse buyers. If your photos don't reveal width or thickness clearly, customers might misjudge the product. Use angles that display these measurements well. Show both the front and sides for clarity.
Overlooking reflections and glare often happens on shiny surfaces like rings. These can distract or hide details. Adjust your lighting and angles to control unwanted reflections. Move your lights or the jewelry until you get a clean shot.
Relying solely on a single angle risks giving an incomplete look. Providing a few well-chosen shots helps customers understand the design fully. You want your photos to show exactly what your jewelry looks like. Angles play a big part, so use several to create clear, attractive images.
Improve Jewelry Presentation With Smarter Angles
Photography angles have a direct impact on how customers perceive your jewelry. Strategic use of top-down, 3/4, and profile angles helps showcase dimension, texture, and design details clearly. Techniques like rotating props, reflectors, and macro close-ups further enhance image quality.
Avoiding flat compositions and distracting reflections makes your visuals more consistent and trustworthy. A well-structured image set with multiple angles improves customer confidence and supports buying decisions.
Need help getting consistent, catalog-ready jewelry images? Book a consultation to explore Squareshot’s angle-optimized product photography services.
Frequently Asked Questions
Getting clear, detailed photos of jewelry depends on choosing the right angles, lighting, and backgrounds. Simple setups at home can work well. Specific camera and lens settings help bring out every shine and detail in your pieces.
What are the best angles to photograph jewelry for professional results?
Shoot earrings and rings from a straight-on view, a low straight-on angle, and a 3/4 angle. These angles show the product’s depth and width effectively. Avoid using only straight-on shots because they may not capture the full shape.
How can beginners set up effective jewelry photography angles?
Start with the 3/4 angle to reveal depth. Use a clean background and steady your camera on a tripod. Experiment with small angle changes. Keep lighting consistent to show the product’s true look.
Can you recommend some at-home jewelry photography ideas?
Use natural light near a window for even brightness. Props like jewelry, tools, or simple fabrics can add context without distraction. A smartphone camera with a simple stand and soft light works well for budget setups.
Which camera settings are ideal for capturing stunning jewelry photos?
Set a low ISO (100–200) to reduce noise. Use a small aperture (f/8–f/16) for deeper focus across the piece. Adjust shutter speed based on your lighting. Manual mode lets you control these settings for sharp images that catch reflections.
How do you choose the best background when photographing jewelry?
Pick neutral and non-reflective backgrounds like white, black, or soft gray. Avoid clutter or bright colors that draw attention away. Consistent color and texture help maintain a polished, clean look across your images.
What tips can you provide for selecting the appropriate lens for jewelry photography?
Use a macro lens to capture close-up details and textures clearly. A lens with a focal length between 50mm and 100mm lets you shoot without distortion. Avoid wide-angle lenses to keep proportions accurate.


Product A
SQUARE SHOT