


The importance of final product preparation
Product photography is one of the rare cases, where good preparation can save lots of money. For example, if you take care to hire an inexpensive studio assistant to prepare your items properly before the shoot, you will save plenty of working hours for a highly skilled expensive photo editor at a later stage.
Product photography is a complex process with plenty of nuances, which has a direct impact on the final result. More importantly, the final result of the product photography has a proportionate impact on the bottom line of an ecommerce company. Simply put, the better your product photography — the better profits an online store reaps.
Below we provide workable tips based on years of experience in a product photography studio in New York.
How product preparation before a photo shoot saves you money and time
The most expensive and resourceful part of any shooting — is a post-production process. That’s the time when your beautiful shots are being fine-tuned to their best — minor scratches are going invisible, diamonds shine even better and apparel lose unnecessary wrinkles.
And you can dramatically decrease retoucher’s time on this just by preparing your products for the shoot right. The better condition the product for the shooting is in — the less time a retouching team will spend polishing the product’s final look in the photo.
How exactly can an ecommerce store owner save money by properly preparing for the shoot?
Plan all processes: if this is the first time and you have no prior experience to rely on, read some professional blog articles, that will arm you with insider step-by-step manuals for each situation. We suggest this one 🙂
- Act on all arrangements necessary for the shoot in advance:
- choose, book, and prepay a studio if you’re working with a freelancer- cast and book models, photographer & other personnel
- get your props ready — buy backgrounds & necessary photo equipment for this shoot
- sign off items for the shoot & arrange delivery.
(That may be quite a hassle, so many choose to book a shoot in a professional product photography studio to save time. Still, we are going to arm you with a step-by-step guide, so if you work with a freelancer you don’t miss a thing) - Have a calendar set to send out reminders for all involved in the shoot: 1 week and 1 day before the event itself.
- During the shoot itself, make sure you prep all the products to the best state possible. Even though Photoshop can fix all errors made during the shoot, the corrections come at a price.
If you do all of the above, your shoot is likely to go well and no money will be wasted for extra working hours of the studio, models, makeup artist, etc. Moreover, a well-prepared shoot means less work for an image editor, whose check is usually heavy to pick up.
Requirements for product photos preparation
When it comes to a professional studio, the working routine is such, that it minimizes all potential threats and reduces further costs at the very beginning.
This is why we at Squareshot make sure, that we do everything in our power for the shoot to go as smoothly as possible. This is why we prep twice as long as we shoot.
- Products should be on time.
as basic as it sounds, logistics and shipment of products is a complex process with many dependants and things an ecommerce owner has no control of. Make sure you allow for some force majeure and deliver the products safely and timely onto the site.
If you fail to deliver products on-site on time, you may face fines, the studio may have other clients contracted for further dates, etc. All of these will have a financial cost to it.
- Evaluate the complexity of the shoot beforehand and discuss with your supplier how much time / manning is needed for the shoot to minimize the cost.
Say you have large-size objects to shoot — you need to make sure extra hands are available in the studio to move the objects during the shoot.
Or, say, you have jewelry to shoot, which needs an extra polish with proper creams to look their shiniest — so you need an extra couple of hands in rubber gloves, that are specialized in polishing expensive jewelry.
Or you have a clothing photoshoot of silk garments, that need steaming or extra delicate ironing when out of the box — which translates in securing a couple of super experienced hands, an ironing board, an iron or a steamer.
- Have a system in place on the shoot, once you have secured all the props, equipment and manning for the shoot and your products are on time.
A system or a step-by-step plan with assigned executors and time allotment will ensure the process is not impromptu, but a well-planned succession of routines. Professional studios always have a thoroughly thought-through system, to shorten the time of the shoot and work in the most efficient way. If you plan to go through the production process on your own, you definitely should prepare one too.
Have your products all lined up nicely for the shoot on a rack. Arrange them by colours / size / collection. If you happen to have group photos during the shoot — make sure the lineup of products reflects the exact order of the shoot.
Make sure all products are in their top shape before they go on a rotating table or under the lightning. The better shape they are in — the less work is to be done during the photo editing. Below we’ll guide you through a step-by-step process of preparation for the photo session for different types of products:
- apparel
- jewelry
- footwear
- furniture
- transparent objects
- food
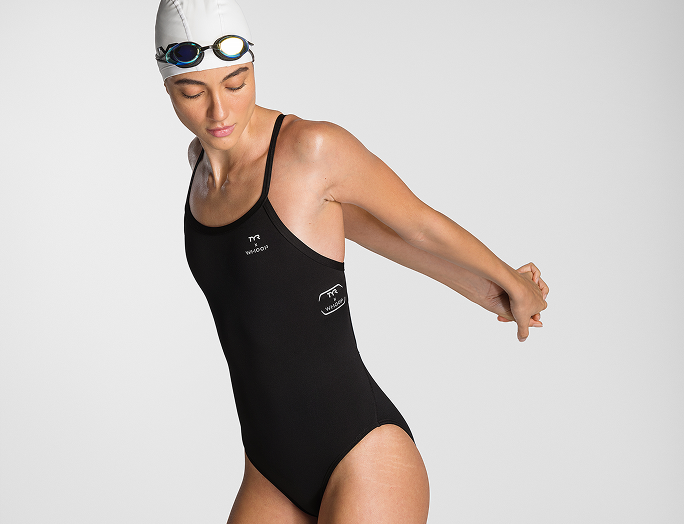
How to prepare apparel before shipping the products to a photo studio
Preparation of apparel items for a shoot depends on 3 factors:
- if you use models in the shoot
- if you want products to be shot as a ghost mannequin, flat lay or hanging / pinned
- if the garment is complex in terms of detail, design, fabric properties. You do understand is your apparel complex designed or not, in terms of fabric — transparent, mesh, sparkly fabrics are a bit more difficult to shoot.
Indeed, your apparel is shot once to be shown to thousands of people — so they can make a purchasing decision. It has to look perfect. Try to prepare your apparel to the extent, as if it was to be worn for a very important wedding — it has to be picture perfect so that all people looking at it on multiple wedding photos years after the event will see nothing but perfection.
During the clothing product photoshoot make sure to prepare an item at every aspect:
- Check each of the potential photoshoot products for holes, poor stitching, bad coloring, spots and such. The piece of clothing is to become a representative of you!
- Wash, dry & iron your garments a couple of days before the shoot.
- If your shooting involves models, make sure to get models to try your garments beforehead, to ensure they are a good fit and get a replacement in case it is needed.
- When at the studio, classify products and line them up in order of the shoot.
- Iron them thoroughly and place them onto hangers on a rack in order of the shooting schedule.
- Use a steamer to get rid of the final creases.
- Use comb for fur items to make sure the fur is facing the same direction.
- Use lint roller for dark garments to rid them of specks.
- Place your garments carefully /with assistance for complex designs/ onto the table, floor, mannequin or a hanger.
- Make sure all folds are esthetically positioned in the shot on the model or mannequin by adjusting them accordingly.
How to prepare the jewelry for an ecommerce product shoot
Jewelry product photoshoot is a craft in its own right. Jewelry products reflect light and the camera, they get visible fingerprints right away if handled without gloves and jewelry pieces get a layer of dust sticking to its surface easily. Make sure you take into account the following insider tricks when prepping for a shoot your precious stones.
- Triple check your delivery and insurance to make sure the items are on time in the studio and safe. Check every stone in your pieces and make sure there are no accidental defects or scratches.
- Prepare and polish your jewelry items as well as the boxes when they are still in the safe of your company before the shoot.
- Take them out of inventory and ensure proper security during the transportation and on the shooting spot — be it a studio or outside in the public area.
- Chose a studio, that can guarantee the entire process being secure (the transportation back as well).
- Handle your most precious pieces one by one, taking them out of the safe by one assigned responsible person.
- Dust and polish the box, remove any speck from the velvet inside the packaging.
- Dust and polish the jewelry piece just before it goes into the spotlight. Use gloves at all times to avoid leaving visible fingerprints from oily hands.
How to prepare shoes for an ecommerce product shoot
The preparation of shoes for a product photography shoot boils down to keeping the right shape and polished surfaces in the frame.
- Before the shoot, when taking shoes or sneakers out of inventory, pay attention to details and chose the high-quality pair, clean it and stuff it with shape-holding materials. Box them.
- When at the photo studio, line up all the shoes or sports shoes, that you plan to make product photography by placing them next to their packaging.
- Remove all the paper and plastic, that is not to be part of the shoot, but is designed to hold shape only.
- Give your footwear a final clean and polish.
- Tie your laces or adjust decorative elements, so they are positioned as designed initially.
Bonus tip: If a model is involved in a shoe photoshoot it is paramount you remember to plan product part of the shoot first or ensure the second pair of shoes is available, as the sole is likely to be ruined while shooting with a model.
.gif)
How to prepare furniture for a professional product shoot
Furniture is bulky. Furniture requires context to be sold. When you sell furniture, you sell family comfort or an evening with a glass of single malt whiskey by the fireplace in that cozy chair. This is why furniture product photography is a whole chapter in its own right, and usually is shot in-context:
For bigger items, it’s expected to have a photo studio set up as part of a home in your warehouse, for smaller items it is possible to ship some of the furniture to a photo studio for a shoot. So what needs to be done to properly prepare for a product shoot of furniture?
- Think through the delivery process, assembly process and handling on the site — in terms of timing, manning, qualified personnel on-site to assemble, etc.
- Make sure all other props are on-site timely and in proper condition — you may want to have some nice woolen quilt for a sofa shoot or a set of bright utensils, a basket of apples and a bouquet for shooting a kitchen unit.
- Clean, dust and polish all furniture sets, that can accumulate dust and need a glossy polish.
- Use lint remover to clean up any hairs or strings from the textile or furry parts of the furniture.
- Use a brush if your furniture has the fur-like texture and needs to be given direction.
- While positioning furniture pieces for individual and group shots, make sure there is ample space for a photographer to be able to take a picture at different angles with access to natural light if possible.
How to prepare clear or transparent objects for a photoshoot
Clear objects can be either glass — which means fragile and needing caution while shipping and handling, or acrylic — which means they are prone to scratches. This needs to be taken into account to minimize breakage and possibilities of scarring respectively.
To prepare to shoot a transparent object, a photographer has to use a microfiber cloth to remove any spots or fingerprints. Using rubber gloves might be a good idea too — as however clean fingers are, the likelihood they will leave fingerprints on clear objects.
How to prepare food for a product photo session at a studio
Food photography is not just an object for a separate chapter, it calls for a book or a movie.
There are so many tricks photographers use to render an image of appetizing food products, that we will consider doing an article on that.
But for those who need to take photographs of food items right now, please read on the tips on how to use soap for beer froth, draw marks on a burger patty with shoe polish and use glue instead of milk to make a picture of cereals here.
Spray deodorant is the best chemical to make those fruit and berries shine in an image, and if you need to make an image of ice-cream; mash potato will do the trick while staying perfectly put, as opposed to melting on you, as real ice cream would!
Anyway, the process of preparing food to be photographed is a very specific skill and if you are outsourcing this to a photo company, just make sure they specialize in food photography or have some pertinent experience.
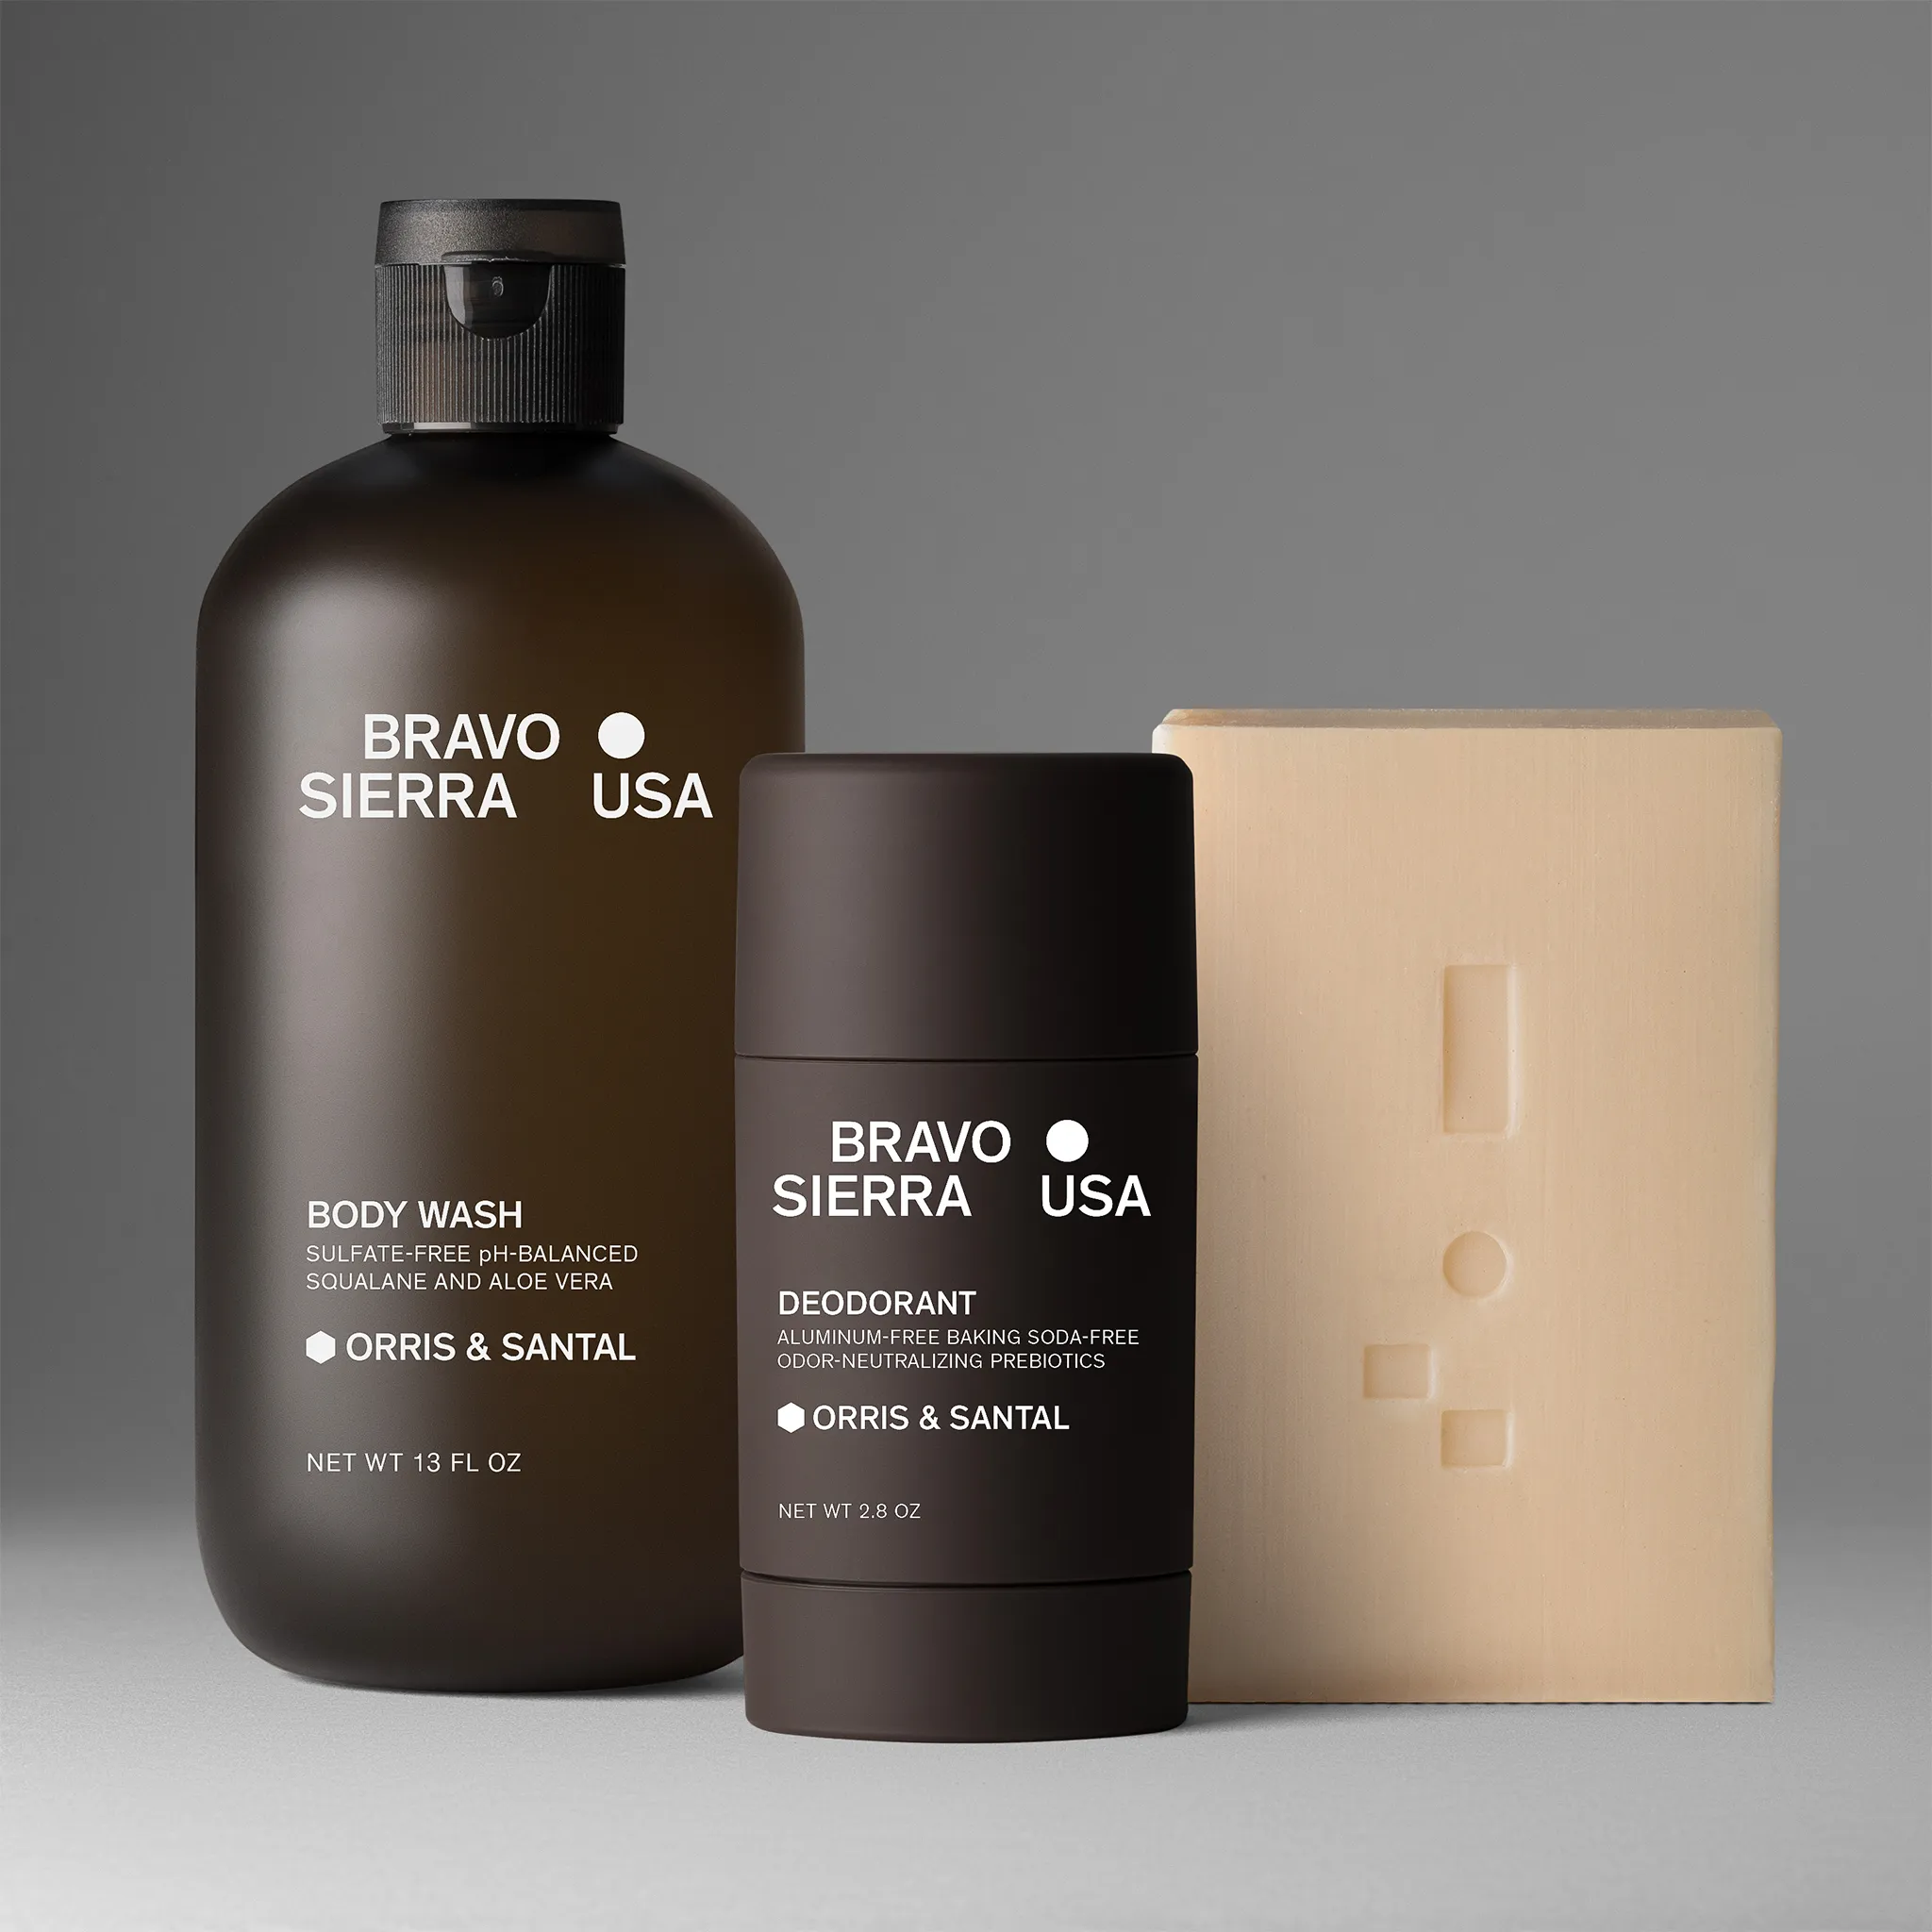
Tips on styling each product between shots
Styling a photoshoot is a mission usually taken care of by an ecommerce marketing manager, a creative director or a photographer in the absence of either or in case of a carte blanche from the client. Below are a few tips we found work towards the best result when it comes to styling in a product photography session when you need not only “products against background” shots, but in-context photography as additional.
Place your product in its “natural environment”
A gas stove best goes alongside a kitchen set and with an inline exhaust fan. A pair of sports shoes might bring memories of a morning run and be more relatable to joggers if shot against a marking on the grass of a stadium. You get the idea.
Include complementary objects as props to give context
Photographers would use props for product shoot quite often. This is very popular in social media photoshoots. When to use props:
- to play with colors /pink and sky blue, purple and violet — provide a combination, so that potential buyer can know what a product would go with/
- to upsell another product from the same collection that is a match
- to provide context or hint ways of application of a product
Shooting with a ‘human perspective’
The use of models in photography is always restrictive but quite effective. Yes, you associate your product with a certain age group, lifestyle or gender in a shoot. So you kinda cut out the rest of the world. But then, you also resonate with your target audience more.
Choose your models wisely in your commercial photography to ensure the best results — in terms of highlighting your product’s design and increasing sales.
Look, how precisely Diesel targeted their audience in this ad. You don't have a doubt, what of what age and what personality brand seeks attention from:
Product Photography Process
The product photography process is complex, gradual and multi-layered. But when it comes to preparation — it is the very firm foundation for the entire process. Make sure your responsible person has an elaborate plan of the photoshoot for weeks before the shoot as well as the day of the shoot for best results and cost-efficiency.
Start preparing for the ecommerce photoshoot soonest!
To be more exact, whenever you design your product, you should start thinking about how this product will look in a shoot. Think about visual appeal, colors, user-friendly shapes. Whenever the product leaves the manufacturer and hits your warehouses, it should be the -1 or -2 days to the shoot. So plan everything and prep your product thoroughly on the spot for best looks and least post-shoot work.
Let Squareshot pros help you with ecommerce product shoot preparations
Content production requires a lot of effort, time, and planning ahead. We know it. And we know how easy it is to forget about ironing those t-shirts beforehand or making time during a 5-meeting day. That’s why we decided to step up and help you with that — you can just place an order, and we will take care of not only shooting and retouching but the prep part as well.

We have the trained assistants, dusting cloths, lint rollers, furniture polish and all the nuts and bolts one needs for your products to look perfect in the resulting product images.
A budding ecommerce business owner? Subscribe for insider tricks and tips related to ecommerce photography, Shopify growth and online business below!


Product A
SQUARE SHOT
.png)


