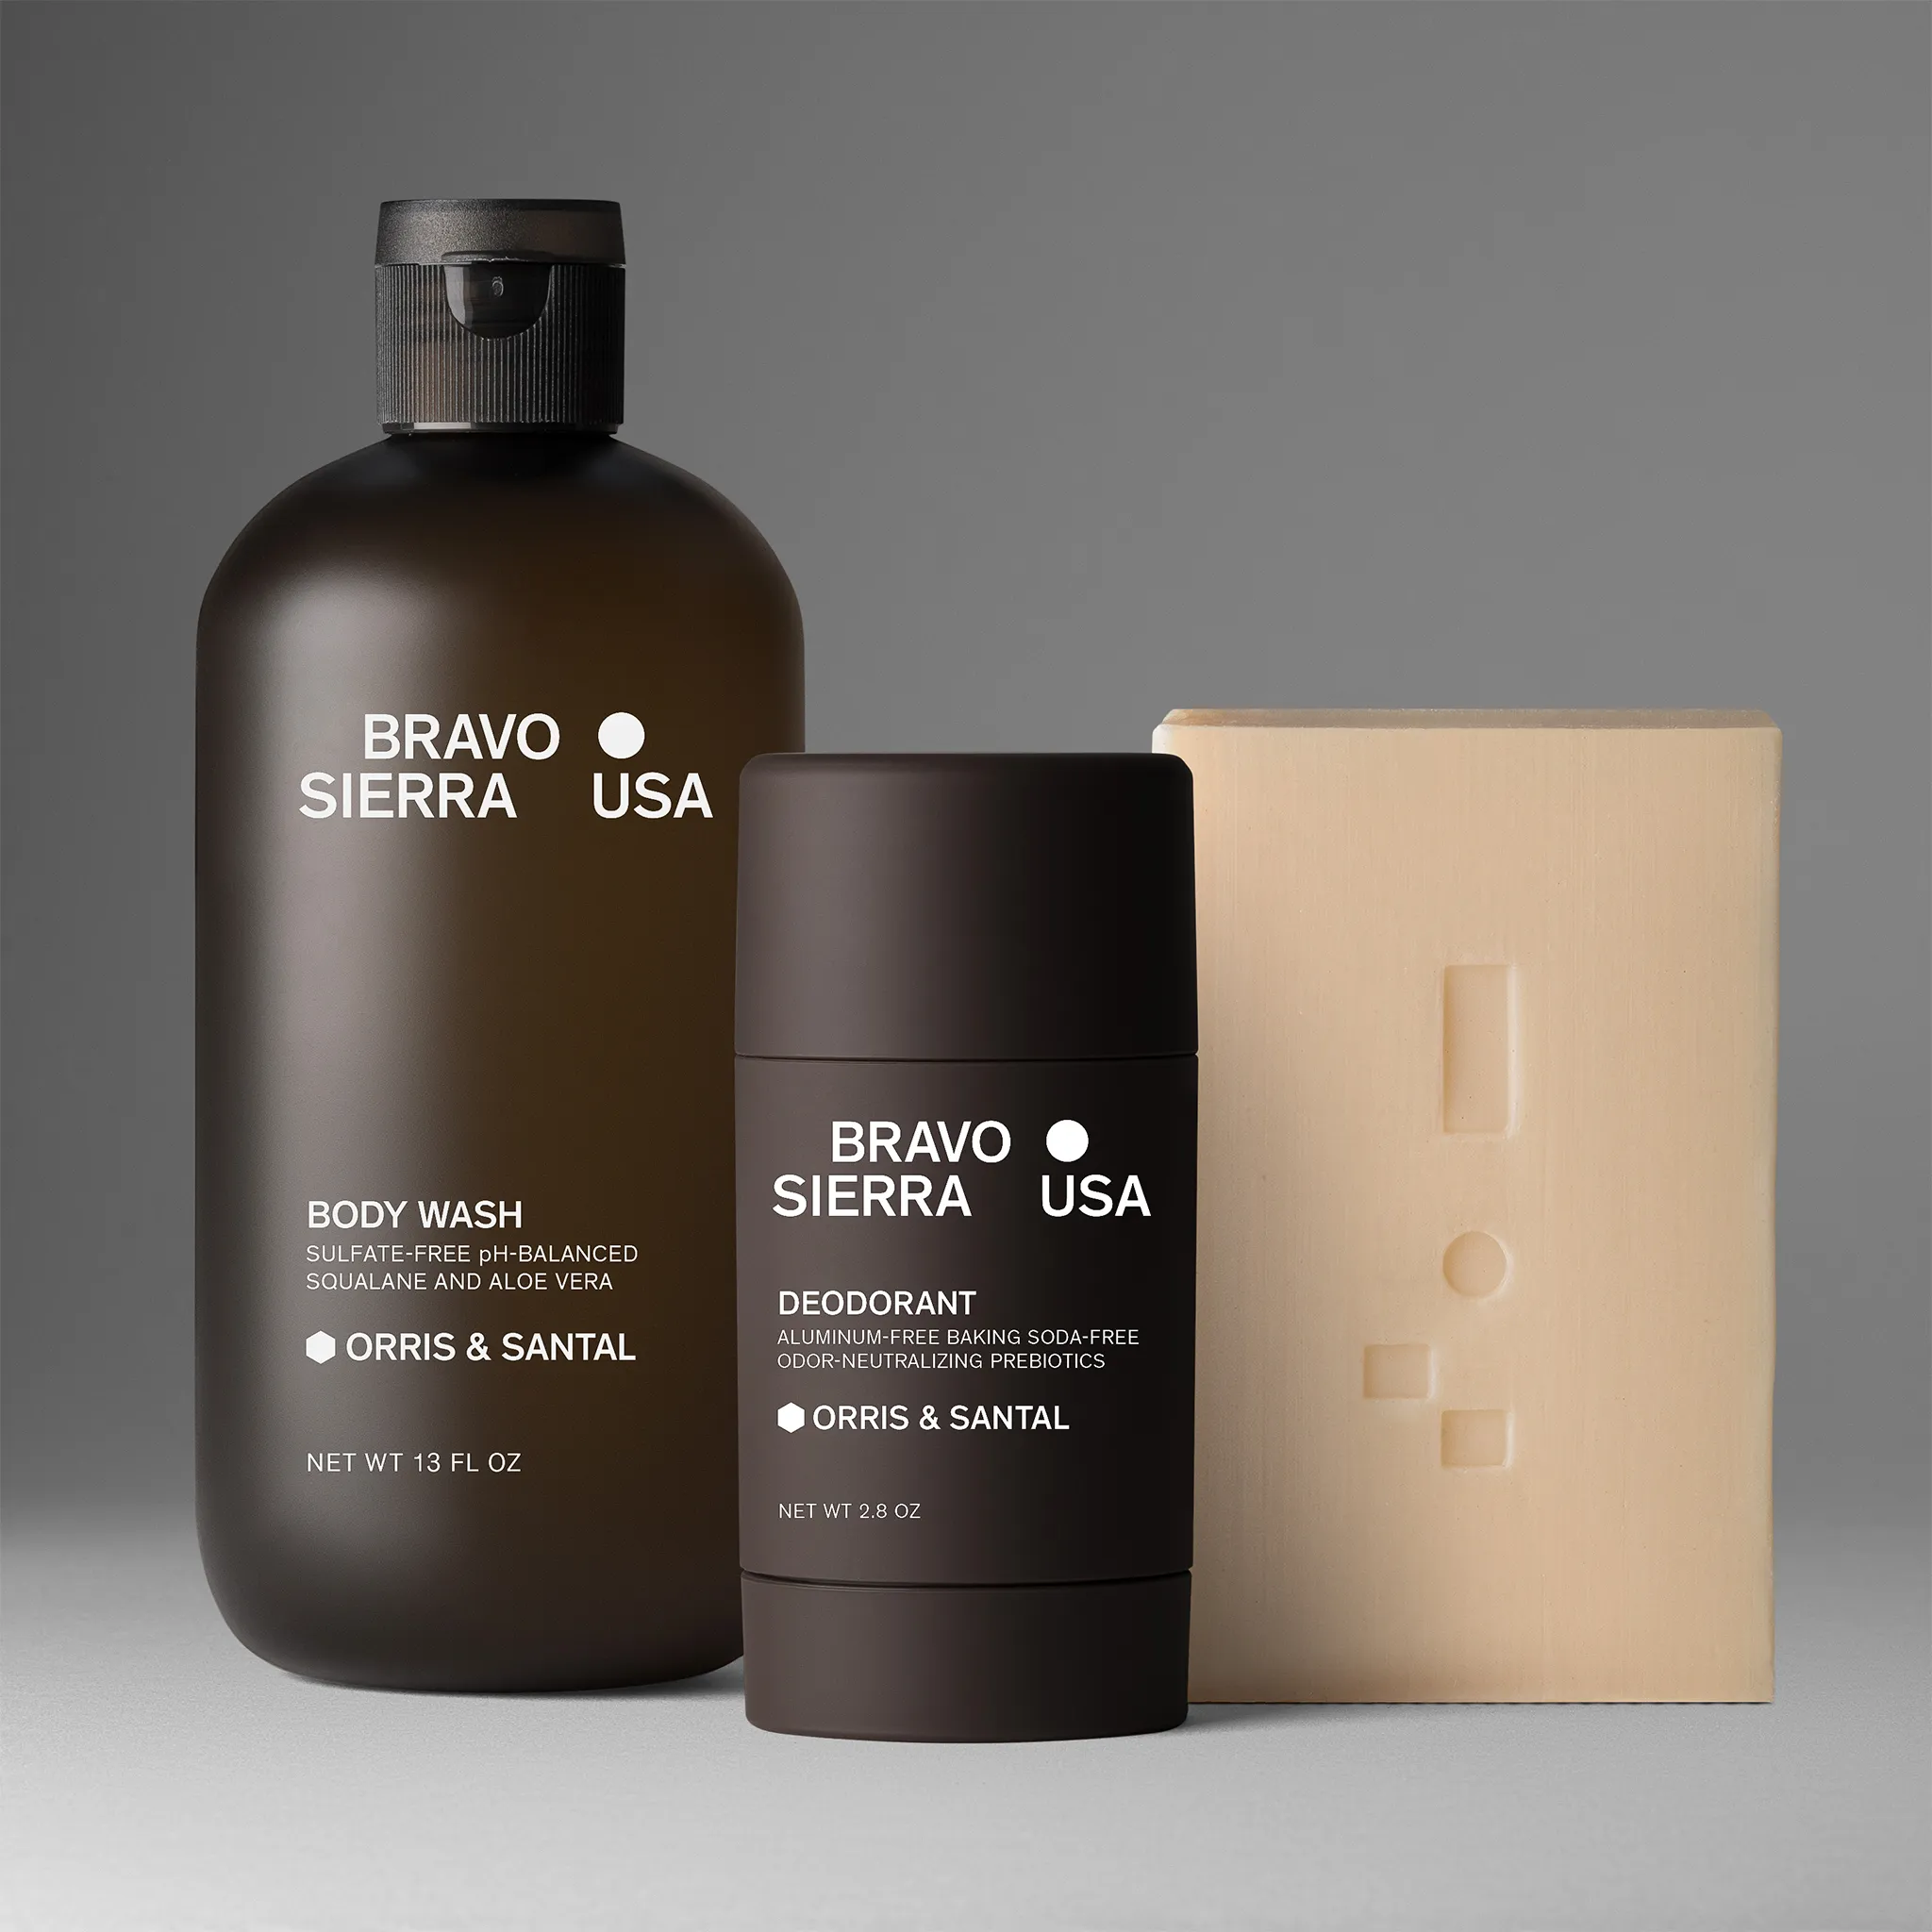
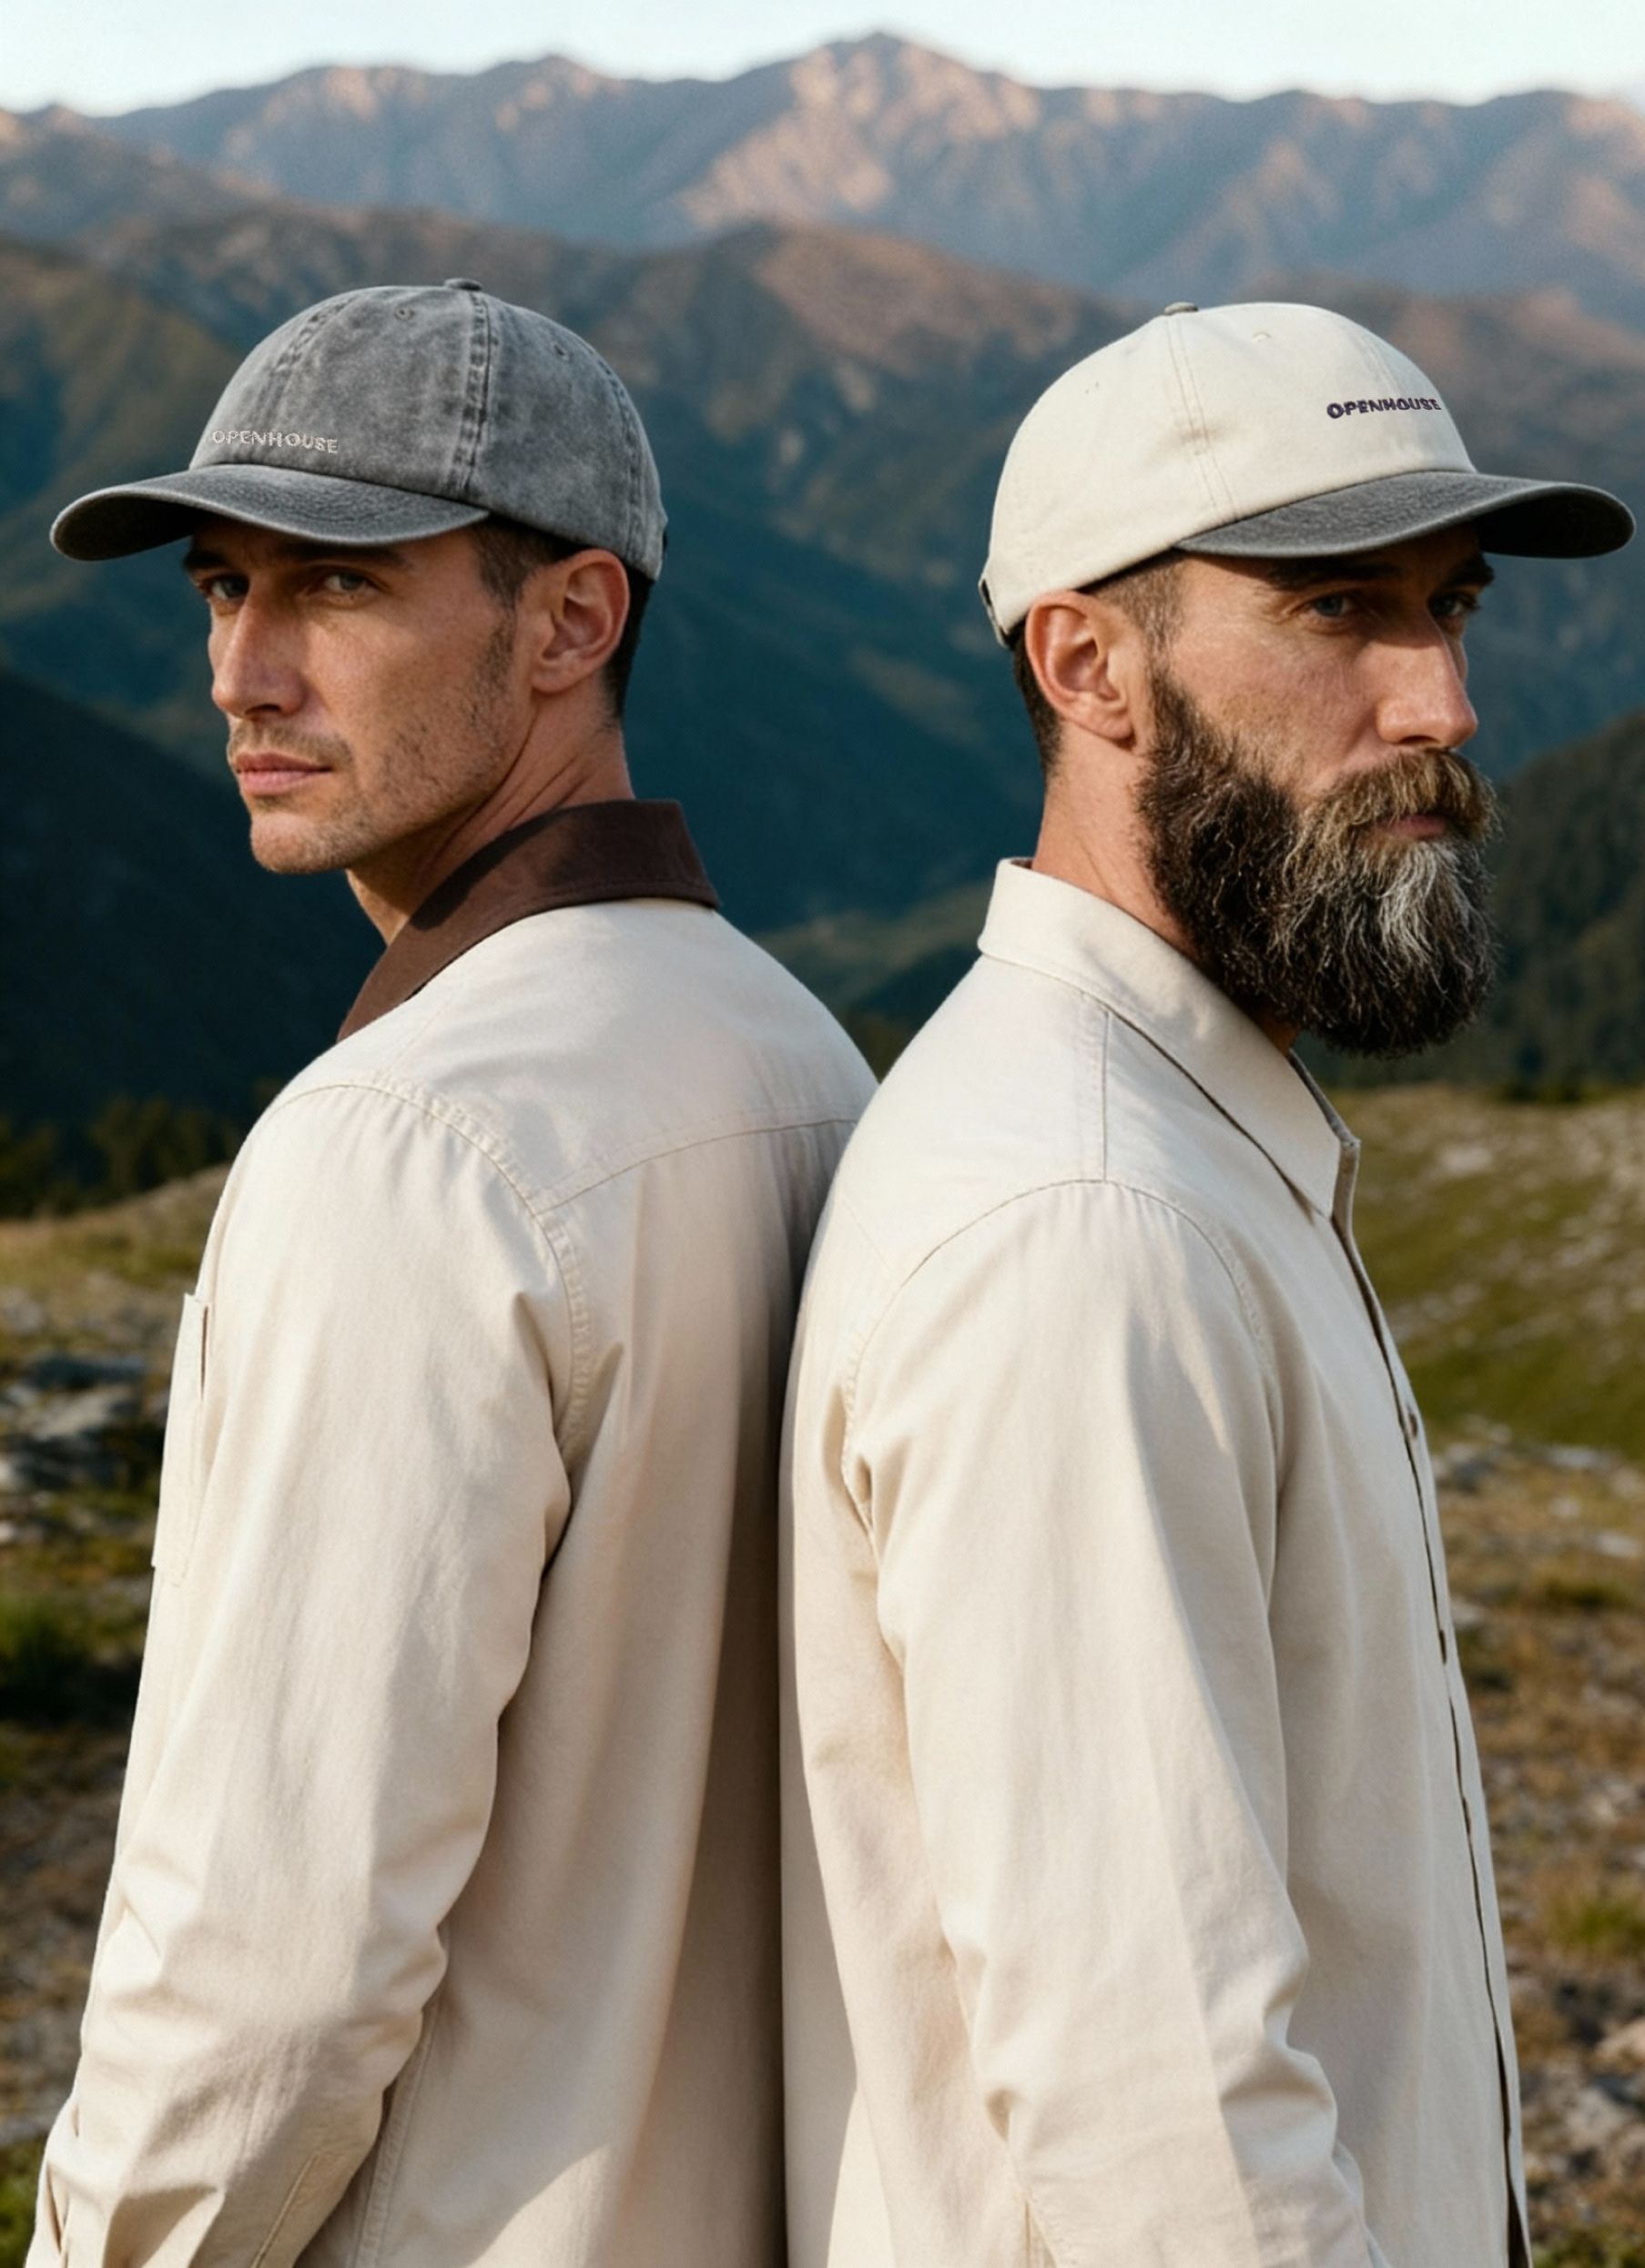
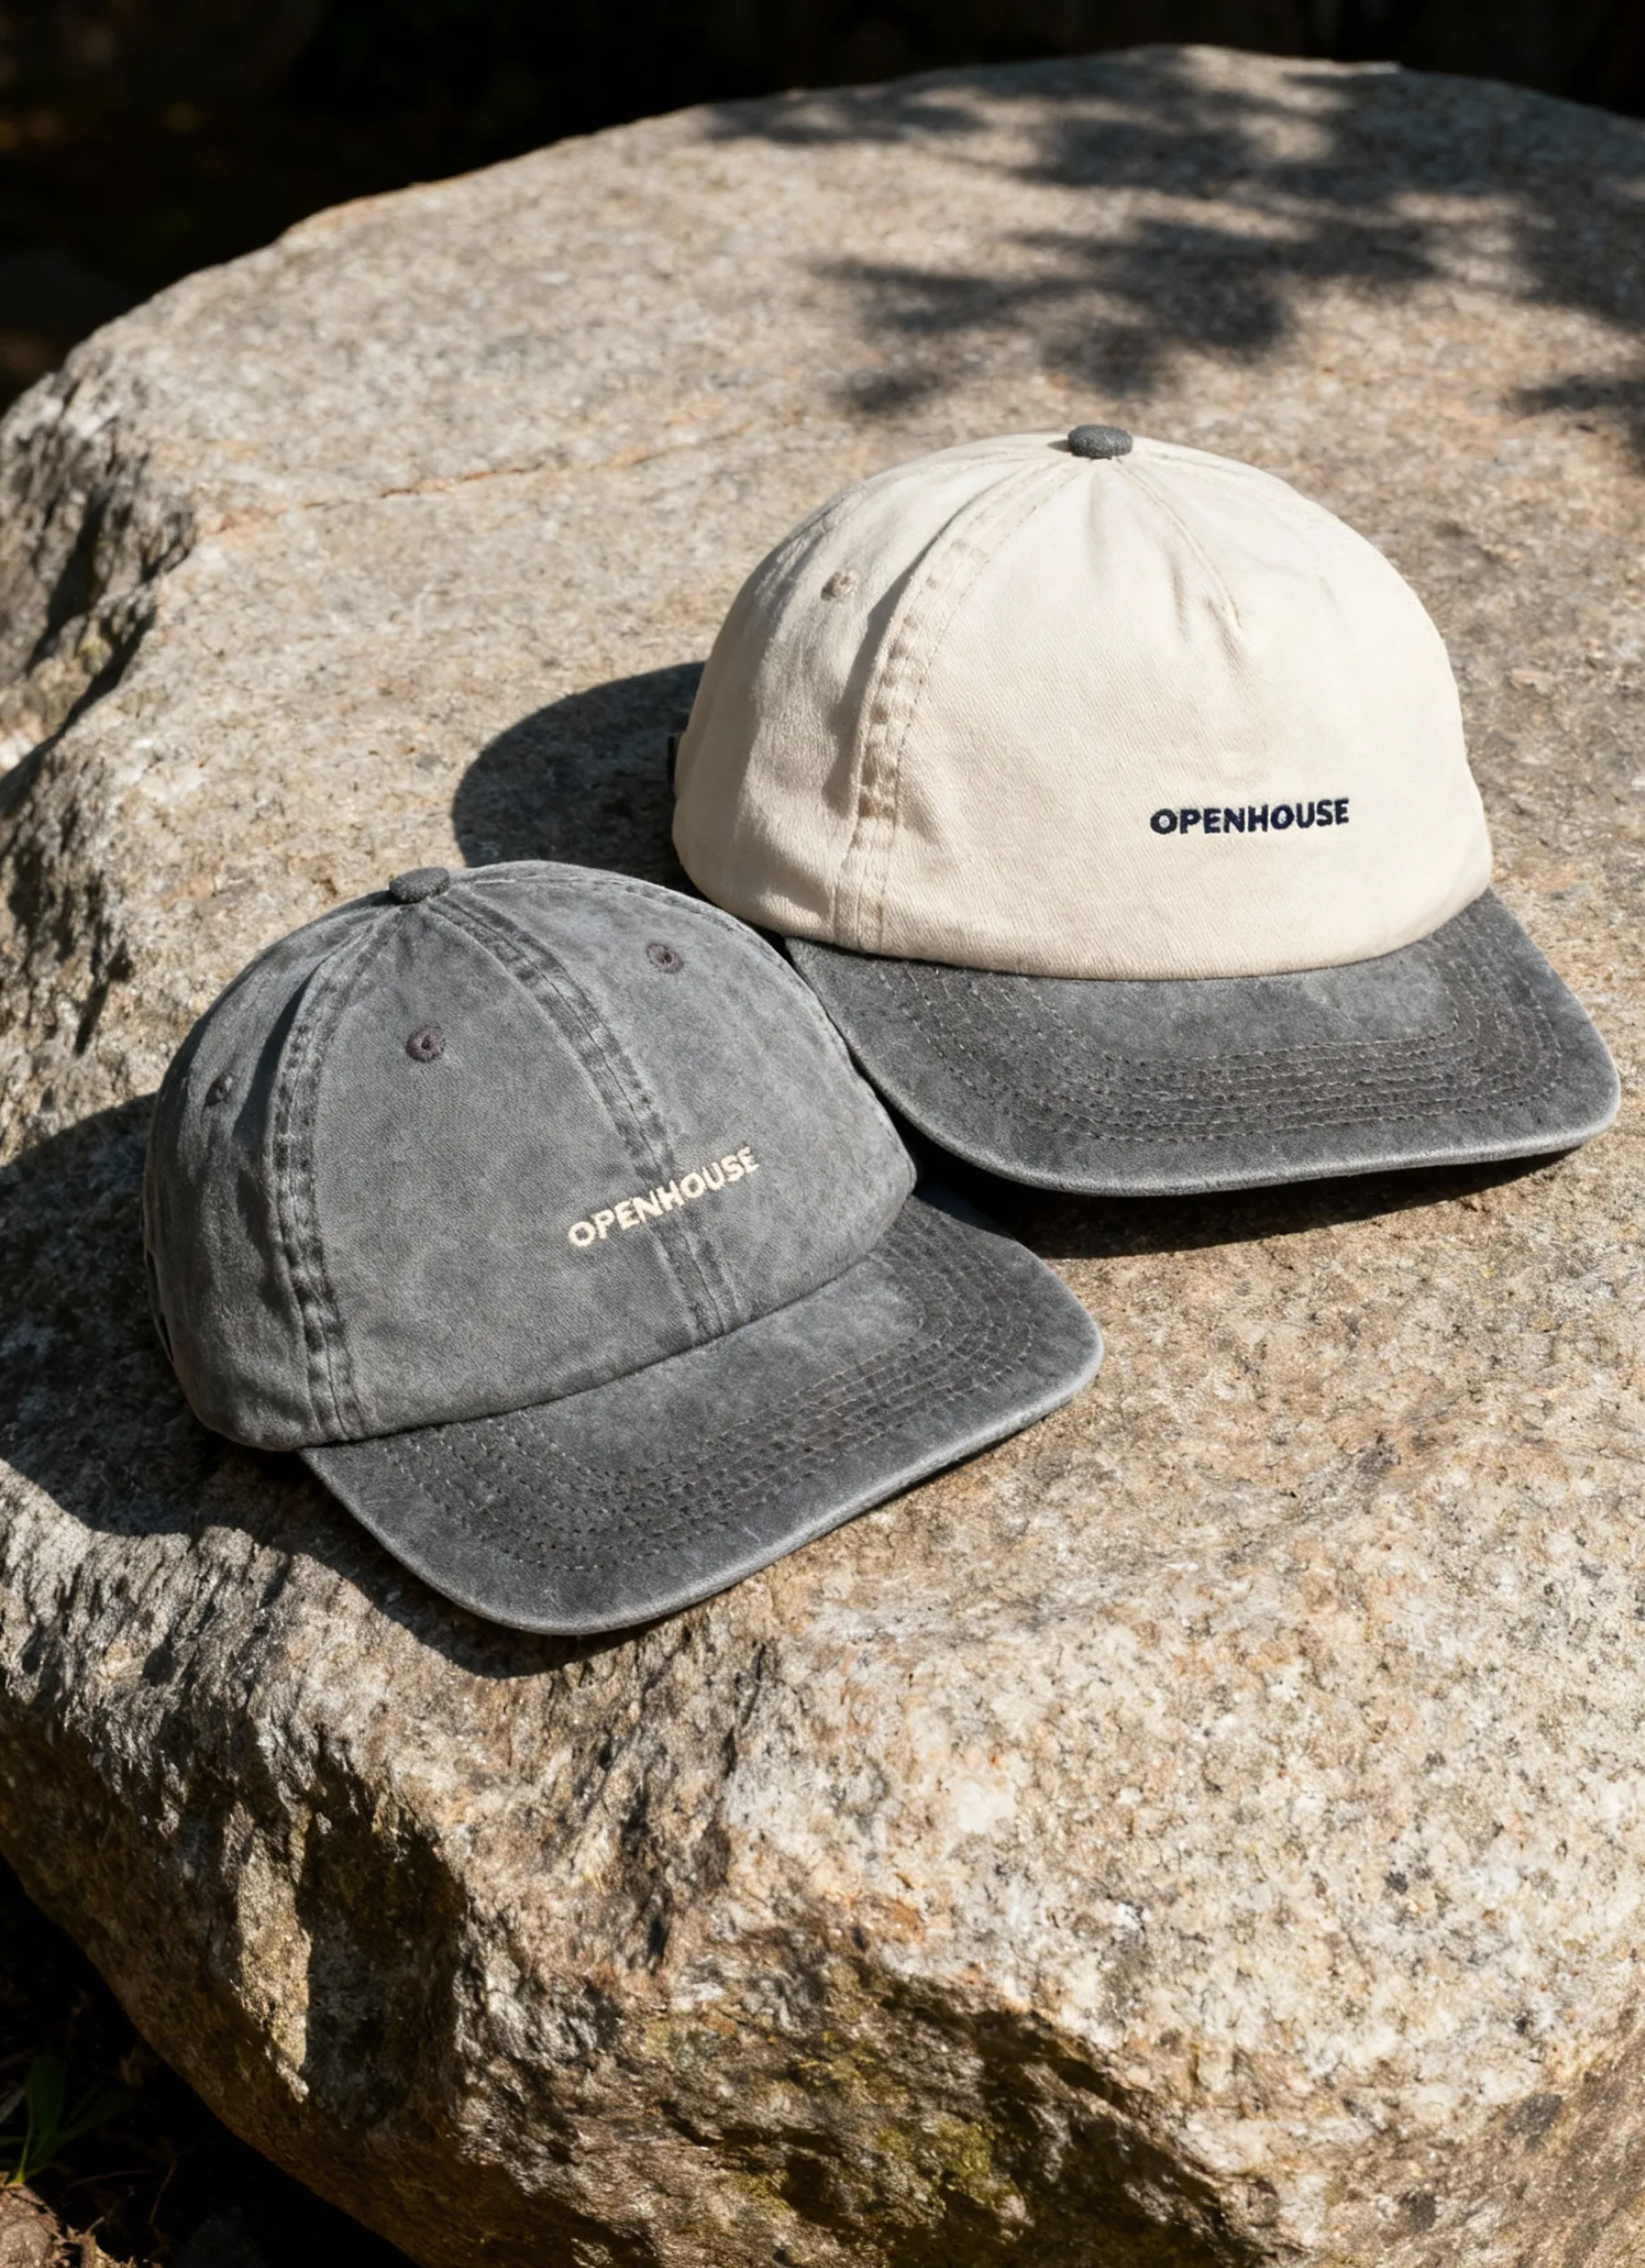
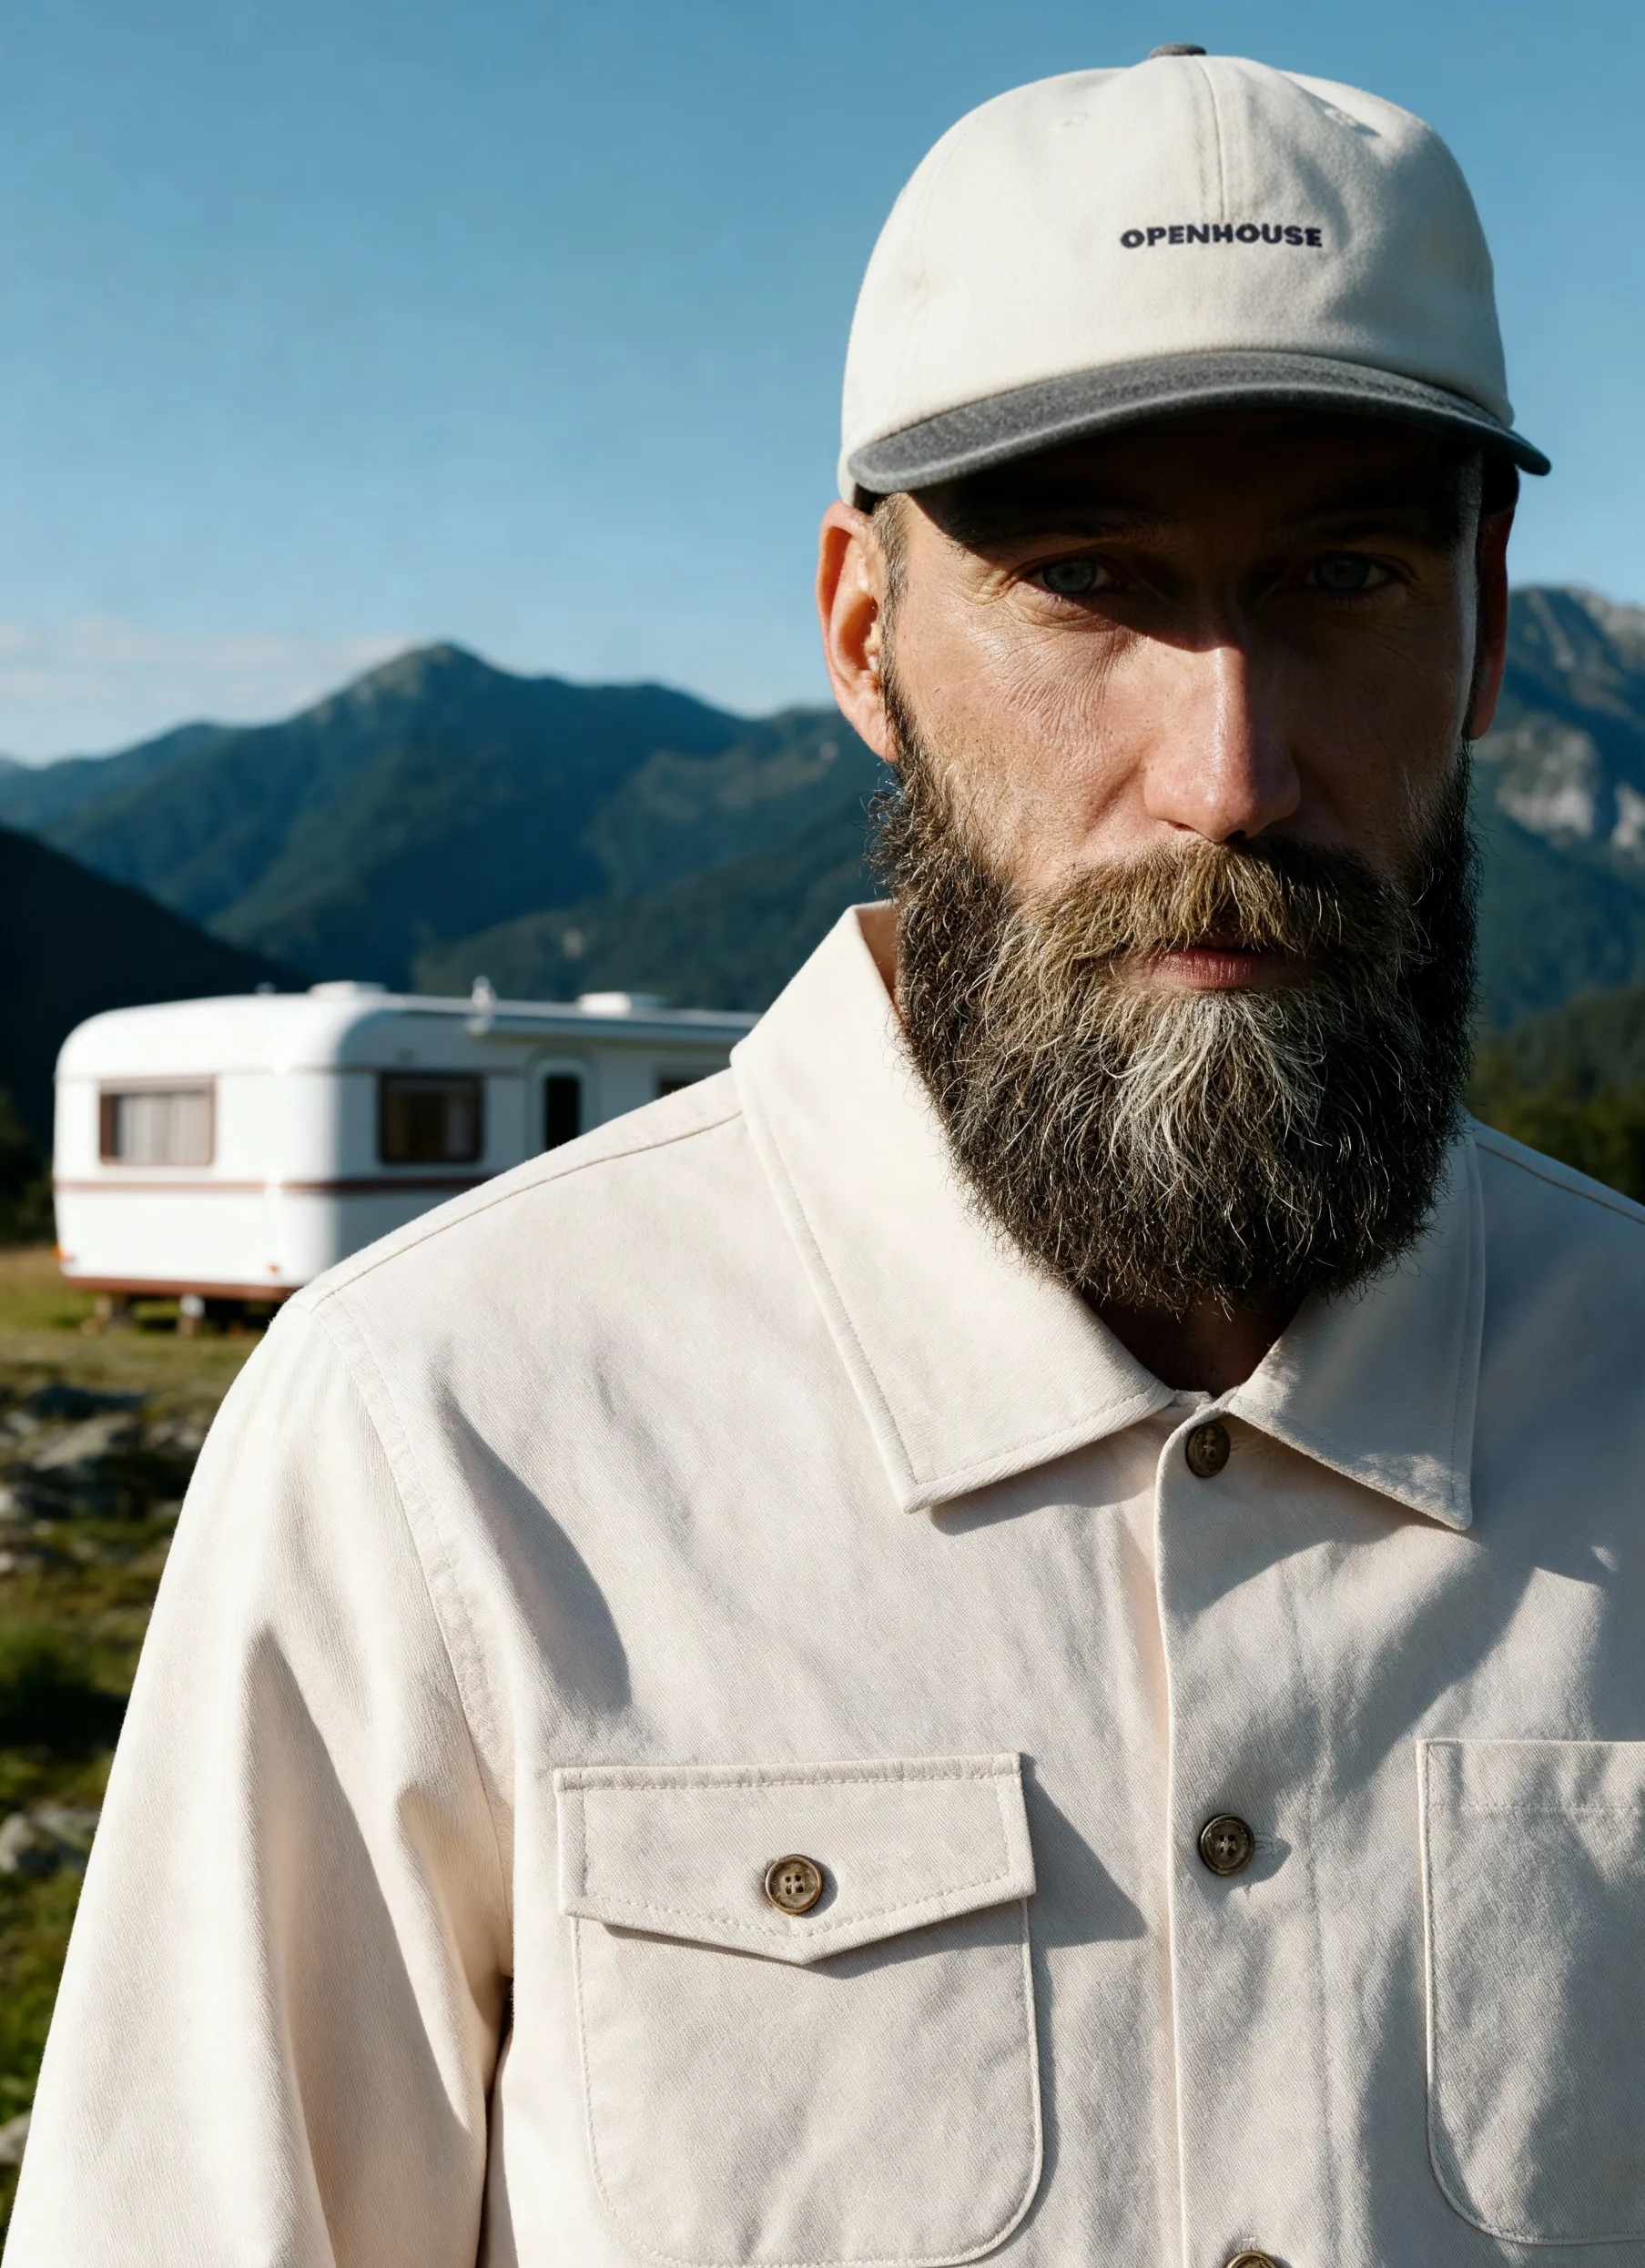
Product photography tips help eCommerce brands present their products clearly and consistently. High-quality images influence buying decisions, reduce returns, and improve customer trust.
Whether you sell clothing, beauty items, or accessories, how you capture your product matters as much as the product itself. This guide focuses on practical, repeatable methods that work across different budgets and setups. Every section is designed for clear application, so you can apply these tips immediately to your next shoot.
You will learn how to select the optimal camera settings, manage lighting, and compose shots to highlight key details effectively. It also covers background selection, editing workflows, and file optimization for online platforms.
Essential Camera Settings
Set your camera correctly to get clean, clear product photos. These settings control how much light reaches your sensor, how much of your product is in focus, and the sharpness of your image.
Adjust aperture, ISO, and shutter speed to capture details your customers need to see.
Choosing the Right Aperture
Aperture controls the lens opening size, affecting how much of your product is in focus. For most product photos, use a medium aperture like f/8 to f/11. This range keeps the entire product sharp without blurring important parts. A wider aperture (such as f/2.8) provides blurry backgrounds but may lose detail on the edges.
A smaller aperture (f/16 or higher) improves depth of field but can cause softness. Select an aperture that strikes a balance between focus and image clarity. If you shoot small items, such as jewelry, use higher f-stops to keep details sharp. For larger items, f/8 often works well.
Optimizing ISO for Clarity
ISO controls your camera’s light sensitivity. Keep your ISO as low as possible (usually ISO 100 or 200) to avoid grain or noise in your photos. Grain can hide product details and reduce image quality. Increase ISO slightly if needed, but plan to use good lighting to avoid this.
Test your camera beforehand to determine the highest ISO setting that produces clear images without noticeable noise.
Shutter Speed and Product Sharpness
Shutter speed affects how long your camera sensor is exposed to light. Use a fast shutter speed (e.g., 1/125 seconds or faster) to prevent motion blur, especially if you’re holding the camera by hand.
If your camera is on a tripod, you can use slower shutter speeds. Avoid any movement that could cause the product to blur. For products on a white background or in studio setups, sync shutter speed with your lighting (like strobes or flashes) for even exposure.
Lighting Techniques for Product Photography
Lighting shapes how your product looks in photos. Control the light direction, brightness, and softness to show details clearly. Different light types and setup choices help your images look clean and appealing.
Natural vs. Artificial Lighting
Natural light, which comes from the sun, offers a soft, even glow during specific times of day. Use window light or shoot outdoors early in the morning or late in the afternoon for gentle shadows and true colors.
Natural light is cost-effective but less controllable and can change quickly. Artificial lighting uses lamps, LED panels, or flashlights. Artificial light lets you control brightness, color temperature, and angle. You can shoot any time and maintain consistency across images.
For products like jewelry or shoes, artificial light helps highlight texture and shine without harsh reflections.
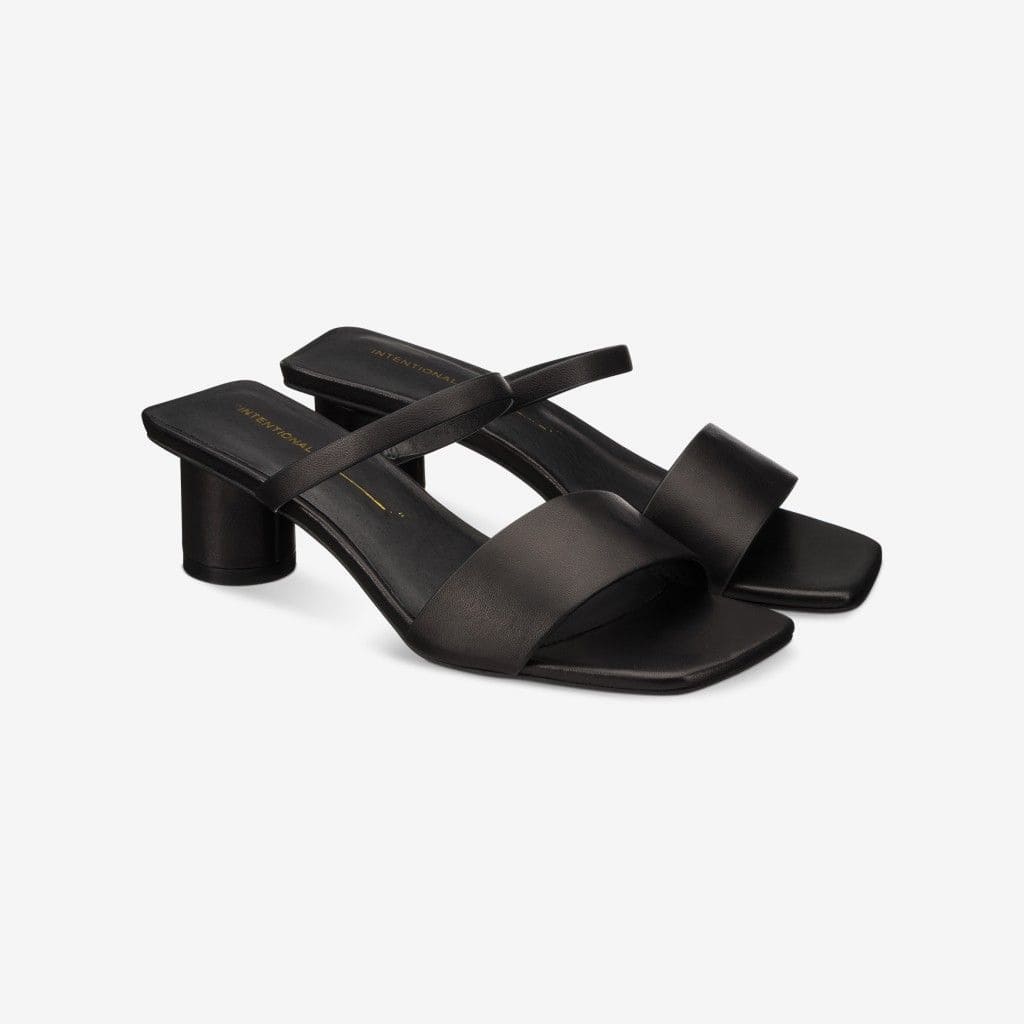
Managing Shadows and Highlights
Shadows add depth but can obscure details if they are too dark. Place your leading light at a 45-degree angle to your product to create natural shadows that reveal form without overwhelming it.
Use a fill light or reflector on the opposite side to soften shadows. Highlights show shine in reflective products but can cause glare. Diffuse your light source to avoid hot spots. For shiny materials like metal or glass, use multiple light sources placed carefully to balance glow and shadow.
Using Light Modifiers
Light modifiers shape and soften your light. Softboxes and umbrellas spread light evenly, reducing harsh shadows.Reflectors bounce light back onto your product to fill dark areas. Diffusers placed between your light and product soften strong beams. Grids and flags block or direct light to keep certain areas in shadow. Using these tools lets you tailor the lighting to your product’s texture and materials.
Mastering Composition
Arranging your shot well helps your product photos look clear and engaging. Use framing, angles, and space to make your product stand out and show key details.
Framing and Angles
How you frame your product shapes what viewers notice first. Use tight framing for small products to highlight details, or broader framing to show context. Try different angles, such as a straight-on view, a ¾ view, or a top-down view, to find the most appealing look. A ¾ angle often adds depth and reveals multiple sides.
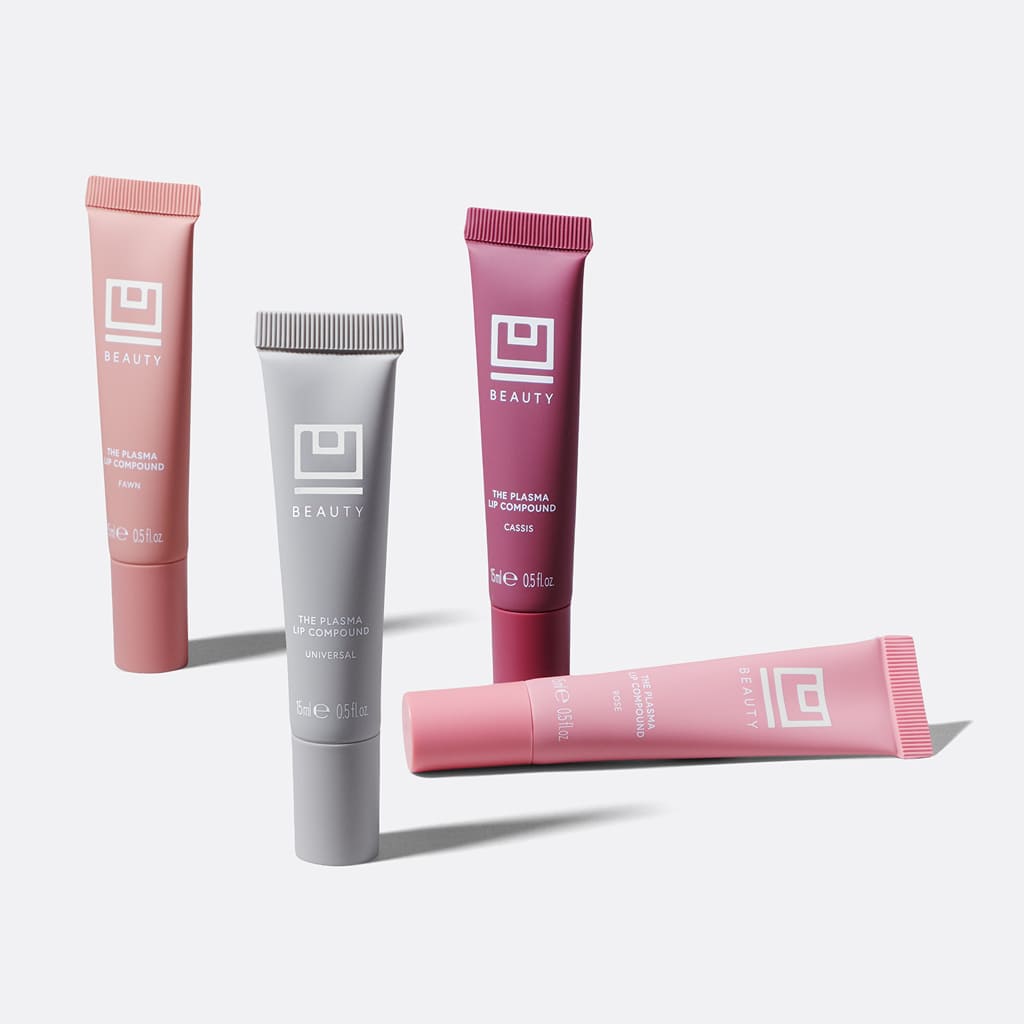
Avoid awkward shadows by adjusting the angle until your product looks balanced. Changing your perspective can reveal textures and materials clearly.
Keep your background simple so the product remains the focus.
The Rule of Thirds
Divide your frame into a 3x3 grid and place important features along these lines or at their intersections. This rule helps create a natural balance that guides the eye.
%201.jpg)
Centering a product usually feels static. Placing it off-center using the rule of thirds creates energy and focus. For example, position a watch face where grid lines cross to highlight it. Use this technique to build interest without crowding the frame. It works well with simple backgrounds, allowing viewers to focus on your product’s key features.
Utilizing Negative Space
Negative space refers to the empty area surrounding your product. Use it to help your product "breathe" and shine without distractions. Too little negative space can make photos feel cramped. Too much can weaken focus.
An even balance draws attention to the product and keeps the image clean. Try leaving space in front of the product’s facing side to suggest movement or direction. This subtle cue can improve how viewers connect with your image. Negative space also helps maintain consistency in style across your product catalog.
Background Selection and Styling
The right backdrop and styling help your products stand out. Simple, clean backgrounds highlight your product, while thoughtful additions add context without distraction. Your choices significantly impact clarity, focus, and the overall aesthetic of your photos.
Choosing Clean Backgrounds
A plain, uncluttered background often works best. White or light neutral colors provide a clean canvas that highlights your product details.
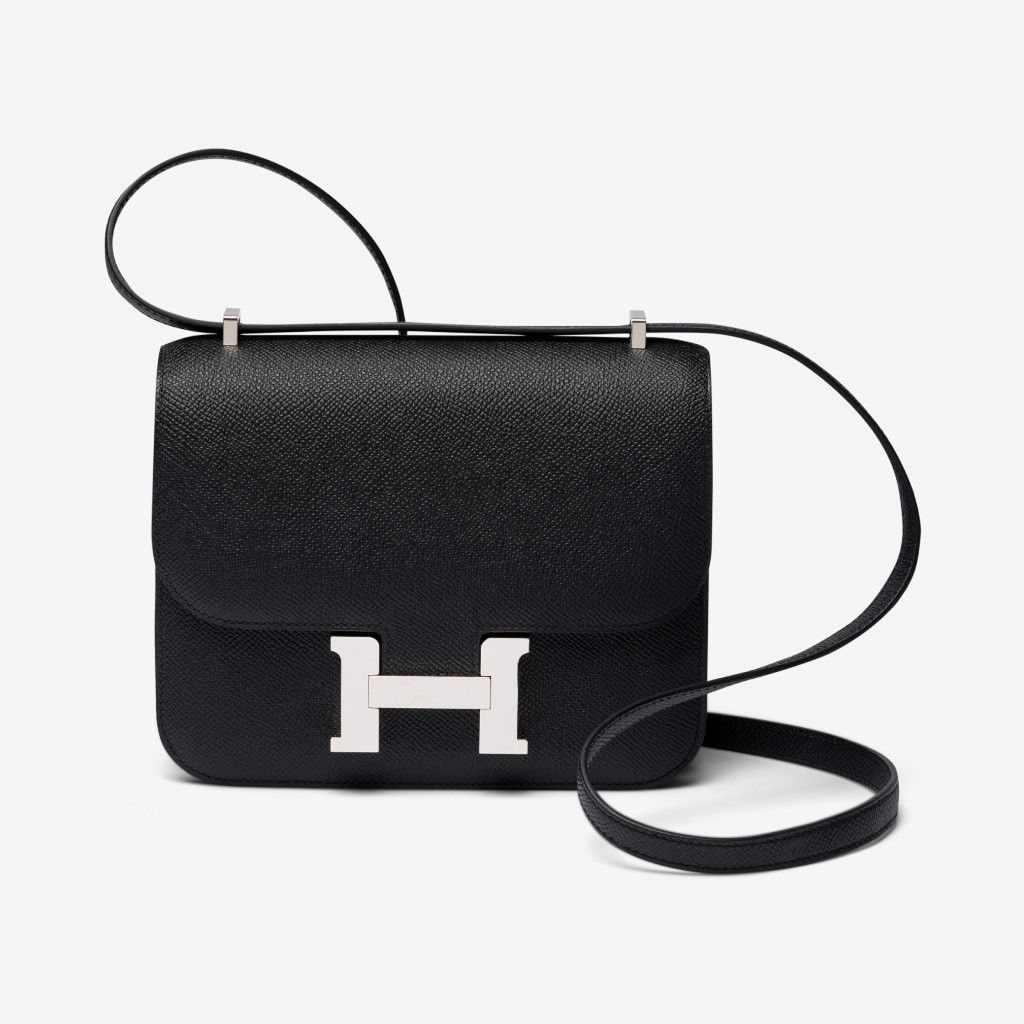
They reduce distractions and make it easier to maintain consistent lighting across shots. Consider background materials like smooth paper, vinyl, or fabric. Avoid textured or patterned surfaces unless they add meaning to the product. Select a backdrop that is large enough to fill the frame without wrinkles or visible edges. Lighting interacts strongly with your background, so choose colors and materials that reflect or absorb light in a way that enhances your product's appearance.
Incorporating Props Effectively
Props can add context and tell a story. Pick items that relate directly to the product and keep the focus on your main item. For example, style a watch with a clean desk or a leather wallet, rather than busy or colorful objects. Limit props to one or two per shot to avoid clutter.
Place them so that they visually support the product without overpowering it. Keep colors and textures simple and complementary. Props should enhance, not distract, helping your product connect with the target audience and feel part of a lifestyle or environment.
Post-Processing for Product Shots
Post-processing enhances your product photos, making them look polished and ready for your online store. Fine-tune colors, eliminate distractions, and refine details to ensure your product stands out clearly and accurately.
Color Correction Basics
Adjust colors to make your product look true to life. Start by balancing white levels to remove any color tint caused by lighting.

Tweak brightness, contrast, and saturation without overdoing it. Accurate color ensures customers see exactly what they’re buying, reducing returns. Check how your corrected image appears on different screens since colors may shift. If your product has multiple color options, keep consistency across all photos.
Removing Distractions
Minor issues can pull focus from your product. Use editing tools to erase dust, scratches, or smudges on the background or product surface. Remove small elements, such as lint or stray hairs. Clean backgrounds help keep attention on your product.
If shadows or reflections interfere, soften or remove them to keep the image crisp. Avoid heavy edits that make the product look unnatural.
Enhancing Product Details
Sharpen textures, patterns, and edges to highlight quality features. Use selective sharpening on critical areas, but be cautious not to increase noise. Brighten shadows slightly if details get lost in dark spots. For products with fine details like jewelry or fabric, zoom in during editing to ensure every aspect is clear.
Use a subtle vignette to softly frame your product without distracting from it.
Consistency Across Your Portfolio
A uniform style for your product photos creates a clear brand image. This includes how you position products, use lighting, and edit images. Consistent photos build trust with your audience and give your catalog a polished look.
Maintaining a Cohesive Look
Place products in the same spot with even spacing to maintain a tidy layout. Select a standard background and lighting setup that complements your items while remaining neutral enough to showcase each product equally.
For example, use soft, even light to reduce harsh shadows and keep textures visible. Keep product size and position stable. Determine whether your product fills 80% or 85% of the frame and adhere to this choice consistently across all photos. Shadows should remain uniform and subtle. When images look alike, your catalog feels balanced and easier to browse.
Workflow Tips for Batch Editing
Organize your files with clear naming to avoid confusion during editing. Use preset filters or adjustment layers to apply the same color corrections and exposure settings to all images. Batch editing tools in software like Adobe Lightroom help you sync edits across multiple photos. Start by editing one image perfectly, then apply those changes to the whole group.
After that, review each photo to identify any necessary tweaks for unique details. This steady process improves your turnaround speed and delivers a consistent visual appearance across your product portfolio.
Preparing Products for the Shoot
Getting your products ready saves time and makes sure your photos look clean and clear. Focus on making your items look their best and managing tricky surfaces that reflect light.
Cleaning and Arranging Items
Make sure each product is spotless before the shoot. Use a soft cloth to remove dust, fingerprints, or smudges.For fabrics, smooth out wrinkles or folds to maintain their natural shape. Arrange items neatly. Keep multiple products spaced evenly and avoid overcrowding the frame. Use props sparingly if they highlight the product without distracting from it.
Check packaging for dents or scratches. If you show both the package and the product, shoot the box first, then the product itself, keeping consistency in lighting and angles.
Handling Reflective Surfaces
Shiny surfaces, such as glass, metal, or plastic, require special care. Minimize reflections by using diffused light sources, like softboxes or light tents. Position lights at an angle to avoid glare that bounces straight into the camera. Use black foam boards around the product to absorb unwanted reflections.
Clean the surface carefully before shooting. Wipe off fingerprints or dust with microfiber cloths for a smooth look. Try several positions to find where reflections and shadows work to your advantage, showing the product’s details clearly.
Optimizing Images for Online Platforms
When you share product photos online, you want them to load quickly without losing detail. Proper image sizing and file formatting help your products display sharply on websites and social media. These methods also help you meet platform rules.
Sizing for Web and Social Media
Different platforms have specific size requirements to ensure images are clear and load quickly. For example, e-commerce sites often require images between 1000 and 2000 pixels in width.
This size shows product details without slowing page speed. For social media, each platform has its own unique characteristics.
Instagram prefers square images around 1080 x 1080 pixels. Facebook and Pinterest work well with portrait or landscape formats sized between 1200 and 1500 pixels in width.
Use consistent dimensions for all your photos to maintain a clean look across your online store or feed. Resize images using photo editing tools before uploading. This helps you avoid automatic compression, which can reduce quality.
File Types and Compression
Choosing the right file type can significantly impact image quality and loading times. Use JPEG for photos because it strikes a balance between quality and smaller file sizes.
For products with transparent backgrounds, use PNG to keep edges crisp. Compression removes unnecessary data and speeds up loading. Compress files without compromising visible detail. Tools like TinyPNG or Photoshop’s Save for Web function can help.
Keep image file sizes under 500 KB when possible. Larger files slow down your site and can hurt your search rankings. Always preview compressed images to ensure they retain their sharpness and accuracy to the original product.
Creative Product Photography Ideas
Using different creative approaches helps your product photos stand out. You can connect more effectively with your audience by aligning themes with seasonal or event-based occasions. Show your products in everyday settings that customers can relate to.
Seasonal and Thematic Shoots
Align your photography with seasons or holidays to make your products more appealing. For example, use warm tones and cozy props for fall collections. Choose bright, fresh backgrounds for spring launches. This approach helps you tap into shoppers’ moods and makes your images timely.
Plan your shoot around events like holidays or store promotions to create urgency and excitement. Use simple decorations, colors, or themes that connect your product to the occasion.
Keep decorations simple so they do not distract from the item.
Lifestyle Product Contexts
Show products in real-life settings to help customers imagine using them. Instead of a plain background, place items where they would naturally appear, like a watch on a wrist or skincare on a bathroom shelf. This builds a story around the product. Use models or everyday props to create relatable situations.
Lighting and angles should clearly highlight the product's function and design. Show how the product fits into your customer’s daily life while keeping the focus on the product’s key features.
Practical Takeaways for Product Photography
Strong product photography relies on consistent technique, thoughtful preparation, and attention to detail. Correct camera settings ensure your products are sharp and well-lit. Controlled lighting shapes how textures and colors appear.
Clean backgrounds and purposeful composition keep the focus on the product. Editing should be refined without altering the item's true appearance. Optimizing image size and file type improves loading speed without losing clarity.
When applied together, these steps create images that help customers make confident buying decisions. Squareshot offers structured, per-image services that streamline the process from shoot to delivery.
Frequently Asked Questions
You’ll find straightforward advice on using creative ideas, smartphone tips, home studio setup, must-have gear, lighting, and locating a good photographer nearby. These answers focus on practical steps to help you improve your product photos.
Can you share tips on how to take high-quality product photos using a smartphone?
Use natural light near a window for soft, even lighting. Keep the background simple, preferably white or neutral. Hold your phone steady or use a tripod to avoid blur. Focus carefully on the product and clean your lens before shooting.
How can I set up an effective product photography studio at home?
Get a clean, plain background, such as a white sheet of paper. Use consistent lighting, either natural daylight or affordable LED lights with diffusers. Set up a table at a comfortable height. Use a tripod or a stable surface for your camera or phone to control reflections with matte surfaces or light modifiers.
What equipment is essential for professional product photography?
Start with a good camera or a smartphone with high resolution. Lighting is important — softboxes or LED panels help create even light. Use a tripod to keep shots steady. Choose backgrounds like white sweep paper or fabric.
Reflectors and light diffusers improve the look without a high cost.
What is the best lighting setup for product photography?
Soft, diffused light reduces shadows and highlights details. Use two light sources on each side of the product to balance light evenly. Avoid direct flash. Place white reflectors under or behind the product for a clean background glow.
Natural daylight can work well if you control it properly.
How can I find a good product photographer near me?
Look for studios with clear pricing and fast delivery times. Check online portfolios to see consistent, clean images that match your style. Inquire about services such as remote approval and retouching. Reviews from brands or clients show reliability and turnaround speed.

Product A
SQUARE SHOT


