The global beauty industry isn’t just growing — it’s booming. The hair care market alone is valued at around $101 billion in 2025 and is projected to reach $166 billion by 2035. The makeup market follows the same trend, expected to climb from $79 billion to $148 billion by 2034.
With such rapid expansion, the demand for high-quality product imagery has never been greater — because in beauty, customers shop with their eyes first.
Professional cosmetic photography can increase a makeup store's click-through rate. It can also boost sales and reduce returns. This is similar to how product photography helps overall, which we have already explained to our readers.
If you’ve been tasked with capturing the perfect set of images for lipsticks, creams, powders, or hair products, this guide breaks down everything you need to know.
We’ll cover:
- Beauty product photography ideas and setups that sell
- How to photograph makeup swatches for texture and tone accuracy
- Key nuances in skincare and lipstick photography
- How to minimize post-production through smart lighting and prep
The quality of beauty imagery depends on precision. Even a drop of water or glycerin can make or break the shot.
Let’s dive into the techniques and insider methods that help top studios produce visually stunning beauty content.
E-commerce Beauty Product Photos Requirements
Below, you’ll find the internal guidelines we use when shooting cosmetics at Squareshot — refined through years of experience and proven across hundreds of products. Every insight here is tested in practice, and you can see the results throughout our portfolio.
Light It Right: Precision, Diffusion, and Balance
While advanced shoots often use 5–7 lights, beginners can achieve results with 1 well-placed soft light — especially for matte or simpler products. But these focus lights allow a beauty product photographer to direct extremely narrow rays of light precisely where an accent is needed.
Neither overexposed nor underexposed images look good. This is why it may take a few attempts to set each of the lighting sources at the right power level.

Many surfaces of lipsticks and mascara have a reflective surface that needs to be monitored to ensure minimal post-production.
Group Shots That Sell: Making Multiples Work
If there is a category in product photography that accepts dozens of items in one shot, this is certainly cosmetics images. Just check out the Google search.
It should be noted, though, that the product page will still require several images with a standalone item, possibly an item, and a box. For commercial marketing purposes, props and droplets may also be added.
Polish Obsessively — Then Do It Again
The truth is: however hard you polish those reflective surfaces, the dust will still end up sticking to it.
But if you pay attention to all the spots and blemishes on the surfaces of lipsticks, creams, and makeup boxes, you will spend less time photoshopping them.
Stay Consistent: One Setup, One Visual Language
You need to be consistent not only with shooting 1 item but throughout the entire session. It is best not to move lighting much and to place items in the same very spot time after time without moving the camera.


Ideally, a photographer will tweak the distance between the photographed objects, equipment, source of lighting, diffuser, and softbox once to achieve a perfect, desirable effect before the entire shoot.
High Resolution Isn’t Optional — It’s the Standard
The items in the beauty product e-commerce category are mostly small, but they carry elaborate designs with intricate details and exquisite decoration. This is why high resolution is even more important for this category than it is across the board.

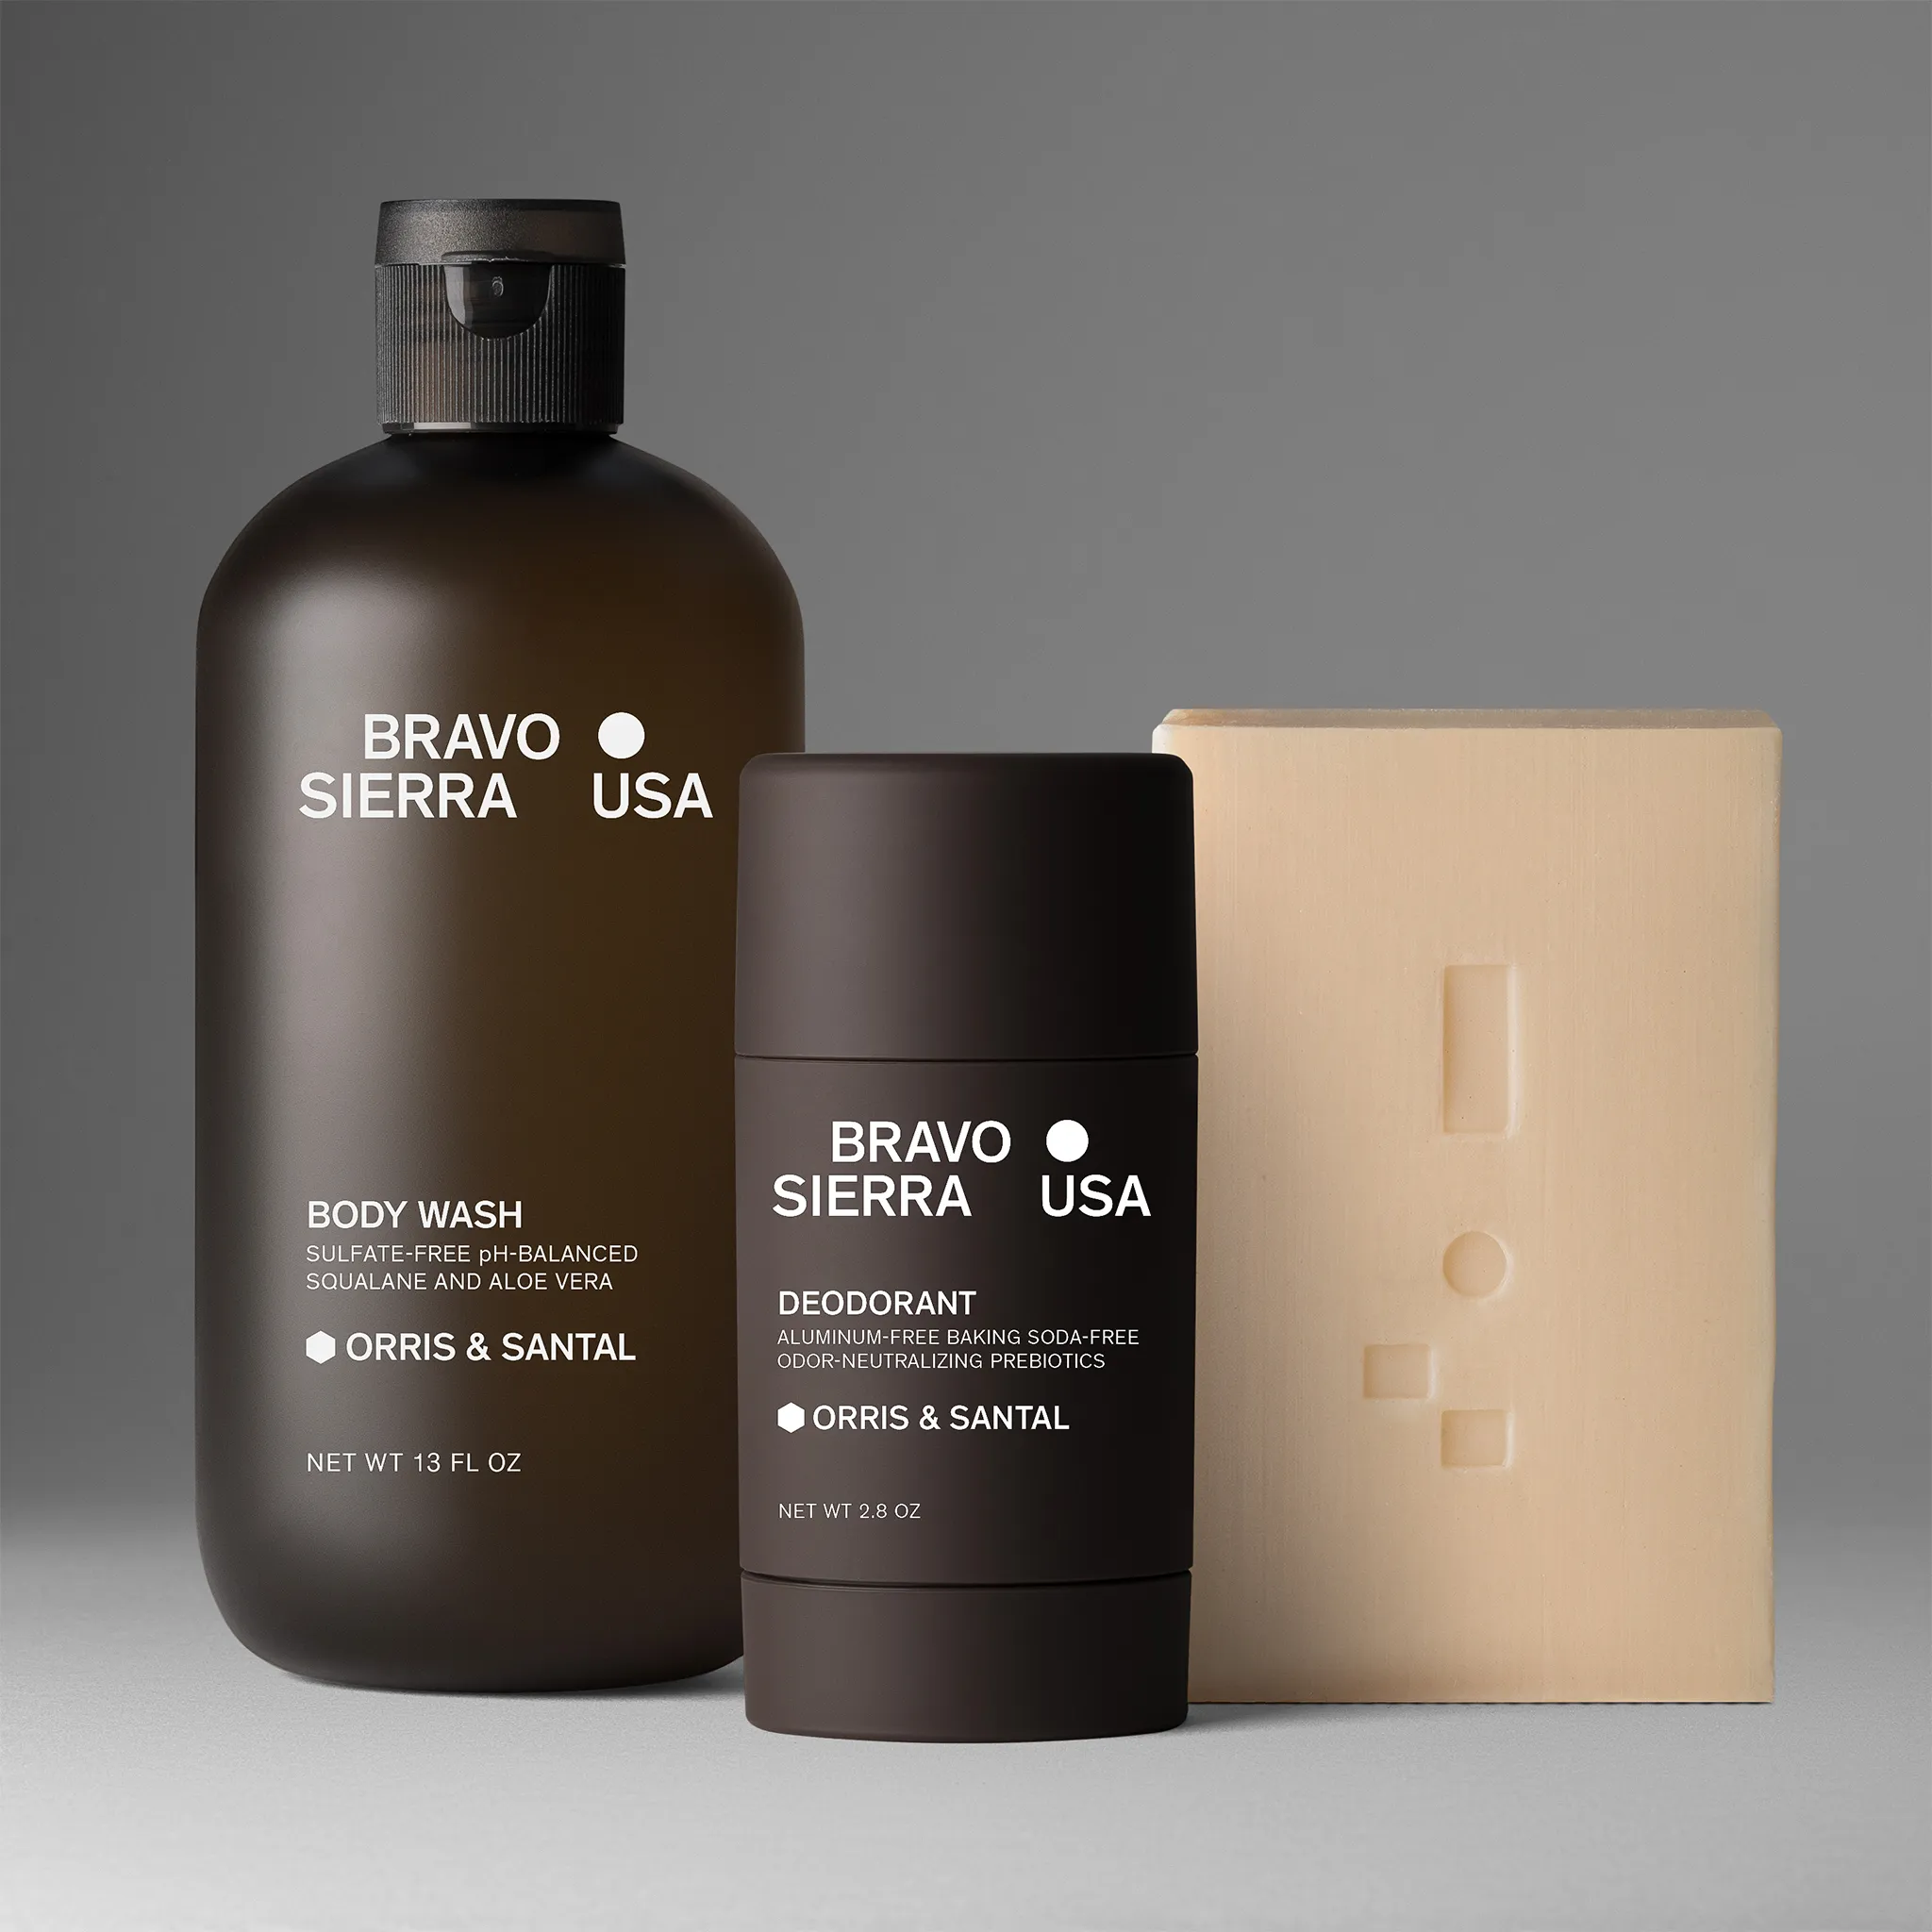
Types of Beauty Product Photography
What do they consider to be a beauty product? There are a few categories that fall under this e-commerce domain:
- Hair products
- Makeup products
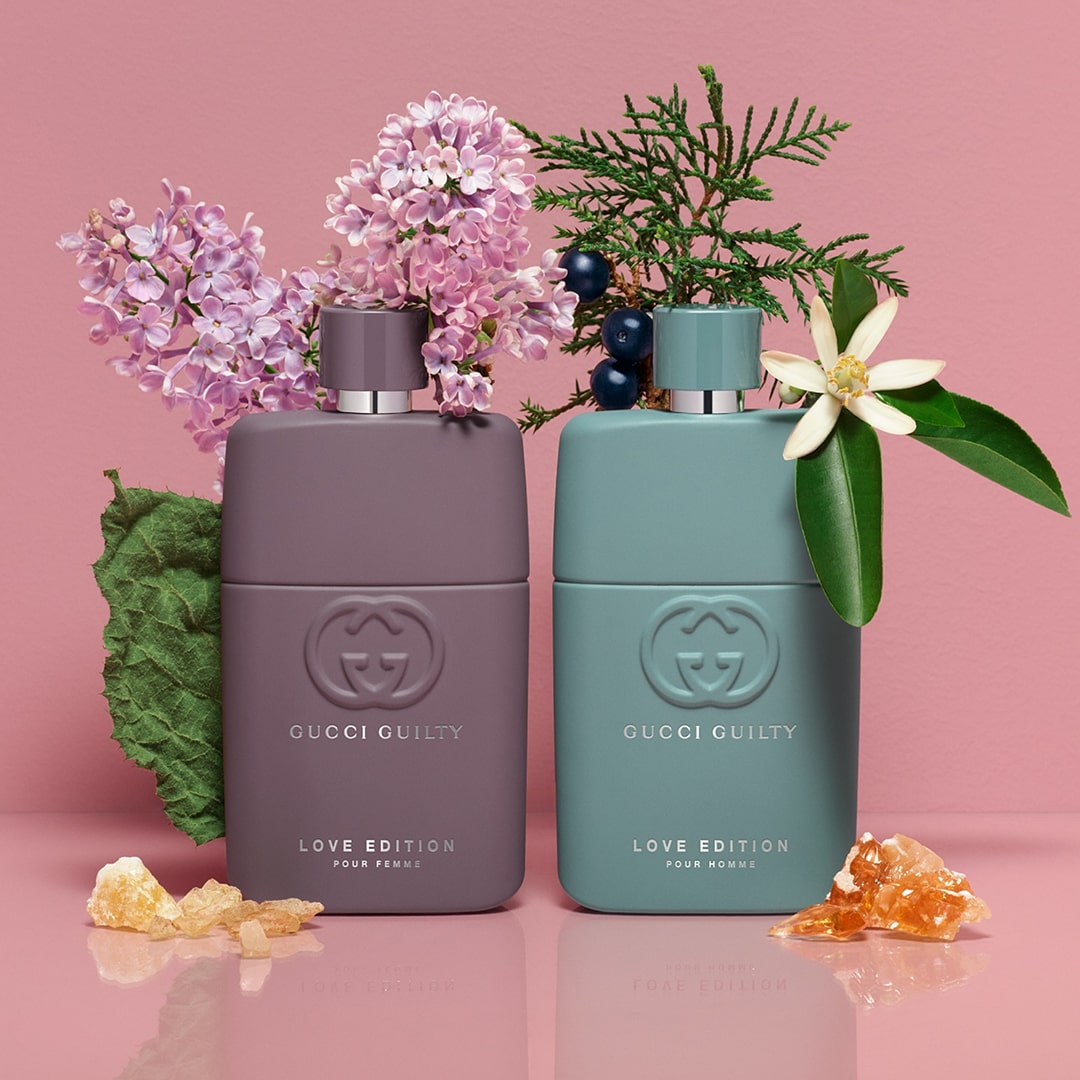
- Fragrance
- Bath & Body
Preparing Beauty Products for a Photoshoot
Postproduction is time-consuming and expensive. So is the time on the shoot.
Thorough preparation for any shoot can reduce both the time on site for the shooting crew and the expensive post-production cycle.
- Order a wet cleaning of the photo studio on the day before. We joke that the dust comes from space, but those specks of dust that appear out of nowhere are a huge nuisance to the cosmetic photoshoot. By ordering a cleaning, you reduce the chances of the dust around – so ultimately on your products as well.
- Orderly unpacking. If you were to spot the differences between the technical specification of the shoot and the available products, it would be at this stage. While unpacking, it’s time to place all the items in order of a scheduled consequence. If the boxing is not part of the future image, put it away, but in such a spot that you can later retrieve the matching product.
- Triple-check that all items and all the cosmetic product categories are lined up for the smoothest shoot flow. Lipsticks, powders, creams, mascaras, toners, and highlighters should all be aligned so that photographers can quickly grasp the logic of the shoot.
- Assemble the props and colored backgrounds respectively, so that they are at hand but not in the way, laid out in the order they appear on site.
- Clean the products with a wet cloth and polish with a dry microfiber cloth. It is paramount to keep them as tidy as possible for the shoot. Always keep a dry tissue and a cloth on set to remove last-minute spots.
- Wear white gloves for the best effect, to avoid leaving any fingerprints on the glassy parts of the lipstick.
- Choose the right shooting background:
- If you need your cosmetic item with a drop shadow, use the white paper background.
- If you need a reflection, then use a white acrylic backdrop.
- If NO SHADOW mode is requested, then consider using a tall object or stand to place a photographed item on, to prevent much post-editing.
Beauty Photography Setup Essentials
Camera Set-Up
Whichever camera brand you use, makeup product shots will benefit from such settings:
- ISO 100 (max 100-200)
- 1/125s
- F 11 (if impossible, F 5,6 - 18). These are general starting points. For tight macro shots, you may need f/16–22, different shutter speeds, or longer working distance. Always test and adapt to your lens and subject.
- Focus distance 30-90 cm
- Check the camera and image sensor for cleanness
- Use the remote control to avoid smudging
- Pictures must be in RAW format
Tripod
Tripods are cheap, so even if you are DIYing your beauty product photoshoot, you should ensure you have access to a tripod for the shoot. The most basic working examples are available on Amazon for as little as 40 dollars, but they bring the much-needed consistency to the series of images.
Lighting
If you have a reference image, setting up the light to mimic the lighting on such an image may take a few test shots. Experiment with the power of lighting, the distance between an object and a camera, as well as with the positioning of the diffuser or reflector to create the desired effect.
Minimize changes during a series to maintain consistency; any adjustments should be small and documented. Once you achieve the right balance of light and shadows, ensure to use a remote for lighting and keep the camera on the tripod unchanged throughout the shoot.
Natural light is a preferred source of light for many photographers, particularly those who lack the equipment or want to ensure the absence of harsh lines in the final images. Ideally, you would have a big window as the source of light in such a case and ensure the session moves quickly to minimize the movement of the light during the process.
Creative Tips for Beauty Product Photography
These are some of the cosmetic photography ideas for you to play around with.
1. Buy Plastic Clay Tools To Create Makeup Swatches
Plastic clay tools are a beauty photographer’s secret weapon. Their flat, rounded edges help you scoop, cut, and spread makeup precisely — perfect for shaping clean lipstick smears, even foundation streaks, or powder gradients. Unlike brushes or fingers, these tools let you control texture and placement without wasting product or leaving fingerprints. Keep a few sizes on hand to experiment with swatch patterns and surface finishes.
2. Stock up on items for experiments
Always ensure you have enough lipstick, powder, and highlighter samples so that you can experiment with composition, create makeup swatches, cut the tips of the lipstick, and more. The last thing you want to experience is that you have an idea you cannot embody because you don't have extra lipsticks you can destroy for the shoot.
3. Ensure lots of cleaning material on set
Get plenty of clean cloth and paper tissues to clean the white and transparent background you may need to use.
4. Experiment with textured backgrounds and colored backdrops
There’s plenty of mood and ambiance in the makeup and cosmetic products, but sometimes the packaging may be minimalistic and classy, so you may want to add some extra enhancement to the image.
Some cosmetic brands may have specific colors in their brand book that they would like to use, so ensure to get the exact HEX color backgrounds before you begin the shoot.
Textural backdrops can also help convey some nuance, particularly in the close-up mode.
5. It's all in the Props: fine-tune the mood of the shot
It could be flowers, dried lavender, glasses, glossy magazines, fake eyelashes, hay, glitter, candles, purses, or precious metal chains.
6. Use product ingredients as props
If a cosmetic product contains pomegranate or lemon, you may also receive an additional boost from certain ingredients. Green tea, chamomile, and mint leaves can all bring the much-needed nuance to a shoot and have an informative layer to them.

7. See if water, spray, and smoke could benefit your products
It is not uncommon to use a 50/50 water&glycerin solution sprayed or applied drop by drop on beauty products.

Smoke may become a surprisingly great shooting buddy for an item shot against a black background, solo with a single source of lighting.
If you do a fragrance shoot, capturing the mist coming from the bottle may yield stunning results, too.
Handling Different Product Finishes
Each cosmetic product's finish reacts differently to light. What works for a matte lipstick won’t suit a glossy serum bottle or a chrome compact. Knowing how to adjust your lighting setup based on surface behavior can save hours in post-production and ensure your images look consistent across the board.
Matte products — The easiest to capture. Their non-reflective surfaces make lighting straightforward. A single, well-placed light source is often enough to bring out natural shape and texture without creating unwanted glare.
Glossy products — Handle with precision. Reflections are inevitable, but they can be controlled. Wear gloves to avoid fingerprints, use semi-transparent reflectors to diffuse highlights, and inspect each shot for glare before moving to the next product.
Highly reflective products — Think mirrors, metallic lids, or glass jars. These are some of the trickiest to shoot because they reflect everything around them. Instead of lighting the product directly, illuminate what it reflects. This approach calls for a mix of white and translucent diffusers — and the kind of control only experienced photographers or CGI specialists can provide. For the best results, consider working with a professional studio.
Post-Production & Editing
Good editing starts long before you open Photoshop. The cleaner and more precise your shoot setup is, the less time and money you’ll spend in post-production. Make sure products are spotless, reflections are under control, and lighting is balanced. A few extra minutes on set can save hours of retouching later.
During post-production, focus on fine-tuning rather than fixing:
- Adjust composition – Slightly realign or straighten products to improve the frame’s balance or visual rhythm.
- Refine exposure – Subtle corrections can lift shadows or recover detail, but blown-out highlights are rarely restorable. Nail your exposure on set whenever possible.
- Ensure consistency – Match cropping, color tones, and white balance across all images to create a cohesive, professional look throughout the series.
Post-production should enhance, not rescue. The stronger your setup on set, the smoother your edits — and the more polished your final visuals will be.
Optimizing Images for SEO
An extensive chapter in this detailed piece on how to photograph clothing covers image SEO optimization in detail. Here is a shorthand:
- Use alt text tags and descriptions for each image.
- Use JPEG format wherever possible.
- Resize images according to e-commerce platform requirements, ensuring a balance between quality and file size.
Also, make sure that you know the necessary types of product photography for your online business.
Make Your Best-Selling Product Photos with Squareshot
We’re a New York–based product photography studio that has produced dozens of high-performing cosmetic shoots — from skincare textures to full campaign imagery. Explore our collections of makeup images to see how we help cosmetic brands capture products that truly sell.
If you’re ready to elevate your visuals, get in touch — our team will help you plan, shoot, and deliver assets that look as good as your products perform.

Product A
SQUARE SHOT