About Product Photography In the Jewelry Industry
To make a professional jewelry photo is a mission for a seasoned photographer who is fluent at lighting, intuitive with camera settings, and knows how to tame the omnipresent reflections on rings and earrings.
Yet, is it possible to produce a decent image of a precious accessory without years of experience?
Absolutely.
Armed with some basic product jewelry photography equipment, a wealth of patience, and plenty of time on your hands, you can nail the mission – just let us guide you through the process.
Suppose you are looking to DIY jewelry product images, or browsing the internet for jewelry photography tips, or just seeking some inspiration on the topic. In that case, this hands-on guide will give insight for everyone: beginner and expert alike.
This detailed manual is compiled based on the empirical wisdom of the Squareshot team: it is packed with insider tricks and industry-exclusive pointers.

With a total global jewelry market of $278 billion, knowing how to photograph jewelry is a highly sought-after skill.
Let’s dive right into this process.
How Jewelry Product Photography Affects Sales & Conversions
The difference between a great jewelry image and a so-so one is not just about the poorly edited reflections or the dull sparkle of a precious gemstone. The difference between a great and a mediocre jewelry photo is a lost sale. Worse even, it’s a sale lost to a competitor, who is biting into your share.
For a customer to find you on the internet, you have to make some significant investments in:
- Design & manufacturing of the jewelry.
- Web design.
- Blog articles for SEO.
- Google SEM or other paid ads.
And all of that to lose your customer over a poorly lit, overexposed, or badly edited image that doesn’t do justice to your product?
That’s a dealbreaker.
At that cost, you can’t afford one subpar image of your jewelry pieces, let alone premium or luxury lines.
Just to give more substance to the importance of product images and magnify that ringing bell in an online jewelry store owner’s mind, here are some eye-opening e-commerce stats:
- Approximately 75% of shoppers make purchases when they find the perfect product image, showing how much buyers trust the pictures they see online
- 56% of online shoppers' attention is captured by high-quality product photography, significantly influencing conversion rates.
- 93% of consumer decision-making is based on visual appearance, making the quality of product images vital for first impressions.
Sounds convincing, right?
Professional jewelry product photography has the power to propel your business to the top of the niche, drive conversions, reduce returns, increase CTR, and ultimately boost your bottom line.
Let’s get down to the backbone of the subject: how to photograph jewelry for Instagram, Etsy, and your e-commerce store to help your business grow.
Jewelry Product Photography Process & Planning
Proper pre-production is an indispensable ingredient of a perfect product photo session, specifically when it comes to handling pieces made from precious metals and gemstones. Have you ever wondered how to photograph jewelry for sale?

For a mission to be a success with impressively crisp images of the objects, pay attention to these 10 things:
- Get a list of all the accessories & items you need to photograph. In this list, specify the number of images required for each item, angles, props needed for each take, and possibly even add references.
- Take care of logistics, insurance, and moving stock out of inventory. For premium luxury jewelry, security, insurance, and logistics are often the biggest concerns. For limited-edition pieces, even taking them out of stock can be a challenge.
- Agree on the model's involvement in the shoot: cast, contract, booking, and sealing arrangements, both legally and financially, with models.
- Hire a studio for jewelry product photography or deal with other relevant shoot location legal & financial aspects.
- Choose/rent photography equipment.
- Hire a photographer/professional product photo studio in NYC or near your company's warehouse location.
- Send reminders to all parties involved (models, makeup artists, and photographers) in the shoot one week before, three days before, and on the eve of the session.
- Generate jewelry picture ideas for the props, inspired by other images or your own (see some jewelry image tips below for inspiration).
- Ensure your items are ready as per the list on the day of the shoot. Wipe them spotless using gloves. This will save a significant amount of time and effort during the retouching stage. Line up all the props and boxes as per the shooting order to save time for the photographer.
- Set up lights to ensure maximum brilliance & sparkle of pieces with minimal unwanted reflections. Now you are ready for a professional jewelry product photoshoot.
How to Photograph Necklaces: Flat Lays, Stands, and On-Model Shots
Flat Lay Jewelry Photography: Style & Shoot from Above
In this position, the object may need some adjusting and rearranging to achieve a smooth shape. Using a glass upside down inside the item in a circular motion is a great trick to quickly gain that perfect curved look of every chain of the necklace.
The choice of surface will correspond to the mood, ambiance, price range, and brand of the jewelry designer. You can go with the background as rough and textured as a piece of slate, as girly as pink flowing silk, or as smooth and polished as gold bullion.
Premium necklaces with colored gemstone pendants may look stunning against a classy black background with a ray of light piercing the focal stone.
Using Velvet Necklace Stands for a Clean, Professional Look
While some photographers may see it as a more conservative approach when it comes to taking necklace product photography, black velvet cushions, or necklace stands that mimic a human bust, maybe a perfect setting for some of the classic jewelry pieces.
They are widely available on Amazon and in photo equipment stores in black and white. A darker piece will look sharper on a light necklace bust stand.
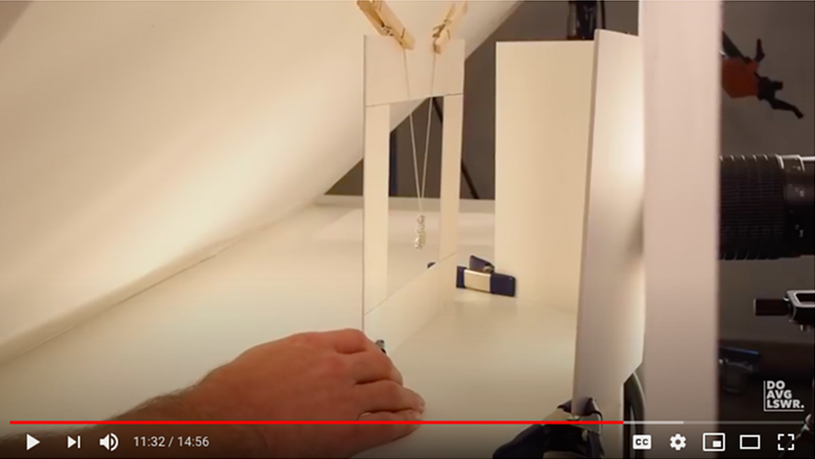
Creative Shots with Handmade Pendant Stands
All you need to do for a DIY necklace stand is to cut a 1-2 inches wide frame out of the plastic, semi-hard cardboard, or foam core and make a footing with a crocodile spring clamp on one of the bottom corners.
This is a great way to hang your necklace for a pendant shoot. You can fix it to the upper part of the frame with pins, small clamps, or gaffer's tape. This cheap but handy device allows users to minimize the editing time, as the pendant is free-falling and allows for a white background and light sources from every angle.
How to Capture Stunning Jewelry Photos on a Model
Models wearing jewelry complicate things for a photographer, but ease things for marketing and sales. So the photographer needs to capture the synergy between the model and the luxury accessory for the sake of sales.
.jpg)
A model has the power to resonate with the target audience to the extent that the purchase impulse is simply irresistible. Suppose a model is relatable to the user persona and embodies the lifestyle of the potential client. In that case, the conversions of the product page with jewelry product photos featuring such a model will likely be amazing.
How to Photograph Bracelets & Rings: Fixing Items at an Angle
Capturing bracelets and rings from the right angle is essential to highlight their design, shine, and craftsmanship. To hold pieces securely without compromising their finish, use one of these trusted methods:
- Hot glue gun – Ideal for most pieces, but exercise caution with delicate finishes such as thin gold plating, which may adhere to the glue. Use sparingly and test on a non-critical area first.
- Wax (dental or museum wax) – A versatile, non-damaging option that allows precise positioning and supports upright or angled displays.
- Blue tack – Gentle on fragile surfaces and thin coatings. Opt for transparent or black to match your background, keeping the focus on the jewelry.
- Double-sided tape – A convenient fallback when glue or wax isn’t available. While it may require careful placement, it can secure rings or lightweight bracelets without leaving marks.
Pro Tip: Combine these fixing methods with controlled lighting and background setups to minimize post-production work. Position lights to emphasize sparkle while softening unwanted reflections, and choose a background that contrasts with the jewelry to make shapes and details pop. Doing so ensures each piece looks polished and professional straight out of the camera.
.jpg)
Avoiding Common Issues with Jewelry Photography
Preventing small mistakes on set saves hours in editing:
- Always handle jewelry with gloves.
- Keep a microfiber cloth handy for wiping fingerprints and dust.
- Check reflections and glare from every angle before shooting.
- Inspect pieces closely to ensure they’re pristine for each frame.
Jewelry Photography Ideas and Props Inspired by Big Brands
Below, we hand-picked some of the jewelry photoshoot ideas with examples from some of the big names in the luxury jewelry niche for your inspiration.
Jewelry on the body, from hands to neck and fingers
Photographing jewelry on models, mainly focusing on hands, offers several distinct benefits that can enhance the appeal and perceived value of the jewelry. Firstly, it provides a realistic scale and context, helping potential customers visualize how the jewelry fits and looks when worn. This can be particularly useful for items like rings and bracelets, where the fit and proportion are significant considerations.
Secondly, using models adds a personal touch to the imagery, making the jewelry pieces more relatable and desirable. It can evoke emotions and a sense of lifestyle that plain product shots might not capture.
.jpg)
Fifty shades of shadow in accessory photography
Shadows are often used in jewelry product photography and can be cast by:
- Objects themselves
- Hands of an assistant
- Cucoloris (a light modifier for casting shadows or silhouettes)
- Floral elements and leaves

Props with personality that add character
Jewelry can be subtle, exquisite, masculine, tender, fragile, assertive, chic, rough, laconic, flamboyant, extravert, and timid. It can be anything a designer conceives it to be. The props you choose for the shoot may help reveal the true colors and spirit embedded in the piece.
We love how Cartier jewelry photographer used the bike as a prop for this iconic nail bracelet to spice it with the notes of freedom and reckless drive.

In this following product photography jewelry image example, Bulgari played a decadent chocolate dessert to render the luxury of the collection.

Make seasonality part of the story
Xmas time has a different vibe to it than a relaxed summer feel. Props & scenarios for the shoot may well depend on or involve the season of the year.
See how masterfully Bulgari adds the timely seasonal flavor to its collection.

Capturing the designer in action during the creation process
For luxury jewelry products having a series with the creator, the designer is an ultimate must-have.
See how Theo Fennel uses black and white images to bring a note of retro heritage and the handmade feel.

Irregular angles and dynamic shots for rings and bracelets
Flat lay images are great for a product page, but commercial images for your e-commerce store’s front page and social media need to carry more character and add some drive and dimension to them.

Detail close-ups that highlight the nuance of jewelry
The devil is in the detail, true. But then the true designer jewelry is all about the detail too. Rainbow K Paris knows the powerful visual impact of a perfectly polished shine.

Jewelry Product Photography Equipment
When it comes to the choice of equipment it may be as a pro or as basic as it gets, depending mostly on your budget and ambition.
As a general rule of thumb, any product photography jewelry tutorial will prompt you to get a smaller space or room for your shoot, that allows for perfect diffused lighting with less unwanted reflections.
To achieve this effect, you may get yourself:
- A light tent;
- DIY a wide tube out of a big sheet of hard white paper or translum, cut out a hole wide enough for your camera in one of the sides of this tube, and place an object inside the tube.
Needless to say, a proper photo table with professional lighting in a studio is always the best option in the hands of a professional jewelry product photographer.
You will need the regular set of equipment used to take product images:
- Camera
- Lenses
- Tripod
- Lighting, reflectors & diffusers
Mastering Lighting for Jewelry Photography
Lighting can make or break your jewelry shots. The goal is to maximize sparkle while minimizing glare and unwanted reflections. Key techniques include:
- Softboxes & light tents – Diffuse harsh light to create even illumination across metals and gemstones.
- Reflectors – Bounce light into shadowed areas, enhancing sparkle without creating hotspots.
- Diffusers – Place between the light source and jewelry to soften reflections on highly polished surfaces.
- Angles – Adjust jewelry and lights to control glare; small tweaks often produce dramatic improvements.
Essential Post-Production Edits
Even with perfect lighting, jewelry rarely comes out of the camera flawless. Dust, fingerprints, and micro-scratches are almost impossible to avoid — which is why post-production is just as important as shooting. Essential edits include dust and spot removal, subtle sparkle enhancement to give gems dimension, and background cleanup to achieve a clean, distraction-free image. This is also where consistency across an entire catalog is locked in: brightness, color, and contrast are aligned so every product page feels cohesive.
Take Your Best Jewelry Product Photos With Squareshot
Jewelry photography is a craft that demands experience, precision, and an eye for detail. While tips and inspiration can help, working with a professional product photographer ensures your images convert browsers into buyers.
At Squareshot, our team combines technical expertise with creative vision to produce standout shots for rings, bracelets, necklaces, earrings, watches, and more — with or without models. We deliver consistent, high-quality images that elevate your brand, save you time, and drive sales.


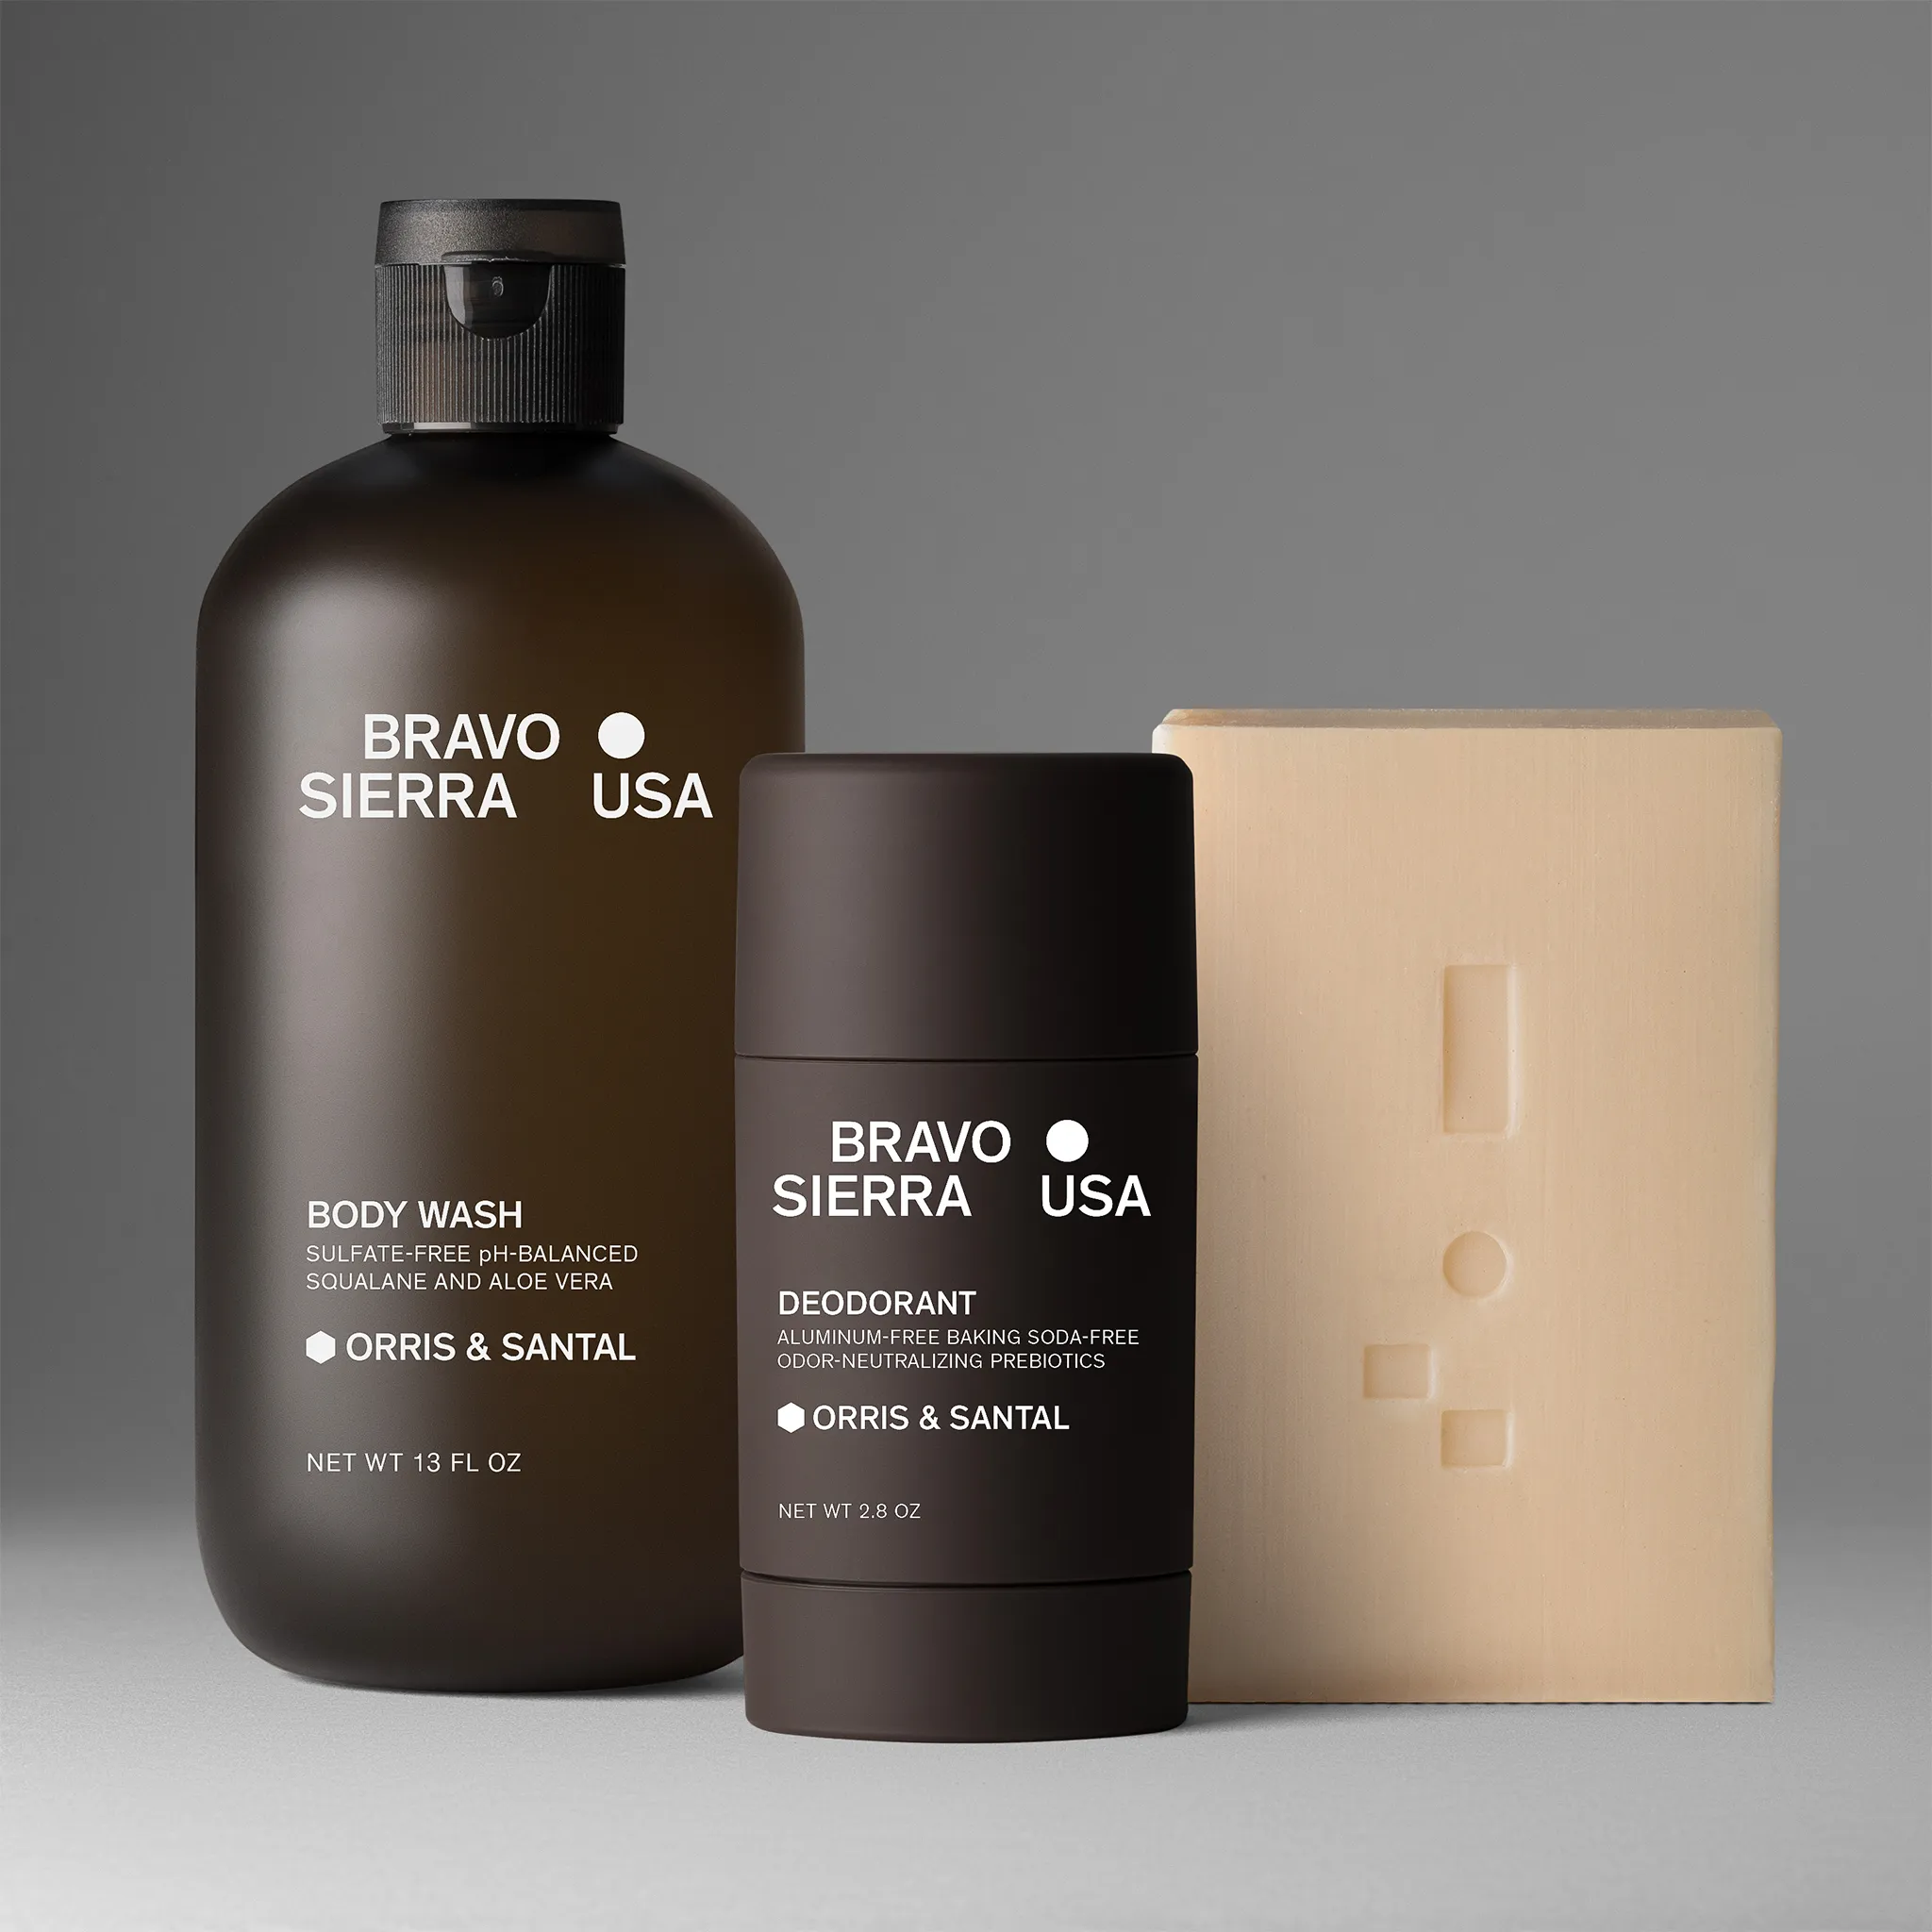
Product A
SQUARE SHOT