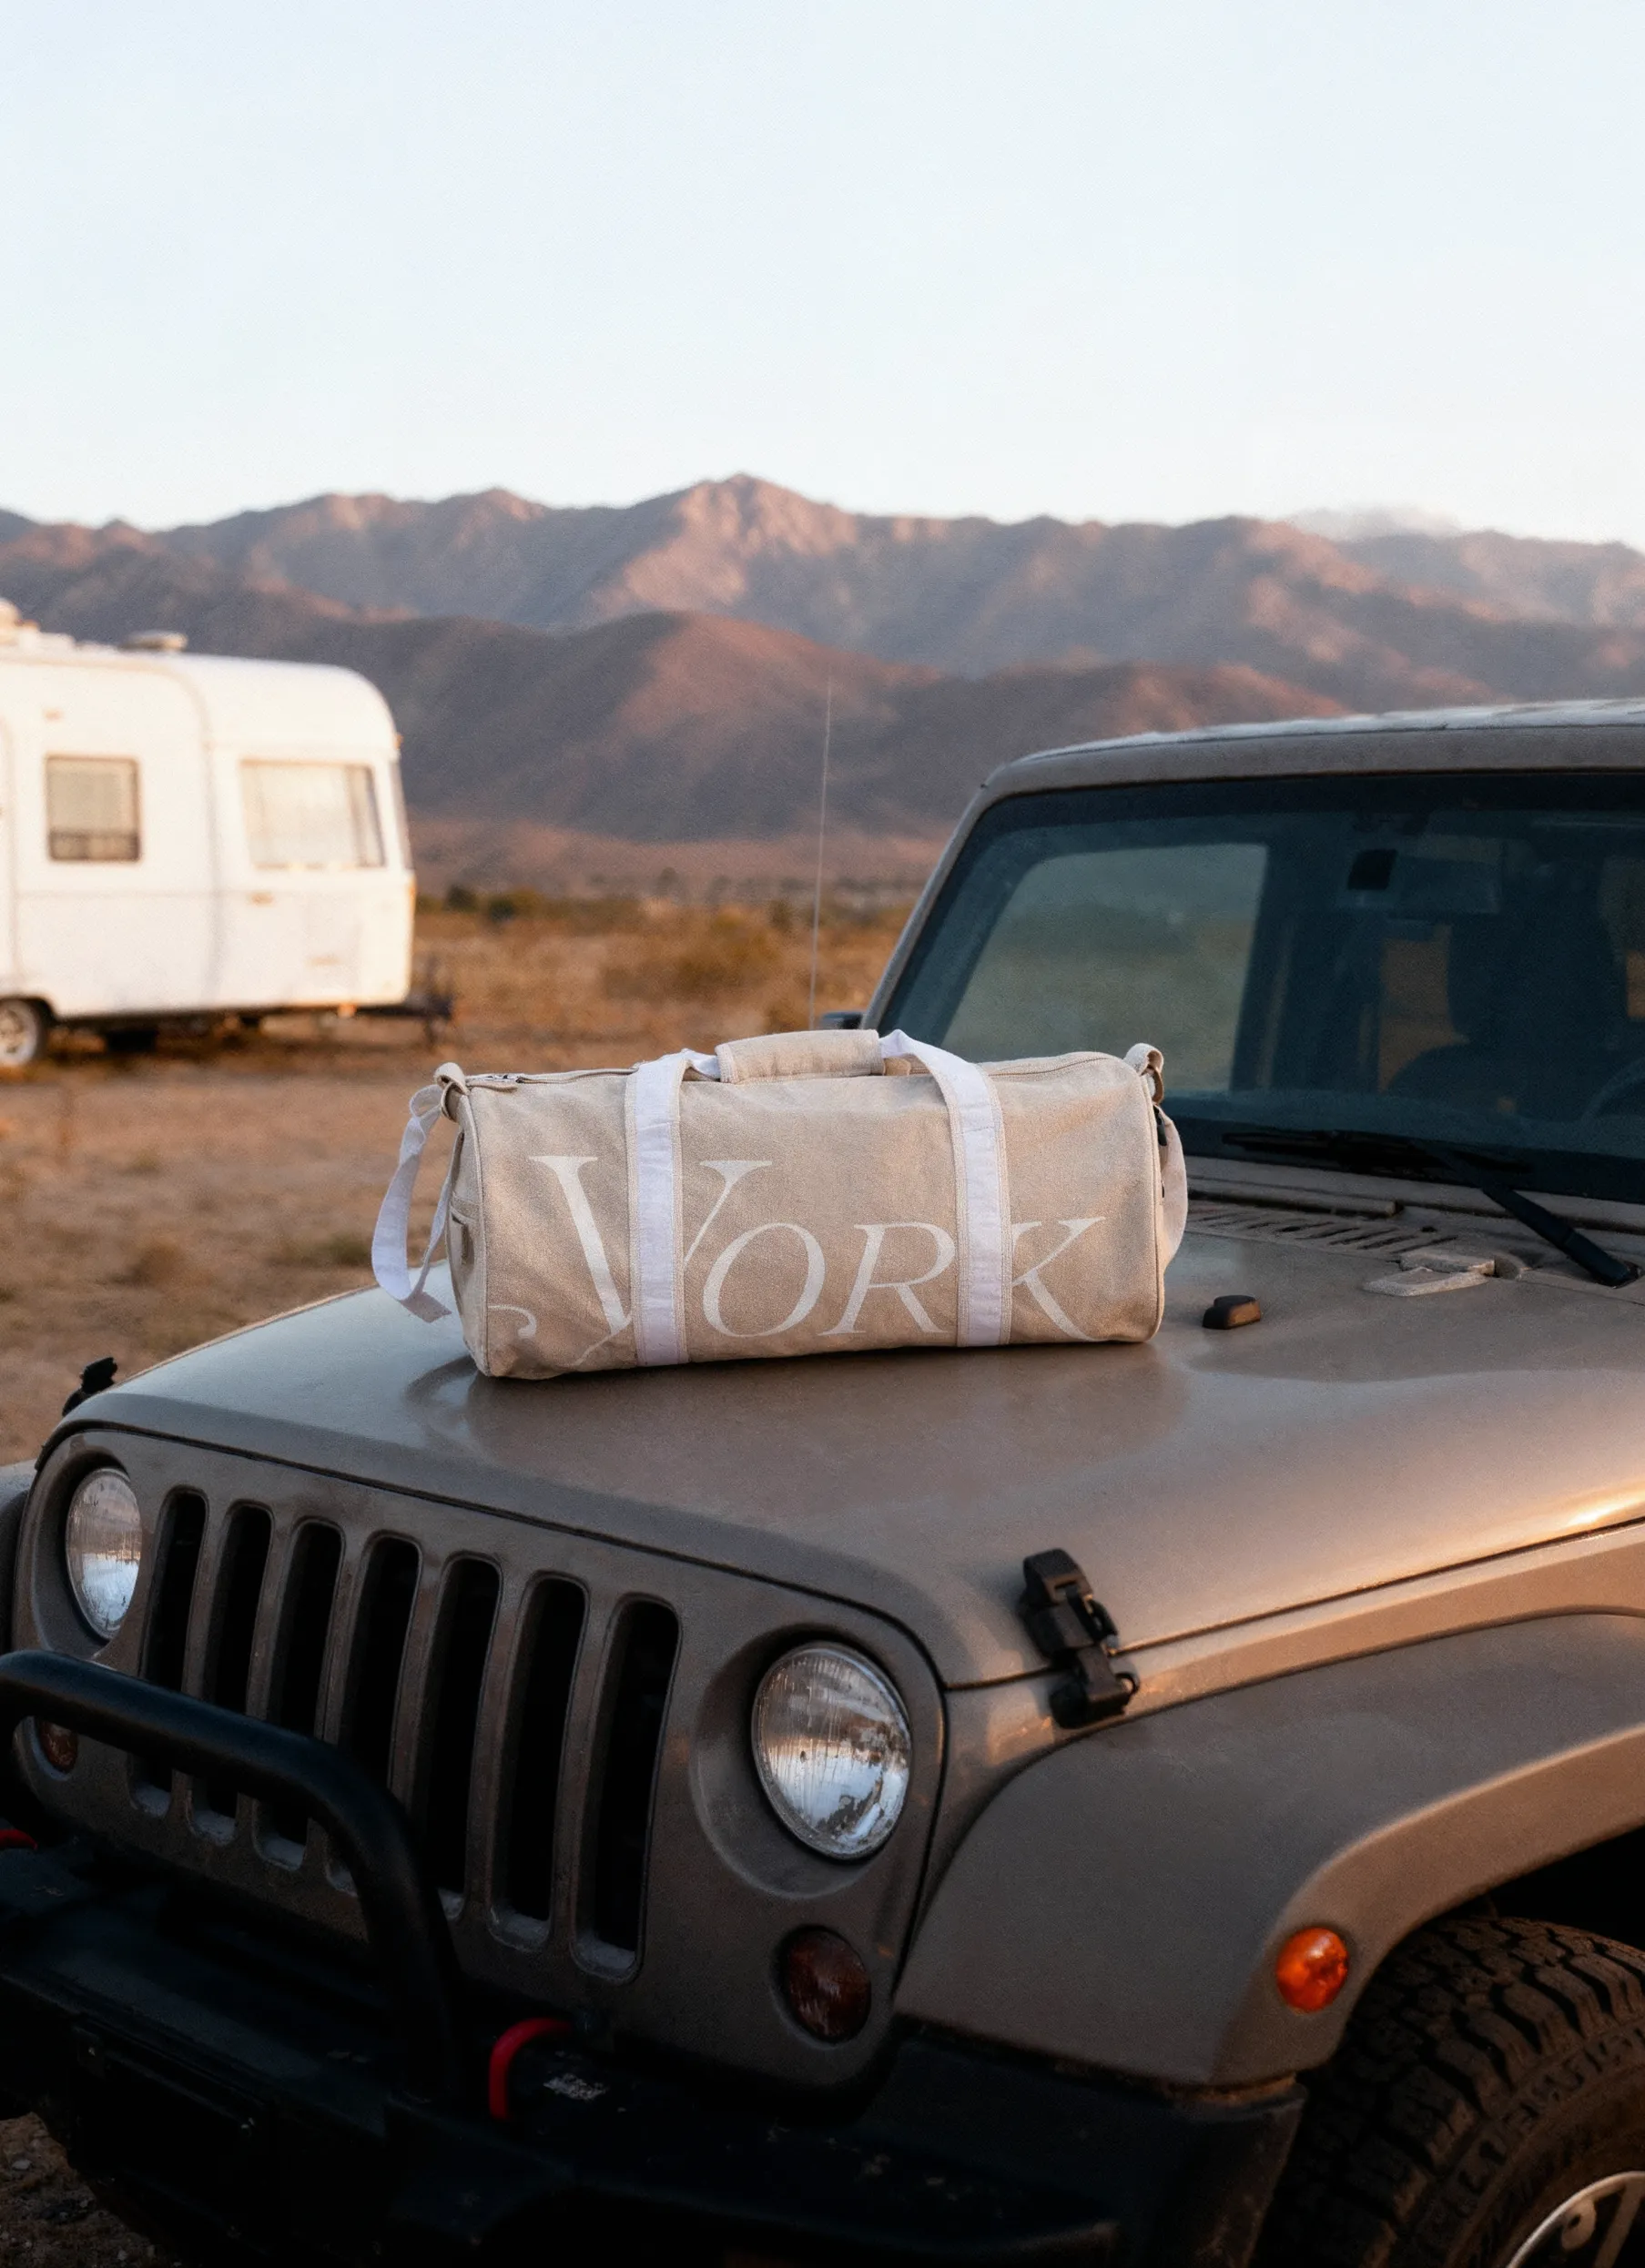
Tabletop photography has been around longer than product photography. Moreover, it's kind of the forefather of the art of taking product images. Even before e-commerce was born as such, people tried to shoot still life either in a photo studio or at home – that's when they used the most descriptive of the terms.
What is Tabletop Photography?

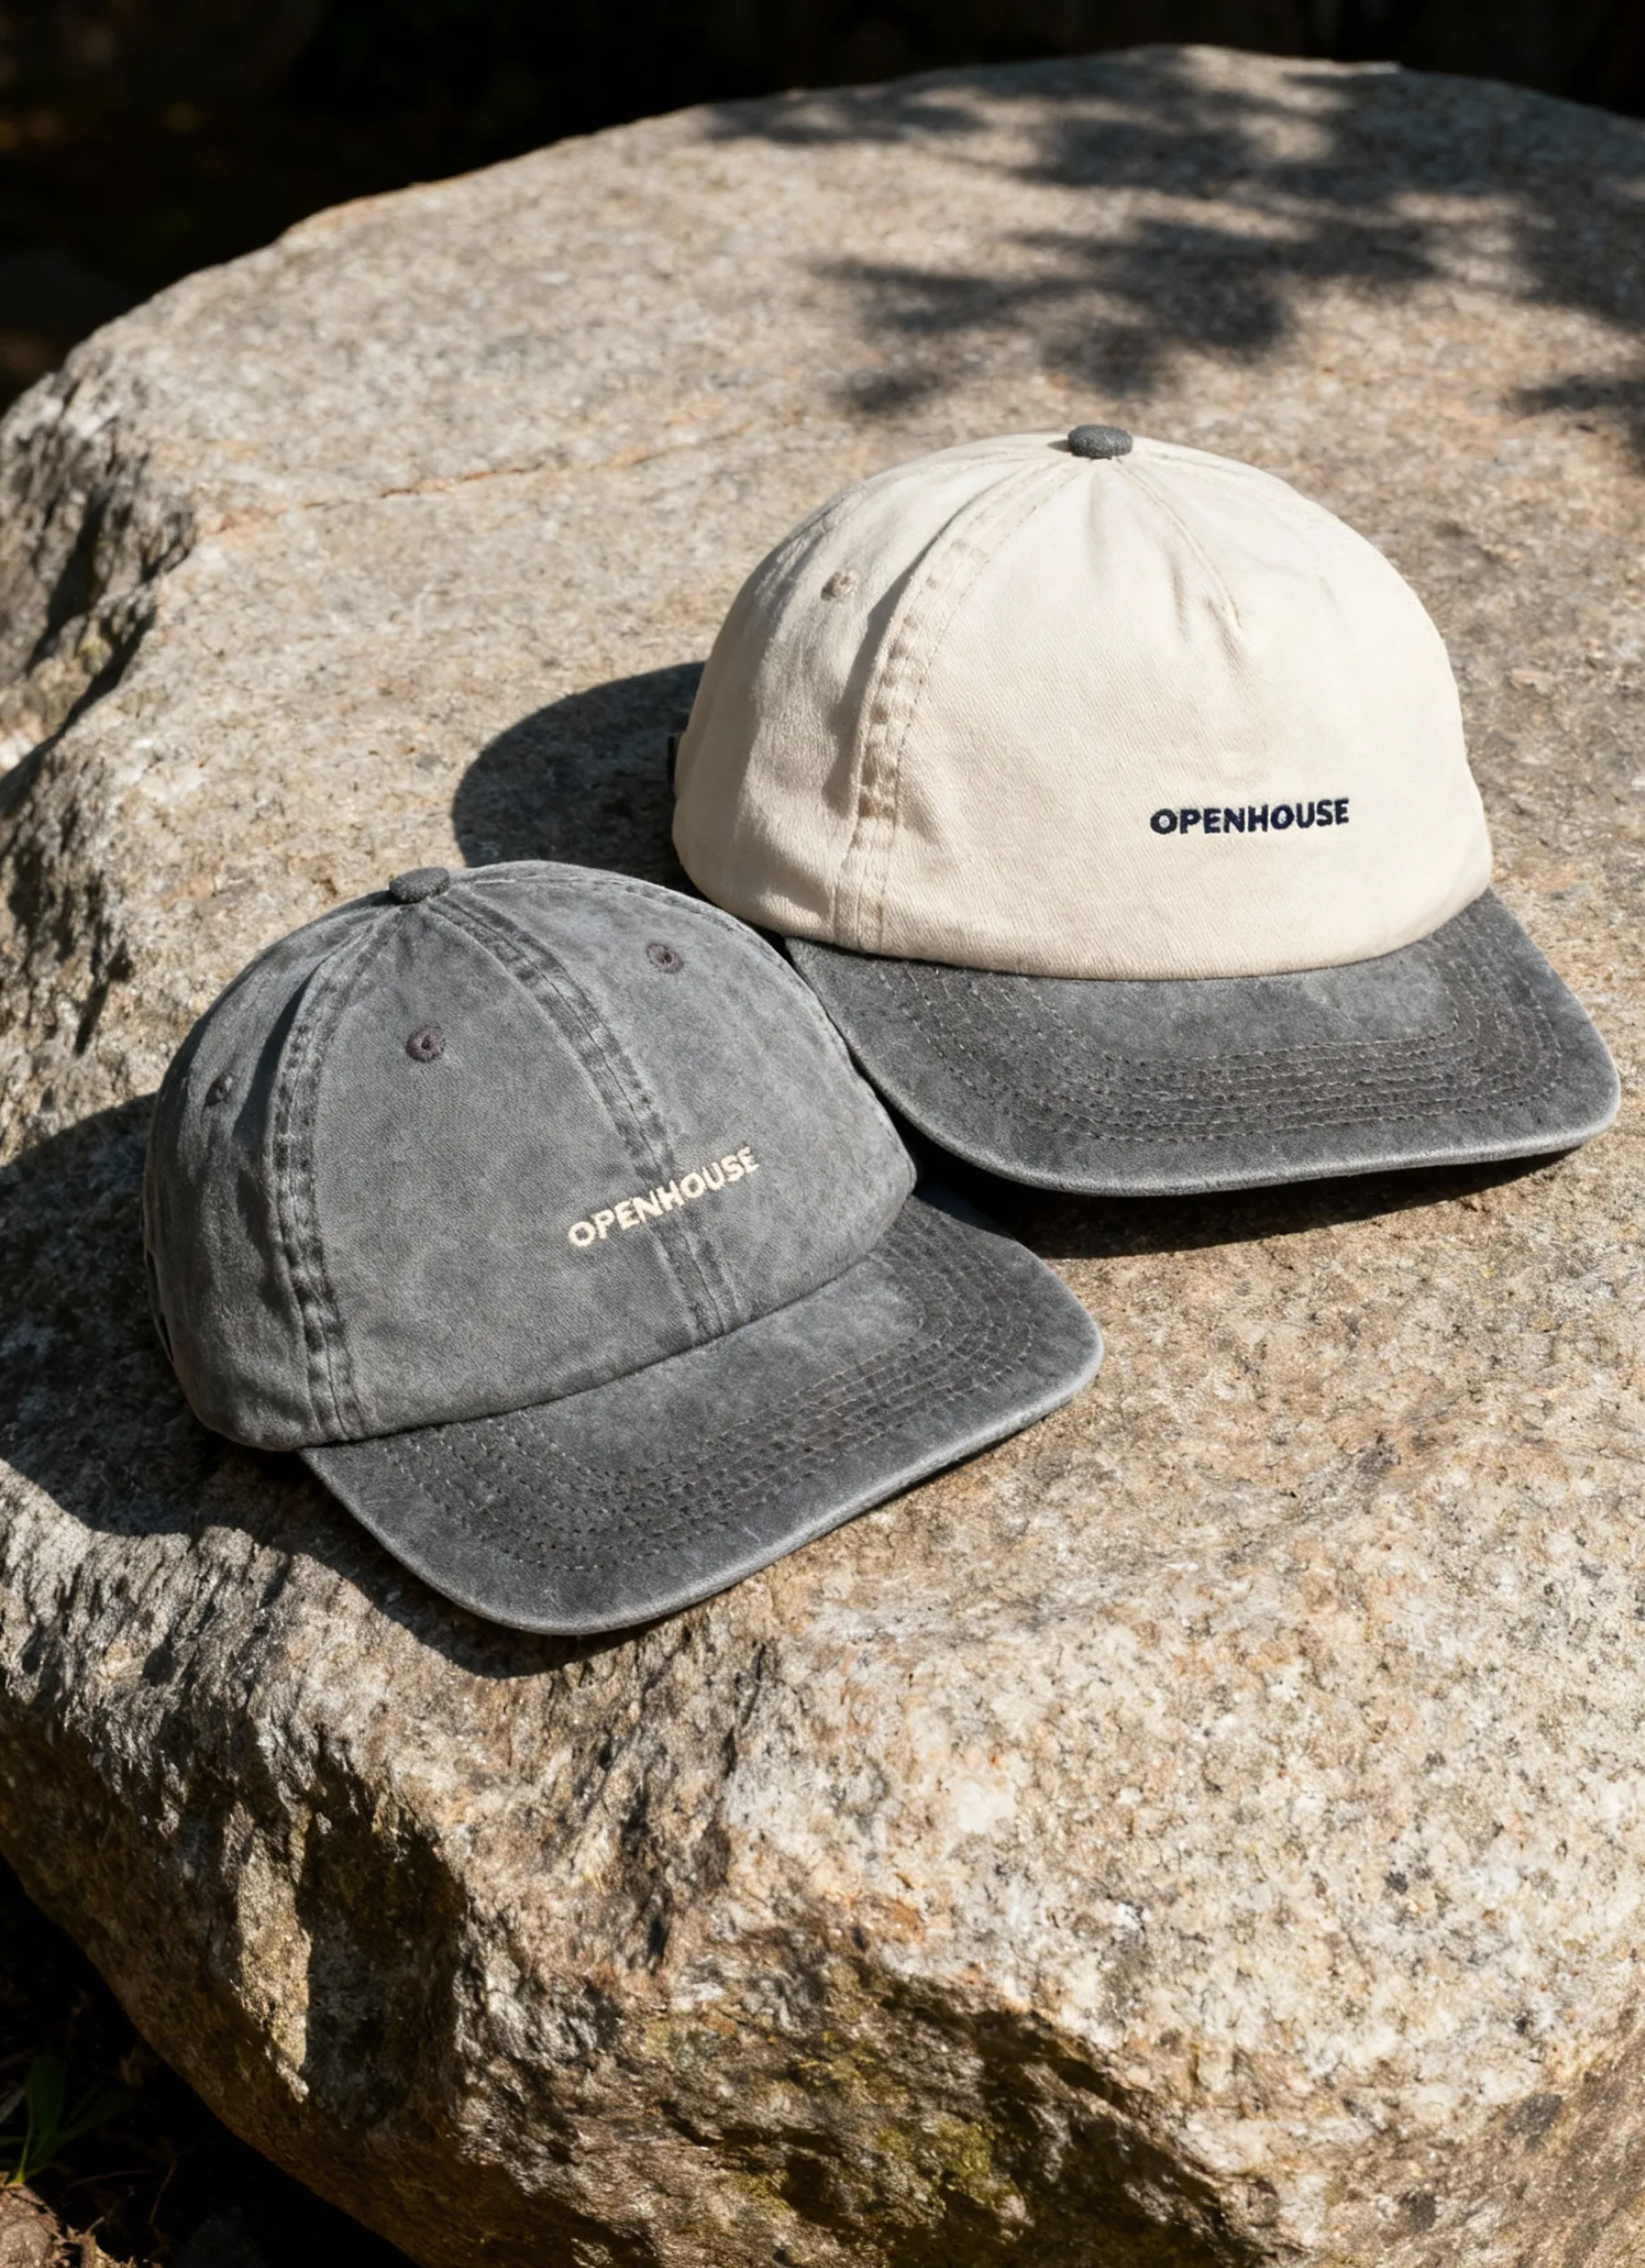
Tabletop photography is a still life photography method that involves placing objects on a table for the shoot, most often in a flat-lay or standing arrangement. With the emergence of e-commerce, the term has been partially ousted by the term “product photography”, which is more specific to the growing industry of online sales.
With “table” in its name, the term naturally evokes something simple and accessible — a setup you can create on your own surface at home. There’s an element of DIY baked into it, suggesting that all you really need to start is a table.
In essence, tabletop photography often overlaps with product photography or flat lay photography. The difference lies in context: tabletop photography usually carries a less commercial tone and often hints at a more hands-on, creator-driven approach.
If you look at Google Trends, you’ll notice that while “tabletop photography” peaked back in 2004, “flat lay photography” continues to gain momentum — showing how the terminology evolved with the rise of social media and e-commerce.
Types of Tabletop Photography
When it comes to different tabletop photography setups, we can distinguish 2 main types: isolated objects and collages.
1.White Background or Isolated Product Images

White background images — also known as isolated product shots — are the industry standard for e-commerce and PR use.
If your goal is to sell or showcase a product to a broad audience, this is the format you’ll need. A strong white background image usually checks these boxes:
- The product fills about 70% of the frame
- Lighting and shadows are balanced and realistic
- The image is sharp, well-exposed, and high-resolution
- Every detail of the object is clearly visible
- The background is pure white, keeping the focus on the product
These images are primarily created for online marketplaces such as Amazon, eBay, or platforms like Shopify. In such competitive environments, image quality directly impacts performance — influencing how often customers click, add to cart, and buy.
2. Commercially Styled Images with Props
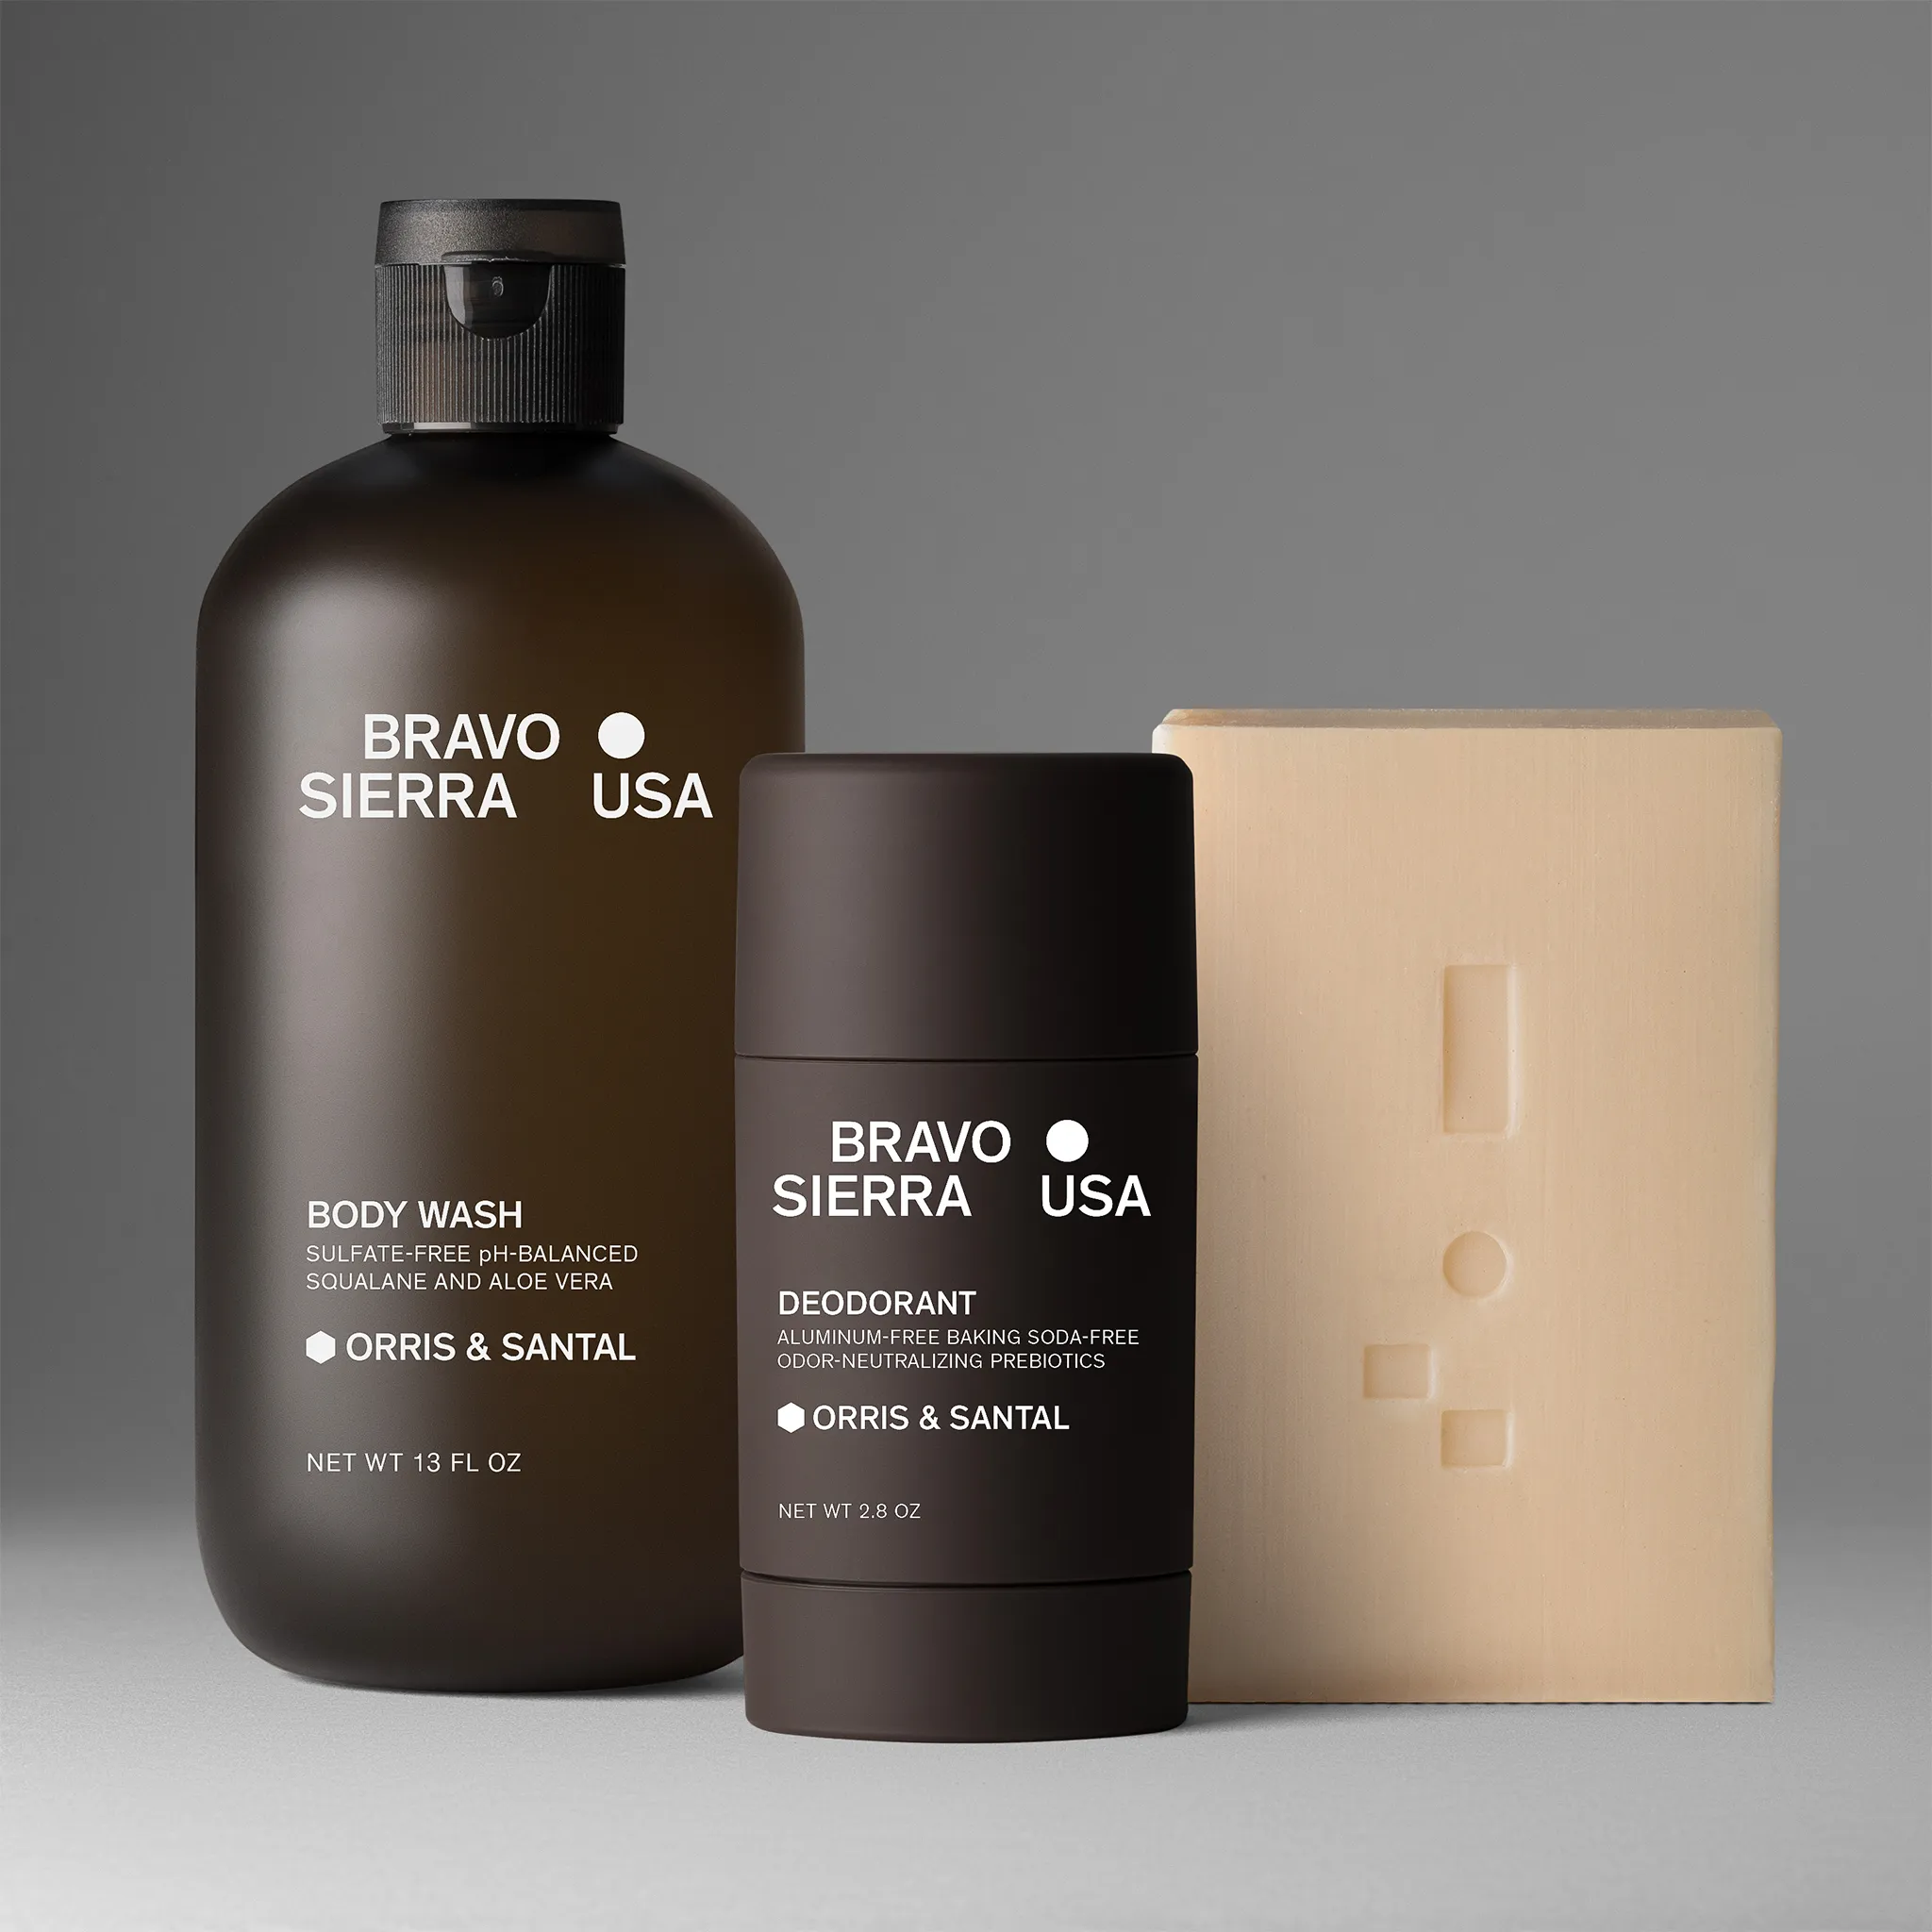
The same product — or even a whole collection — can be captured in a completely different way when styling takes the lead.
Here, we shift from straightforward product documentation to creative photography, where concept, color, and composition shape the story.
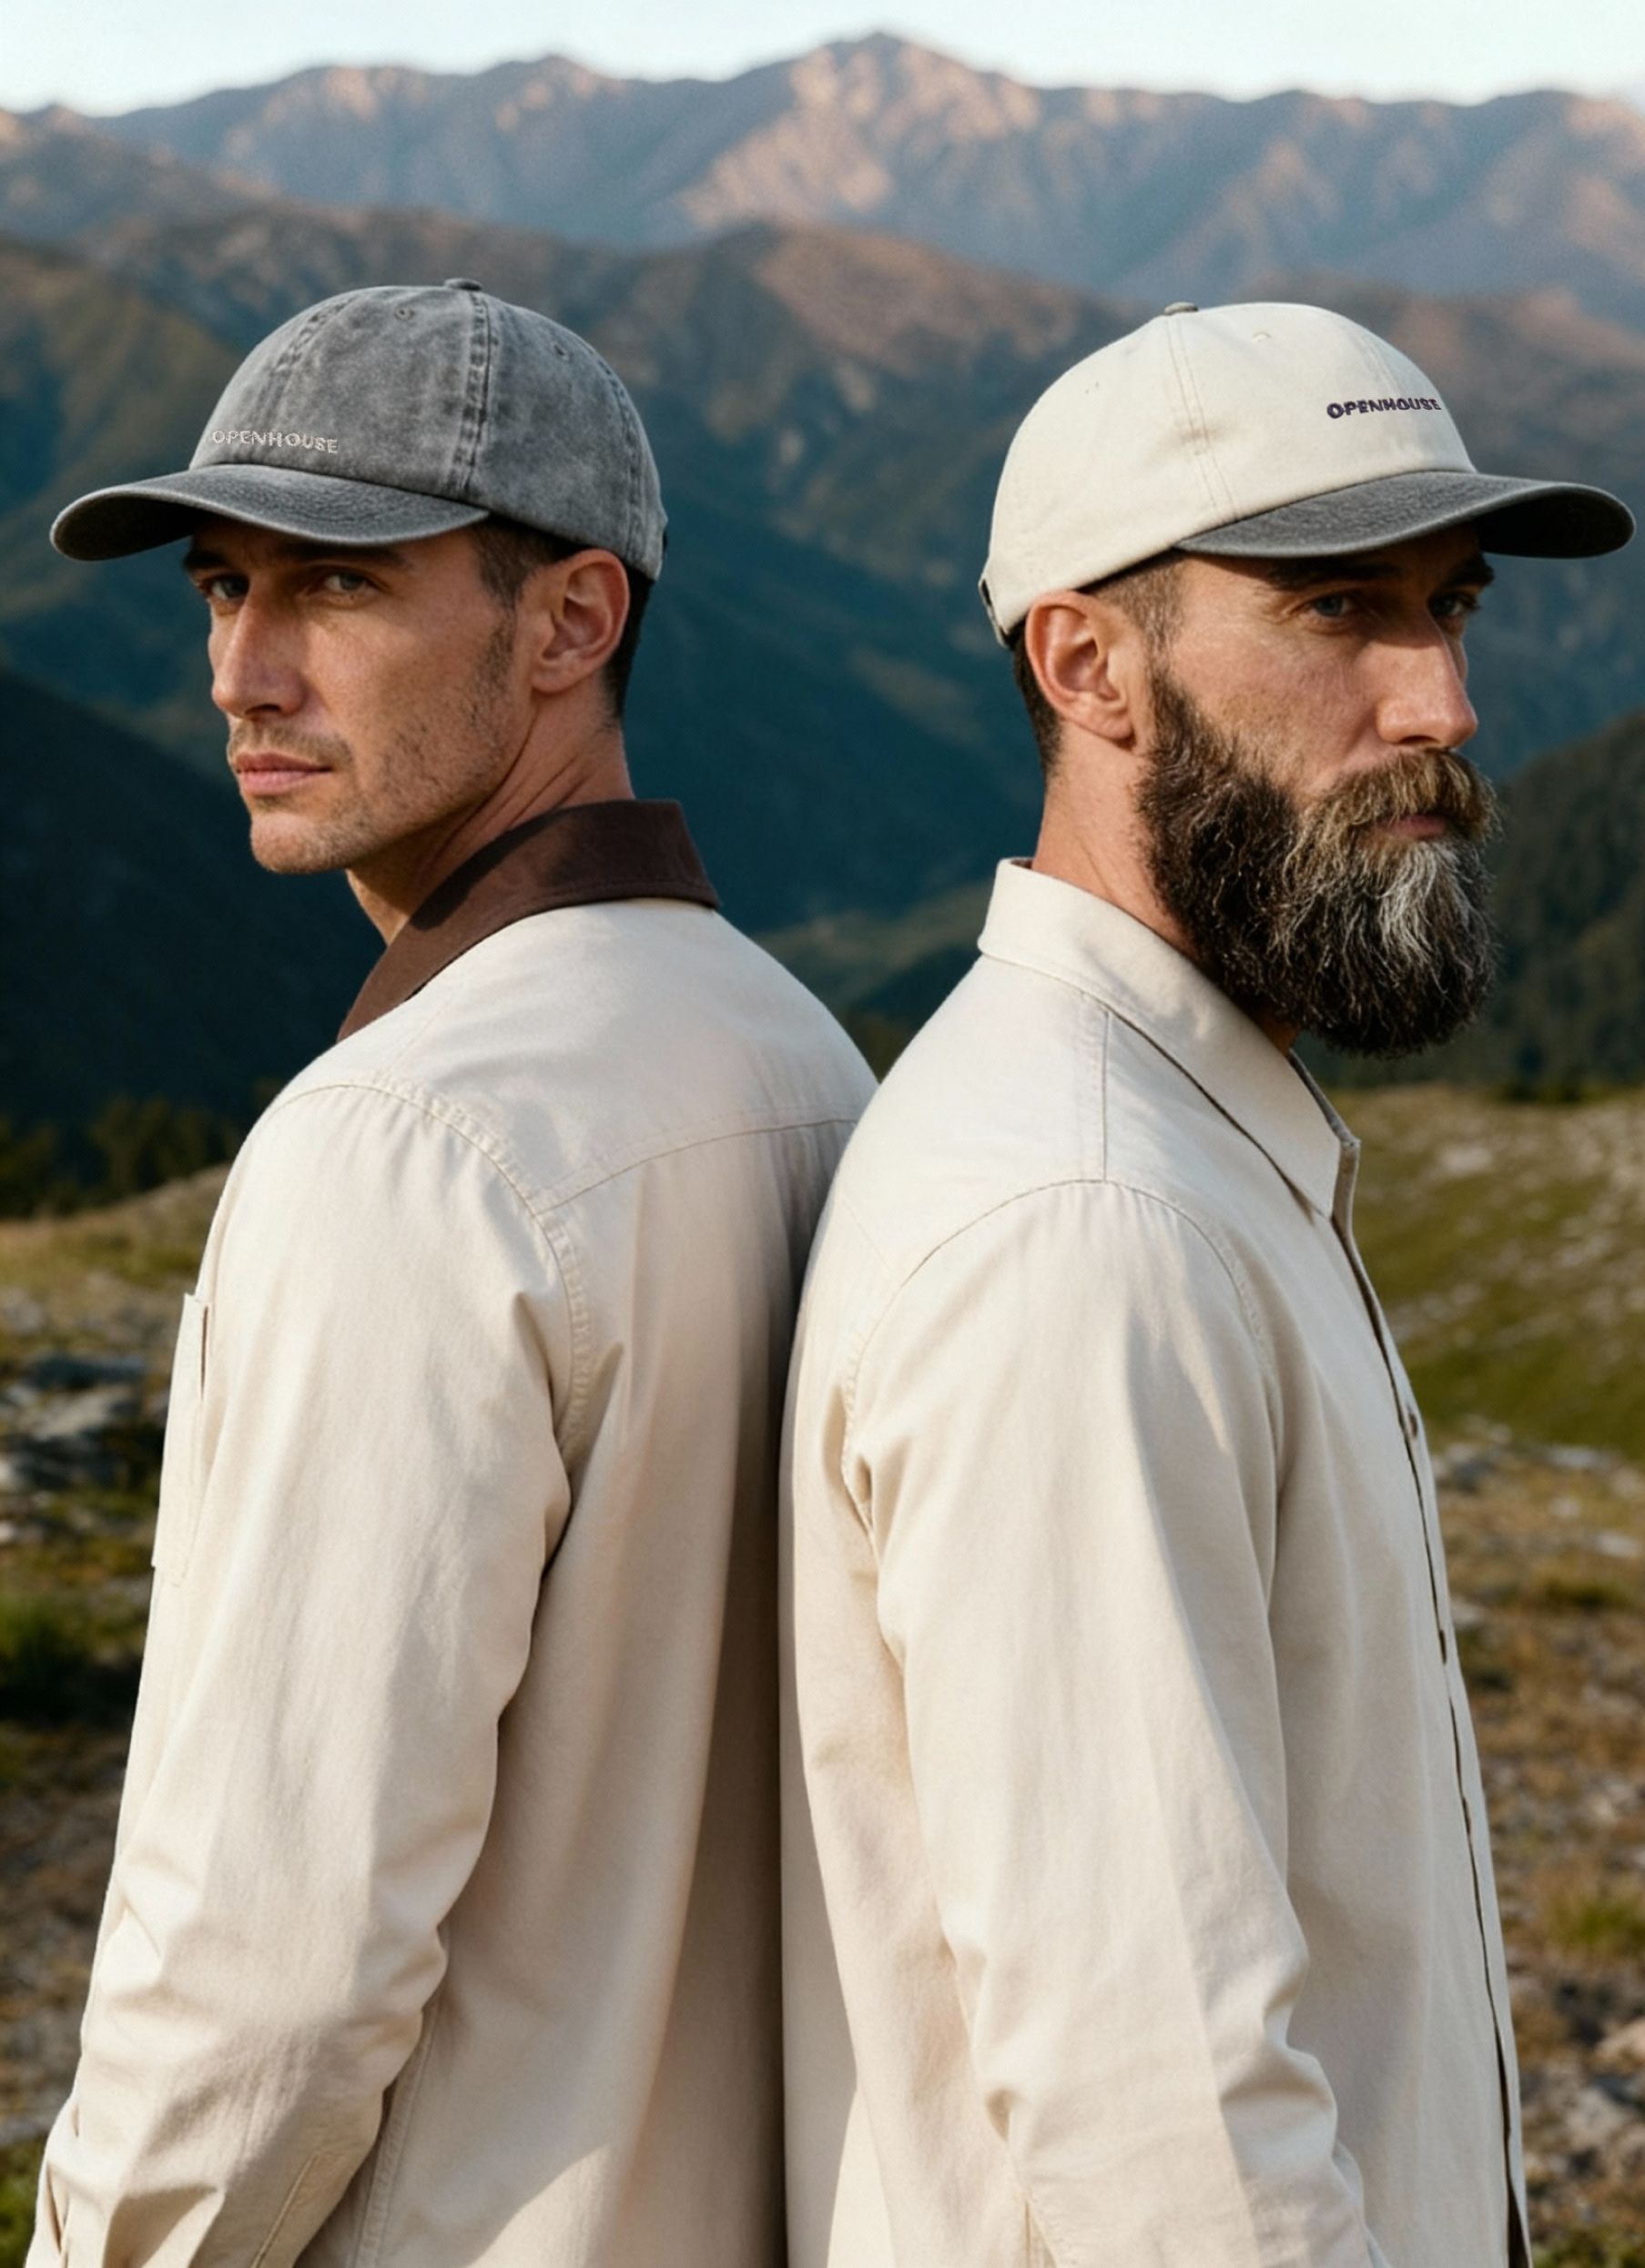
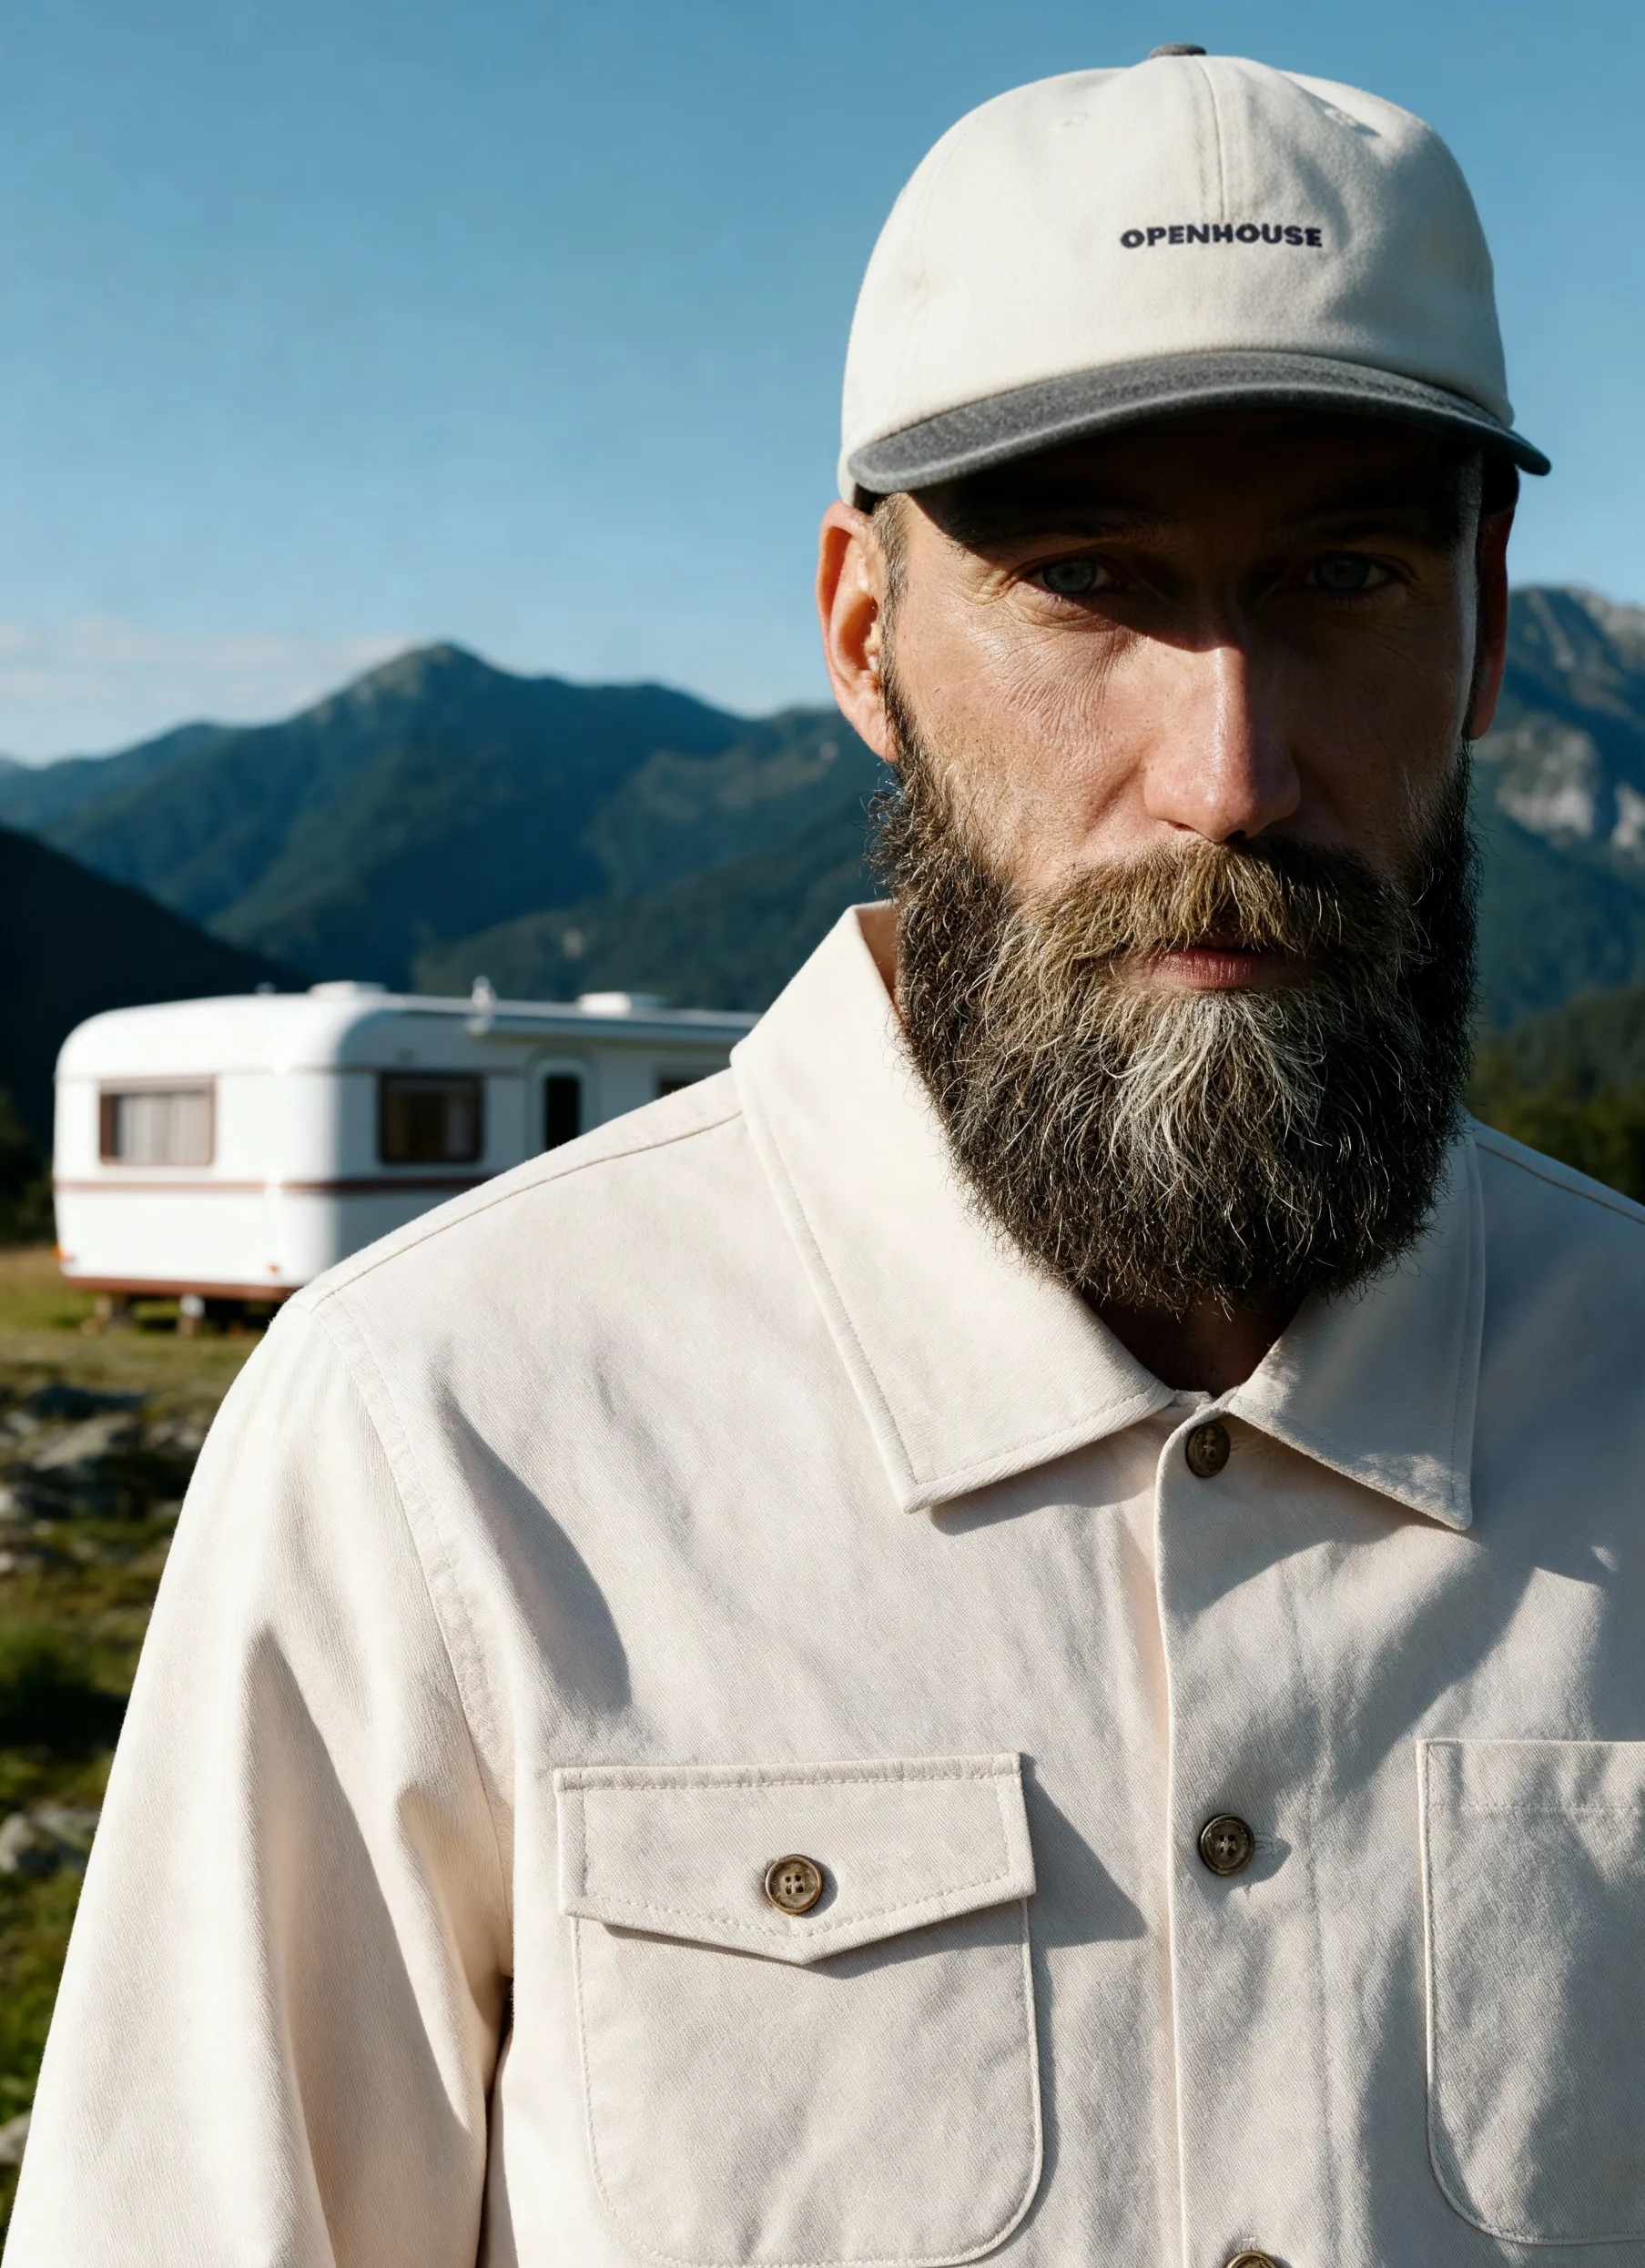
Styled product images typically serve broader marketing goals. They’re most often used in social media campaigns, as hero visuals for category pages, or as supporting imagery in advertising — all designed to spark interest rather than provide product specs.
They stand out through:
- Purpose and placement: Found higher up the marketing funnel — in ads, socials, or campaign assets — rather than on product pages.
- Props and backgrounds: Complementary textures, surfaces, and colors help set the mood and reflect the brand’s tone.
- Human touch: Hands or subtle gestures add context and warmth, showing how the product fits into real life.
- Composition: Even when a single product is in focus, styled shots often mix in additional objects to create balance, depth, and visual narrative.
This is where commerce meets creativity — where every detail, from background color to prop placement, serves a clear visual purpose.
Professional vs. DIY Equipment for Tabletop Photography
Your tabletop setup can range from a simple DIY arrangement to a fully equipped professional workstation — and both can get the job done, depending on your goal.
If you’re photographing a used item for a classifieds listing, natural light and a smartphone will do. Place the product near a window, use a clean surface, and you’ll get a decent result.
But if your goal is to create high-resolution product images for e-commerce, investing in proper gear will save you hours in editing and guarantee consistency across your catalog.
Here’s a quick rundown of the essentials:
Camera
You don’t need to start with a high-end body. Today’s entry-level cameras in the $500 range already deliver great results for tabletop setups. If you’re planning to go deeper into product photography, check out our detailed guide on the best equipment for product photography.
Lens
A macro lens is ideal for capturing small details, textures, or jewelry. But for most tabletop setups, a standard lens will perform just fine — especially when paired with proper lighting.
Tripod or C-Stand
Even an affordable $50 tripod can dramatically improve your image stability. The key is to secure your camera at a 90° angle to the surface for flat lay or top-down shots.
If you’re shooting tethered — meaning your camera, lighting, and software are connected via cords — a C-stand with a horizontal arm provides extra reach and control.
Tethering Setup
To shoot tethered, you’ll need reliable cords compatible with your camera and laptop, plus software that supports live capture. This setup allows you to preview and adjust images in real time — a huge advantage in product work.
Lighting Kit
Lighting defines your image. Whether you go for continuous light or strobe, aim for a setup that ensures even illumination and accurate color. Continuous lighting tends to be more beginner-friendly and easier to control for tabletop scenes.
Diffuser
Soft light matters. You can buy a diffuser or make one yourself using cardboard and parchment paper — a classic DIY solution. Larger diffusers or softboxes can help eliminate harsh shadows and create that studio-quality glow.
Reflector
Simple foam boards or reflective panels can bounce light back onto shadowed areas of your product. Many photographers make these themselves, and they’re often as effective as store-bought options.
Handy Extras
Studios rely on small, practical tools — double-sided tape, clamps, hot glue, and compressed air — to hold items in place and keep surfaces spotless. These little helpers can save hours in post-production.
How to Shoot a Tabletop Photo
Every photographer develops their own workflow, but the process usually follows a clear rhythm:
- Set up your table and background. Choose a comfortable height and make sure you have room to shoot from above.
- Mount your camera. Use a tripod or C-stand and connect any cords if shooting tethered.
- Arrange your lighting. Position your lights for even exposure and minimal glare.
- Place your product and props. Take a test shot to check composition and focus.
- Fine-tune lighting. Adjust angles, brightness, and diffusion until you get balanced shadows and highlights.
- Capture multiple angles. Follow the client’s brief, refining composition between shots.
- Edit and finalize. Color-correct, crop, and export images in the required resolution.
While this process may look straightforward, tabletop photography is a game of precision. Every inch of light, every surface reflection, and every prop placement counts toward that polished, commercial look.
Tips & Best Practices
Your Brief Shouldn’t Be Brief
If you’re shooting for a client, clarity is everything. The best shoots start with a comprehensive brief — one that covers the list of required shots, preferred angles, visual references, and final usage channels. A detailed brief keeps the creative direction aligned and minimizes back-and-forth during production.
Prep Your Props in Advance
When working on styled tabletop photography, preparation is half the success. Thoughtful props and textured backgrounds can transform a simple setup into a scroll-stopper. Think weathered wood or concrete surfaces for masculine products, and succulents, notebooks, or a coffee cup for lifestyle or office-related scenes. The key is to choose elements that enhance, not distract from, your main subject.
Composition Comes with Practice
Your hero product doesn’t always need to sit in the center. Sometimes, placing it off to the side or slightly angled creates a more dynamic frame. The secret to great composition lies in two things:
- Exposure to examples. The more product imagery you study, the sharper your visual intuition becomes. You’ll start noticing what works — and what doesn’t — in other people’s setups.
- Experimentation. Don’t hesitate to move things around. Take a few test shots, tweak the layout, and observe how light and shadow interact with your objects. Over time, composition becomes instinctive — a skill that evolves from repetition and curiosity.
Tabletop Photography Ideas
1. Set the Mood with Backgrounds
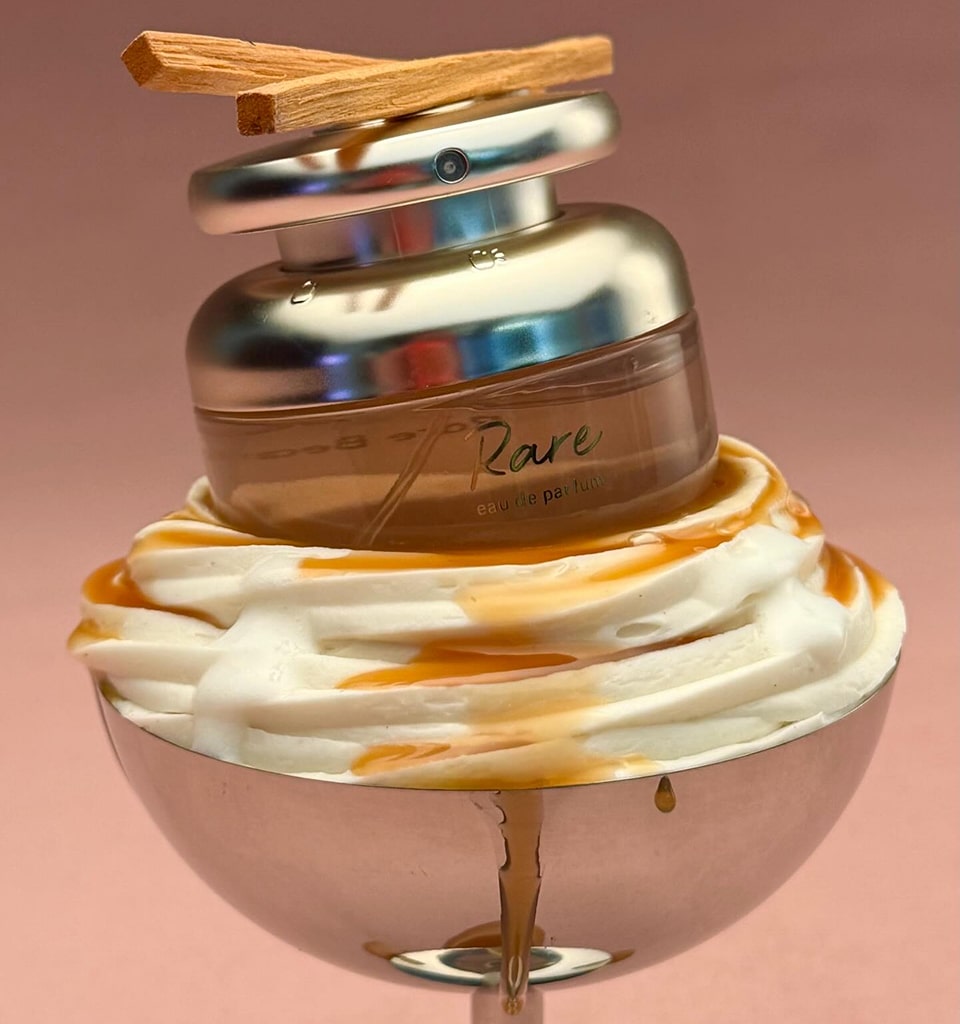
Backgrounds do more than fill the frame — they set the tone. A bright orange backdrop can add warmth and energy. Folds of silk instantly elevate accessories. Scattered confetti creates a festive touch.
Every product has a background that helps it tell its story — find yours and build the shot around it.
2. Add Props that Make Sense
Props give context and help viewers imagine how a product fits into their life. For skincare, mix in other cosmetics or application tools. For supplements, add natural ingredients. For jewelry, consider showing the craft behind it — a pair of pliers, beads, or a velvet tray. And for a pair of fluffy boots a kitten playing around may be a fit.

Keep it intentional. Every element in the frame should serve the story.
3. Use Natural Light and a Smartphone for Budget Shots
Budget shoots are often a starting point for many entrepreneurs — and an important learning curve. If you’re going that route, make it count: use natural light, keep your setup clean, and learn from a few solid YouTube tutorials. Grab your smartphone, find a bright day, and experiment. Every great photo journey starts somewhere.
Squareshot is Here for When You Are Ready
If you’ve outgrown DIY and need a partner who can deliver product images that sell, Squareshot is here for you. With studio in New York, we help brands create consistent, high-performing visuals at scale. Explore our growing portfolio and see why hundreds of e-commerce businesses choose Squareshot for their tabletop photography needs.

Product A
SQUARE SHOT


